Custom Field Mapping
Once Custom Fields are created, these have to be linked to specific functionalities / options in Aura. On mapping, an additional screen will appear before the confirmation screen at add wizard of the functionalities displaying the custom field mapped to it. Based on the rules set for a custom field, Aura will make it mandatory or non-mandatory at the add wizard.
The following are the tabs in a Custom field mapping:
Custom Field
To map Custom Field
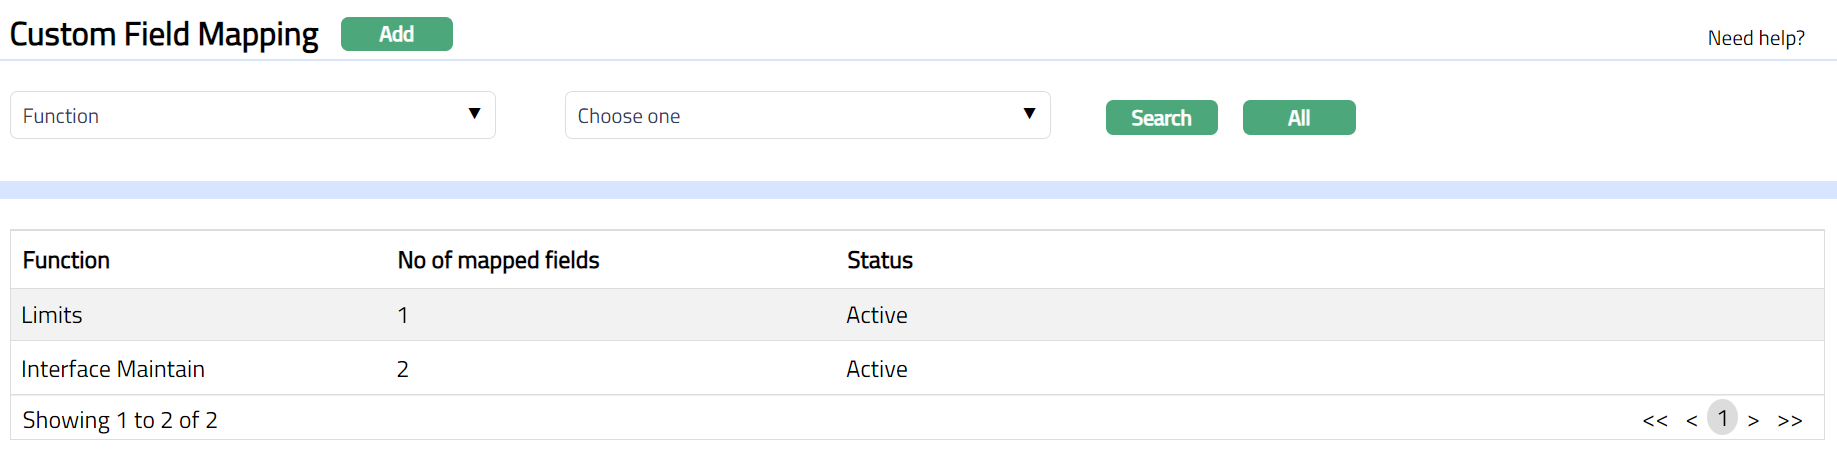
- From Admin menu, click System Codes, Custom Fields, and then Field mapping. The Custom Field Mapping Search page appears. All Custom Field Mapping records available in Aura appear on the page.
- Click Add. New Custom Field Mapping -- Details (1/2) page appears.
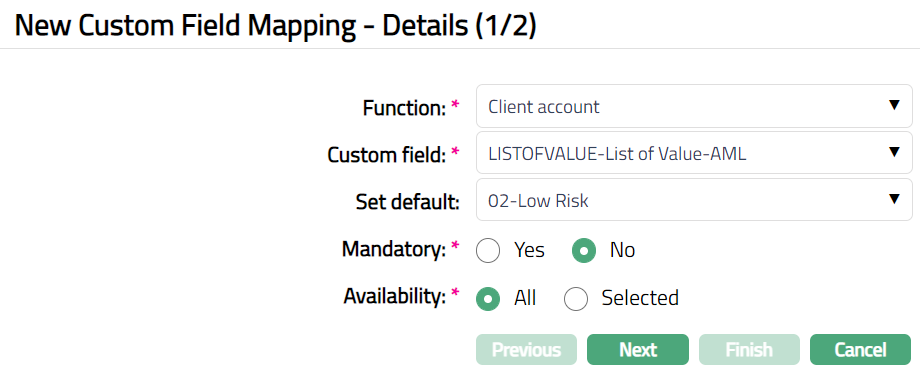
Sample screen if Custom field is of Type - List of values:
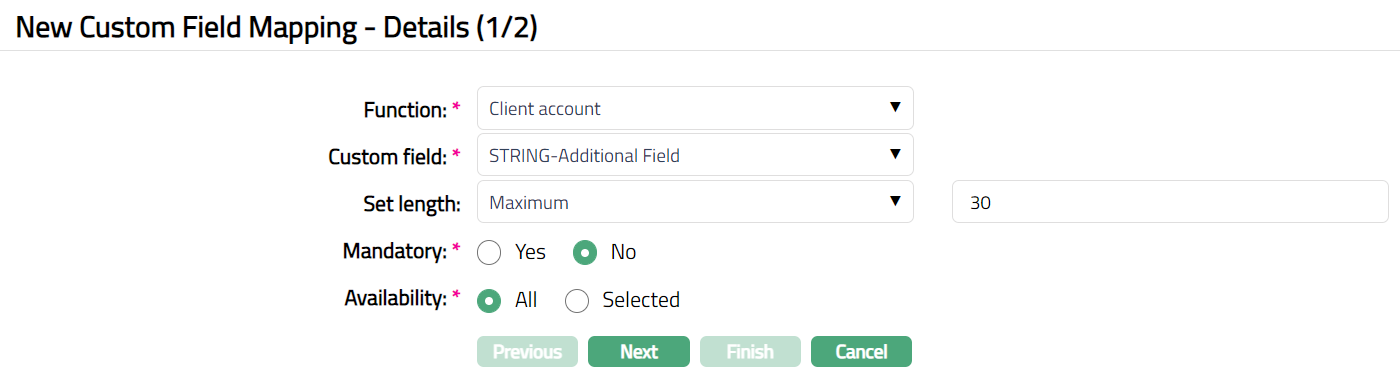
Sample screen if Custom field is of Type -- Number/String:
Select Function to which the custom field has to be mapped from the drop-down list of pre-shipped values. All the functions to which Custom Fields can be mapped are listed here. Once a custom field is mapped to a function, it will not be available in the Function dropdown list. Aura allows you to add multiple custom fields for that function in the same record.
Select Custom field from the available drop-down list of Active Custom Fields maintained using Custom Field Maintenance under Admin > System codes > Custom fields > Custom fields.
If the Custom field type = List of Values, you need to select a value from Set default drop-down list. This value will be set as default value for the selected custom field.
If Custom field type = String / Number, indicate if you want toSet length for the selected custom field from the drop-down list of pre -- shipped values. The available values are Maximum, Minimum and Equal. In the text box, input the required length. This can be any value <= 512
Select Availability option for the Custom Field. If All option is chosen, then the custom field will be available for All records under the function. If Selected option is chosen, then the custom field will be available only for selected records. This can be used under the Availability Tab. This field will appear only if Custom field is mapped to Account, Products, Collaterals, Client, Station Journal and Cross Currency Journal.
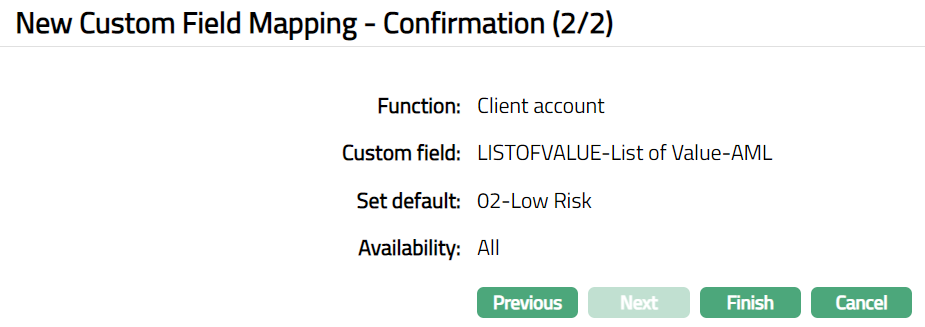
Click Next. New Custom Field Mapping -- Confirmation (2/2) appears.
Sample screen if Custom field is of Type - List of values:
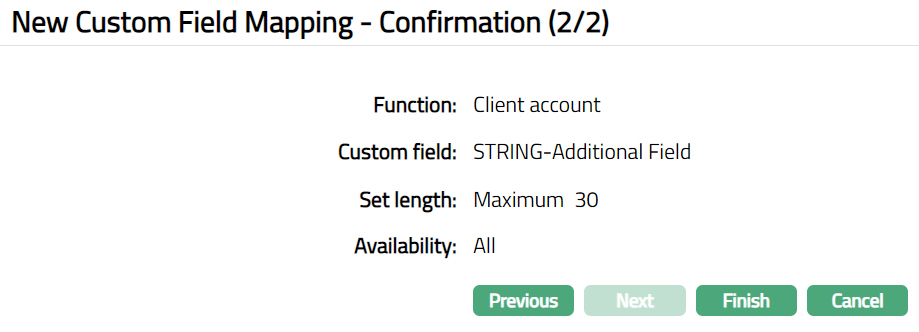
Sample screen if Custom field is of Type -- Number/String:
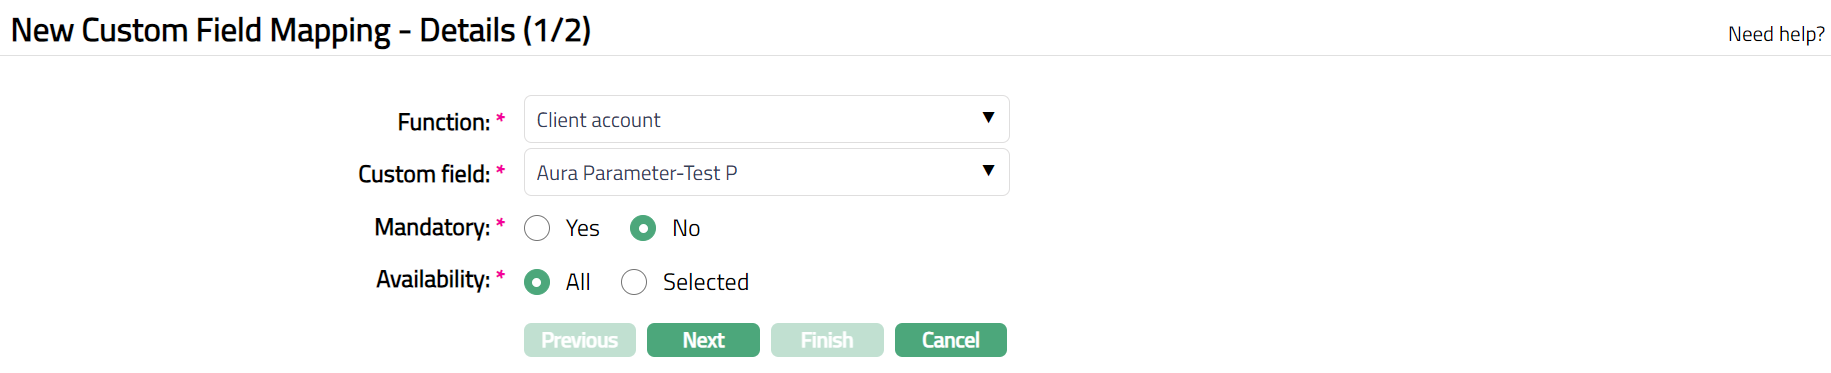
Sample screen if Custom field is of Type -- Aura Parameter:

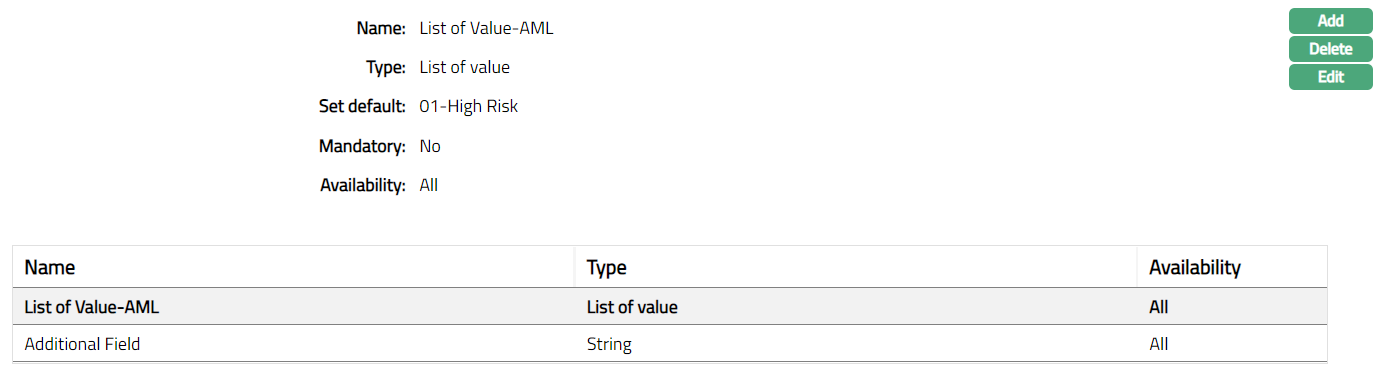
- Click Finish. Custom Field Mapping page appears displaying the details of the Custom Fields you added. A sample screen is given below.

Functions: Add, Delete, Search, Suspend, Activate
Note: Custom Field will now be available in the Custom Field Tab of the Function that you chose; and will appear as the last step in the Add Wizard of that Function.
Delete: You can delete a Custom Field Mapping record by clicking Delete button. When you click on Delete button, Aura displays an alert message. On confirmation Aura will delete the record.
Suspend: You can suspend the Custom Field Mapping record by clicking on Suspend button. When you click on Suspend button, Aura will ask for confirmation. On confirmation, Aura will suspend the Custom Field Mapping record and Activate button will appear in place of the Suspend button. On suspension, the suspended custom field will be available for existing records in the mapped functionality. It will not be available for new records.
Activate: If you want to activate a suspended Custom Field Mapping record then click on Activate button. Aura will ask for confirmation. On confirmation Aura will activate the Custom Field Mapping record and Suspend button will appear in place of Activate button.
Custom Field
This allows you to view the custom field mapping done during creation of custom field mapping record. You can also add any other custom field to the selected Function.
To view / Add custom field.
- Access Custom Field Mapping page and click Custom Field tab to view the details as per sample below. The details are defaulted from the entries that you made during creation of a new custom field mapping record. For details refer to New Custom Field Mapping -- Details (1/2).

- Click Add. Add Custom Field page is displayed.
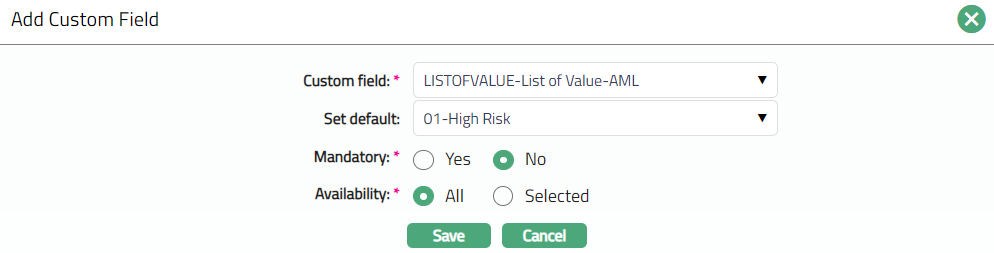
Select Custom field from the available drop-down list. Custom Fields should have been created using Custom Field Maintenance as maintained under Admin > System codes > Custom fields > Custom fields.
Based on the Type of custom field selected, other fields are displayed - For details refer to New Custom Field Mapping -- Details (1/2).
Once all values are input, click Save. Custom Field page appears with the added details.
Functions: Add, Delete
Display Sequence
This tab allows you to view and define the order in which the Custom fields appear in the mapped Function record.
- Click Display Sequence tab under Custom Field Mapping page. All the available custom fields will be displayed as shown below is the sample screen shot.
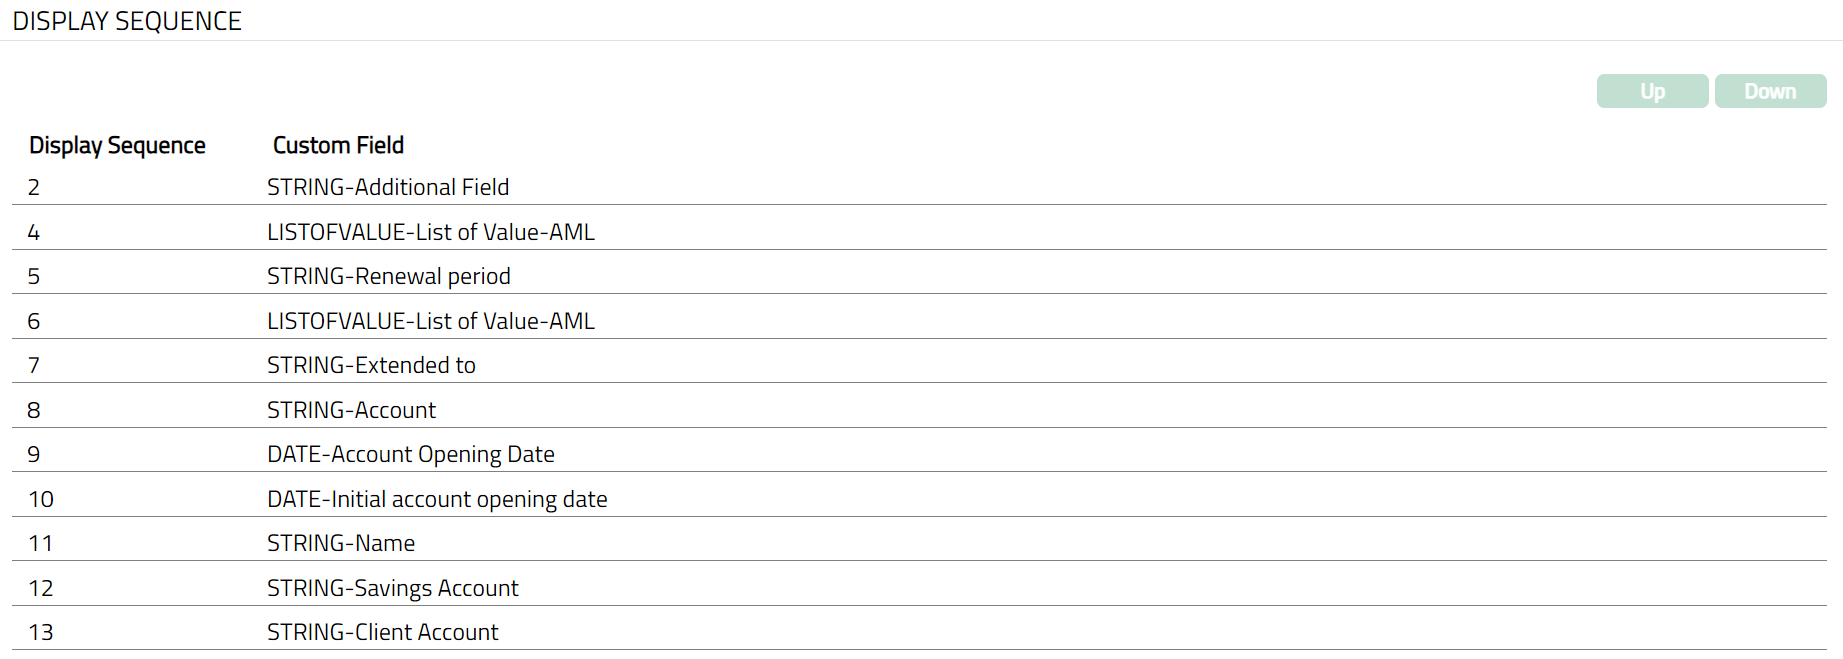
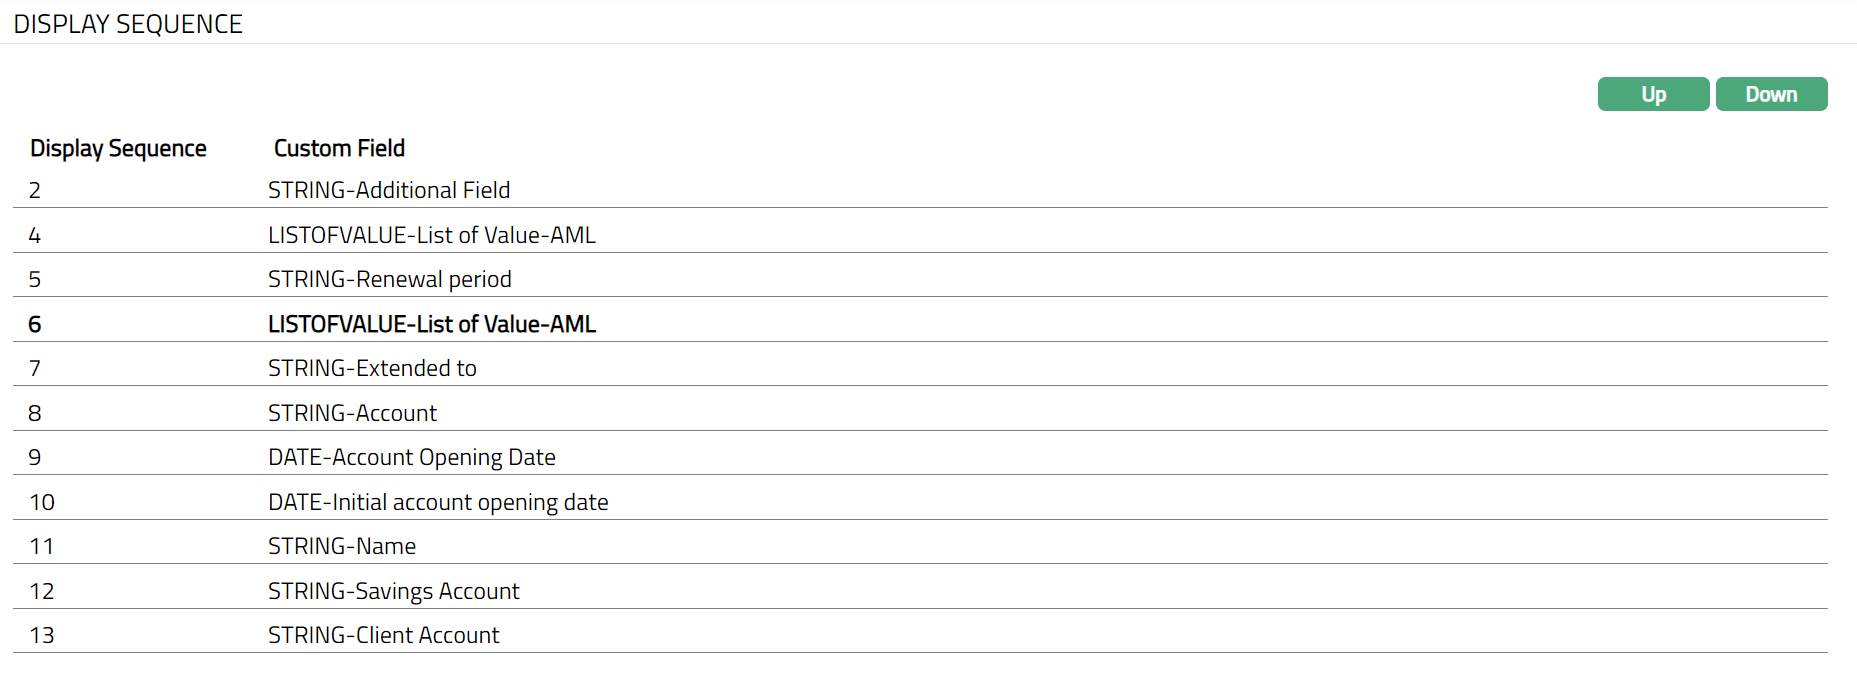
Note: Up and Down buttons will be enabled once you select the required custom field.Sample screens shown above.
- Select required Custom field from the available list and then select Up or Down to change the order.

Function: Up, Down
- Custom fields will be displayed in the updated sequence in the mapped Function record.
Rule Builder
This tab allows you to add rules for the custom fields mapped to the function. Based on the rules, we can set the conditions such as Mandatory for the custom field appearing in the additional screen that will appear before the Confirmation screen in Add wizard of any functionality.
To add Rule Builder
- Access Custom Field Mapping page and click Rule Builder tab.
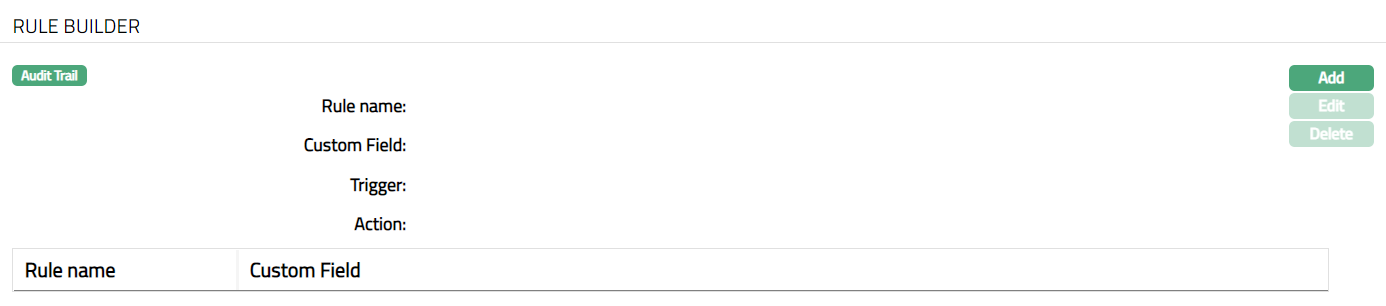
The available fields are:
Rule name denotes the name of the rule.
Custom field denotes the name of the custom field for which the rule is created.
Trigger denotes the condition for which the rule will trigger.
Action denotes the result due to execution of the rule.
- Click Add. Add rule page appears.
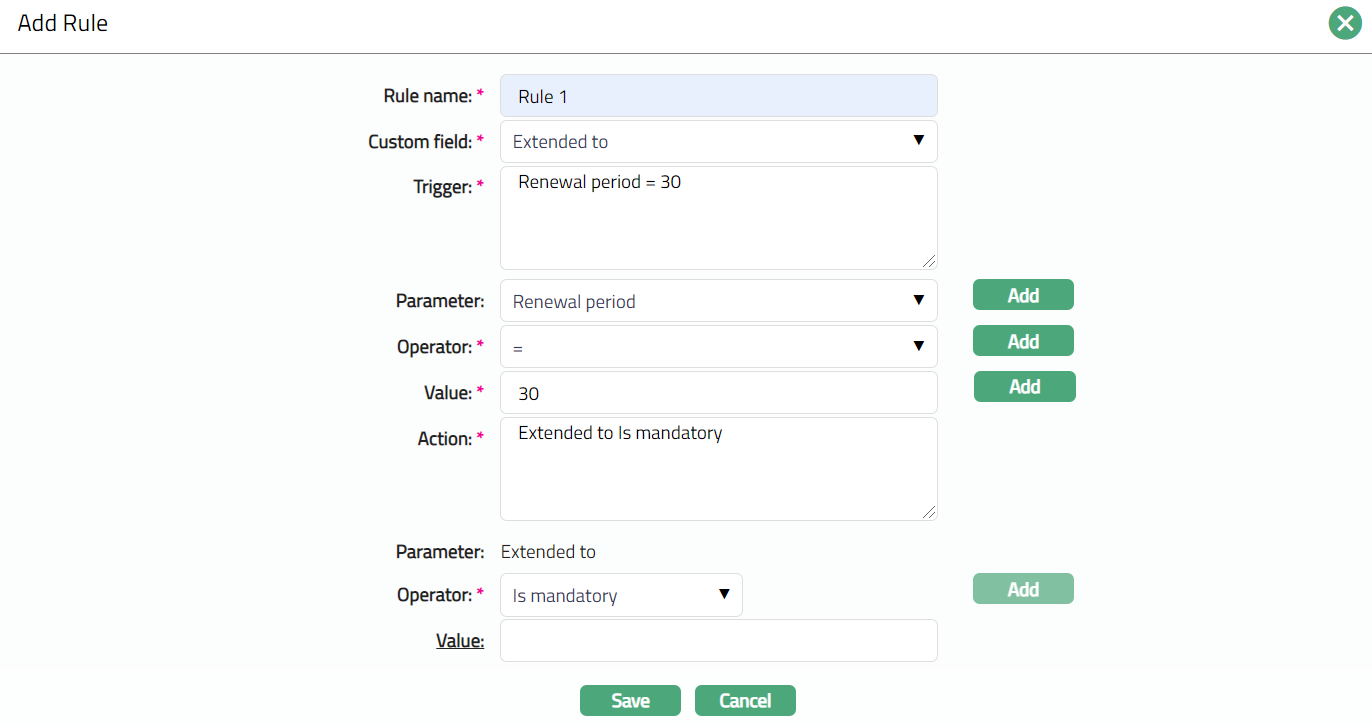
Enter Rule Name.
Select required Custom field to which this rule should apply using the drop-down list of custom fields that are mapped to the function.
Enter Trigger details. Each trigger will constitute a collection of individual conditions joined by AND / OR operator. The Trigger details can be built using the Parameter, Operator and Values.
Select Parameter from dropdown list of custom fields that are mapped to the function and click Add. Aura will display the selected value of Parameter into the Trigger text area above.
Select Operator from the pre-shipped list and click Add. Aura will display the selected value of Operator into the Trigger text area above.
Enter required Value for the Parameter and click Add. Aura will display the selected value into Trigger text area above.
In Action field, enter the details as to what action has to happen on execution of the rule. The Action details can be built using the subsequent Parameter, Operator and Value.
In Parameter field the custom field for which the Rule is being defined will be defaulted.
Select Operator from the pre-shipped list and click Add. Aura will display the selected value of Operator into the Trigger text area above.
Enter required Value for the Parameter and click Add. Aura will display the selected value into Trigger text area above. This field is disabled if the value Is mandatory is selected as the Operator.
Click Save. Rule builder page appears with the added details.
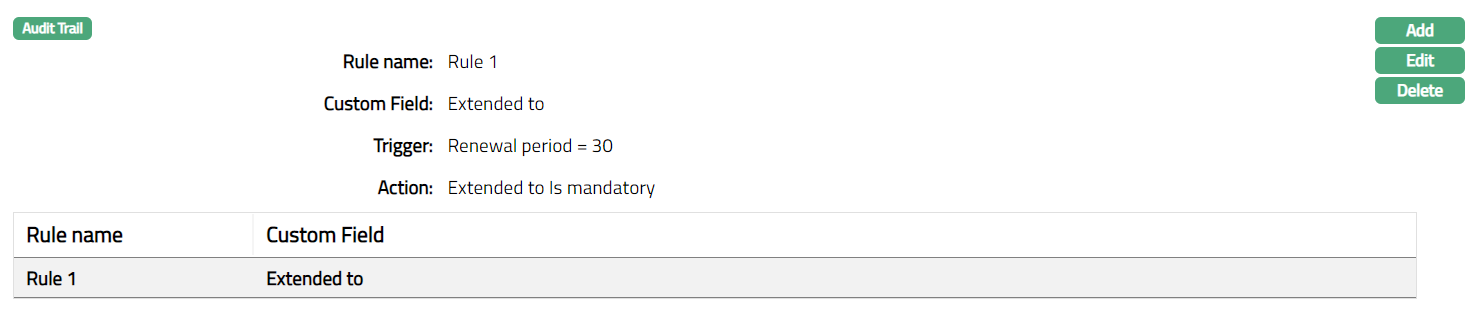
Functions: Add, Edit, Delete.
Delete: You can delete the rule defined for a custom field by clicking Delete button. Aura will ask for confirmation. On confirming the custom field will be deleted. Deletion will not affect the existing records but will affect the new records created under the functionality to which the custom field is mapped.
To edit Rule Builder
- Click Edit. Edit Rule page appears.
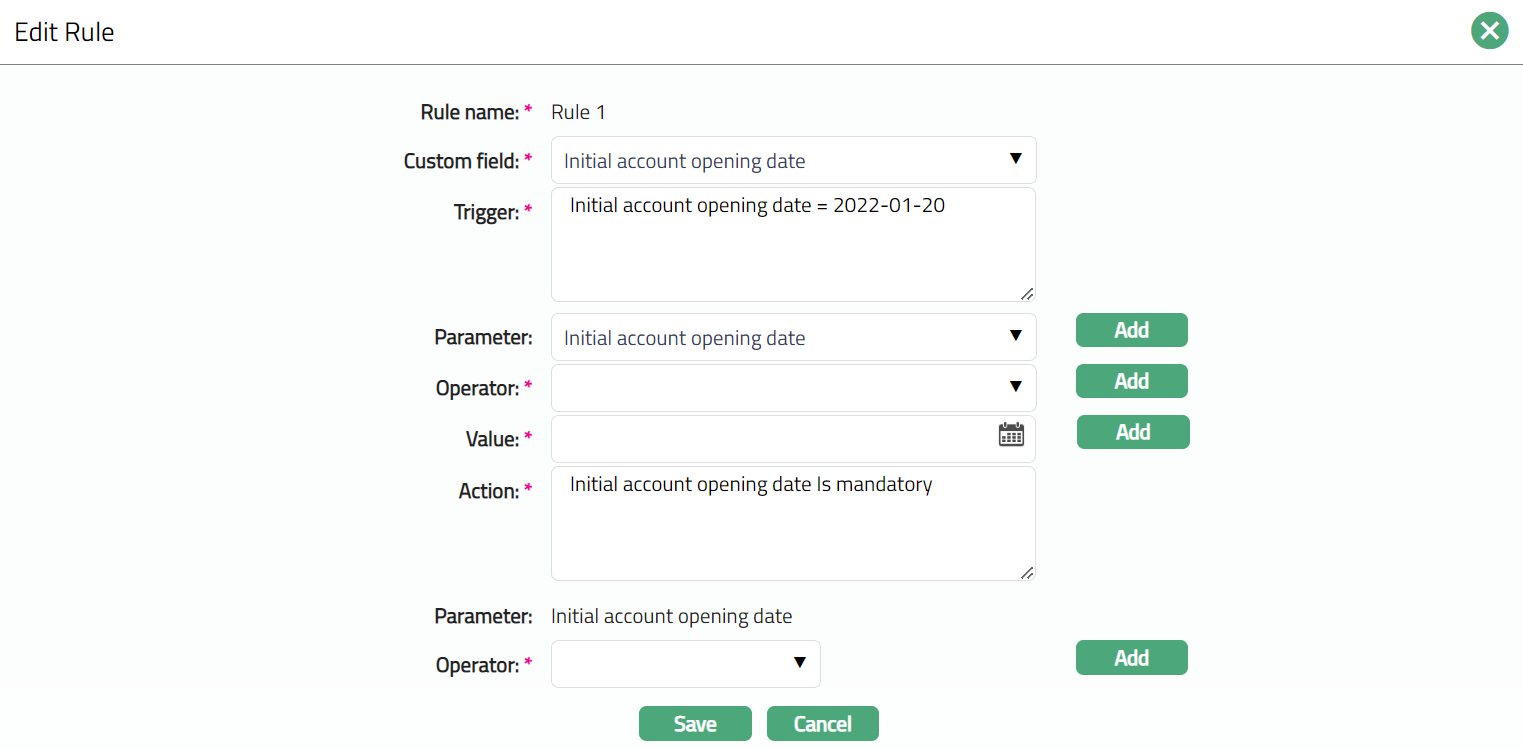
Note: Except Rule name field all other fields are editable. The Value field is enabled or disabled based on the operator selected.
- Click Save. Rule Builder page appears with the edited details.

Function: Add, Edit, Delete
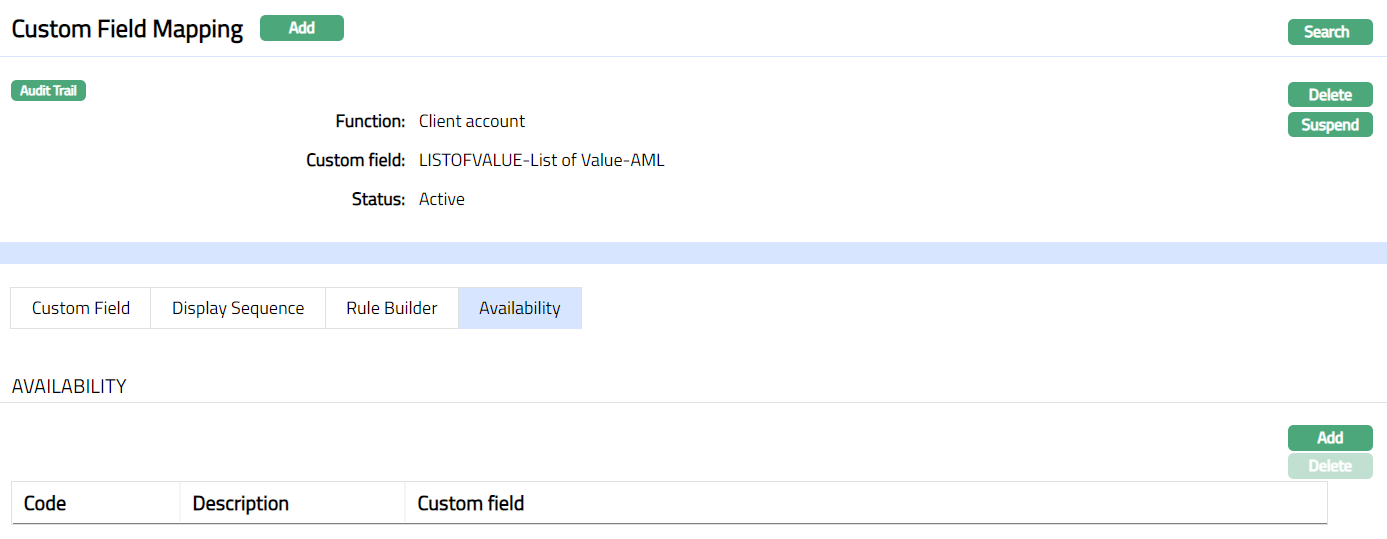
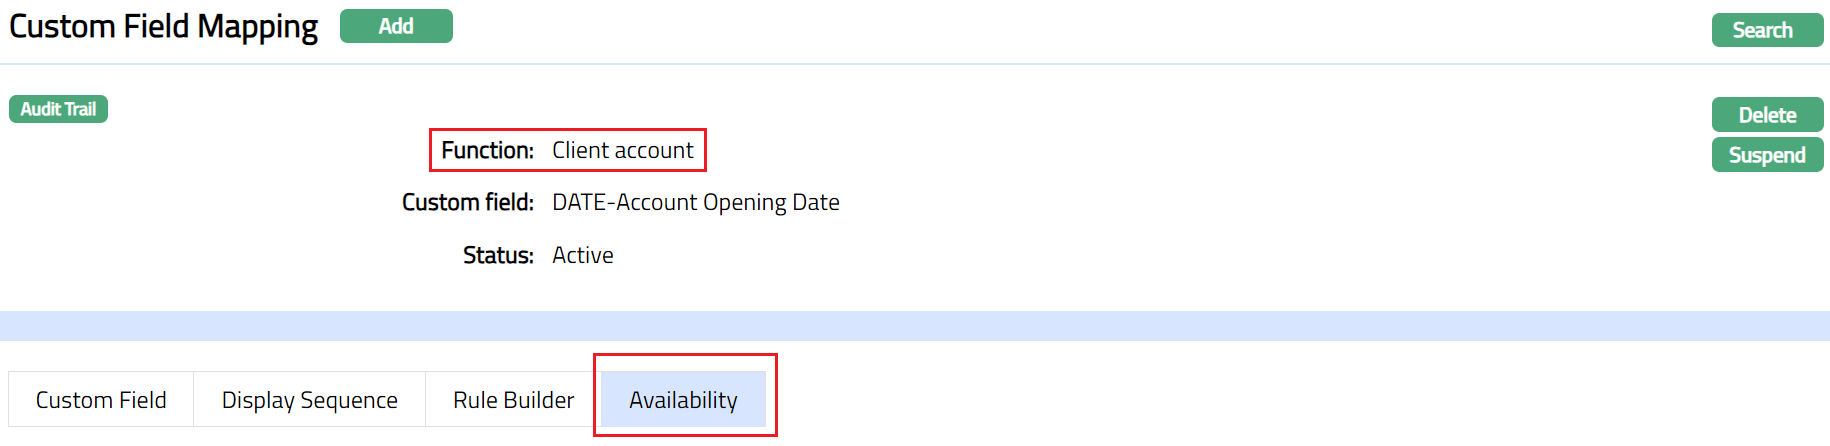
Availability
This tab will appear only if the Custom Field is mapped to the following functions:
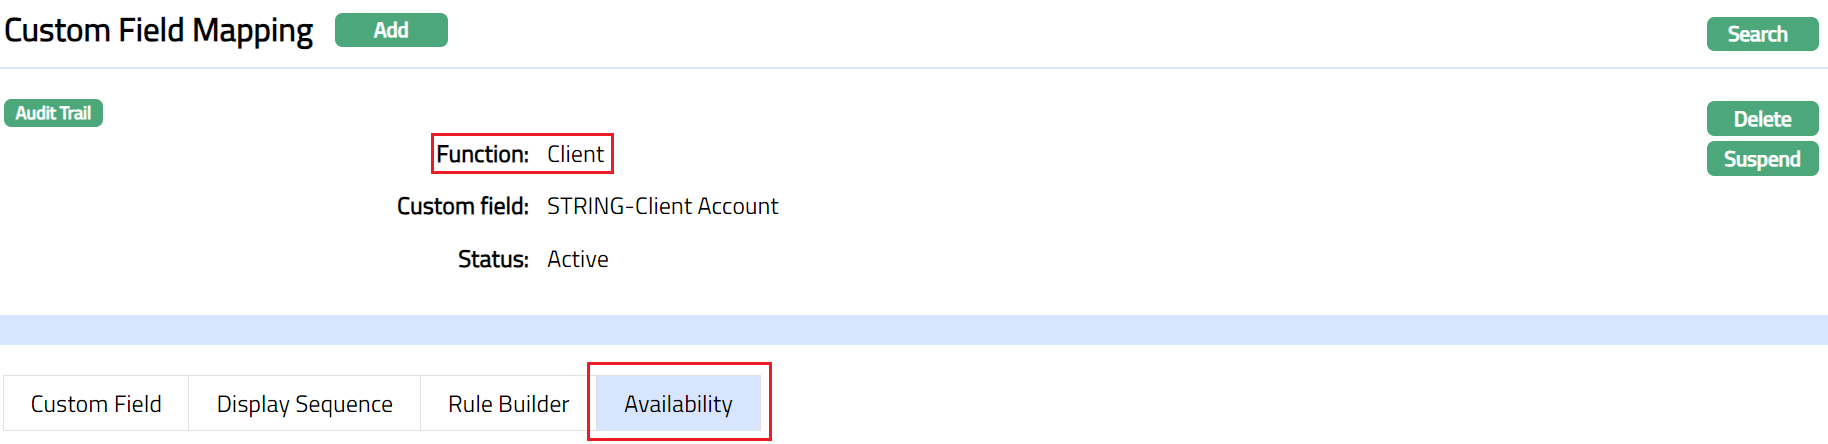
Client
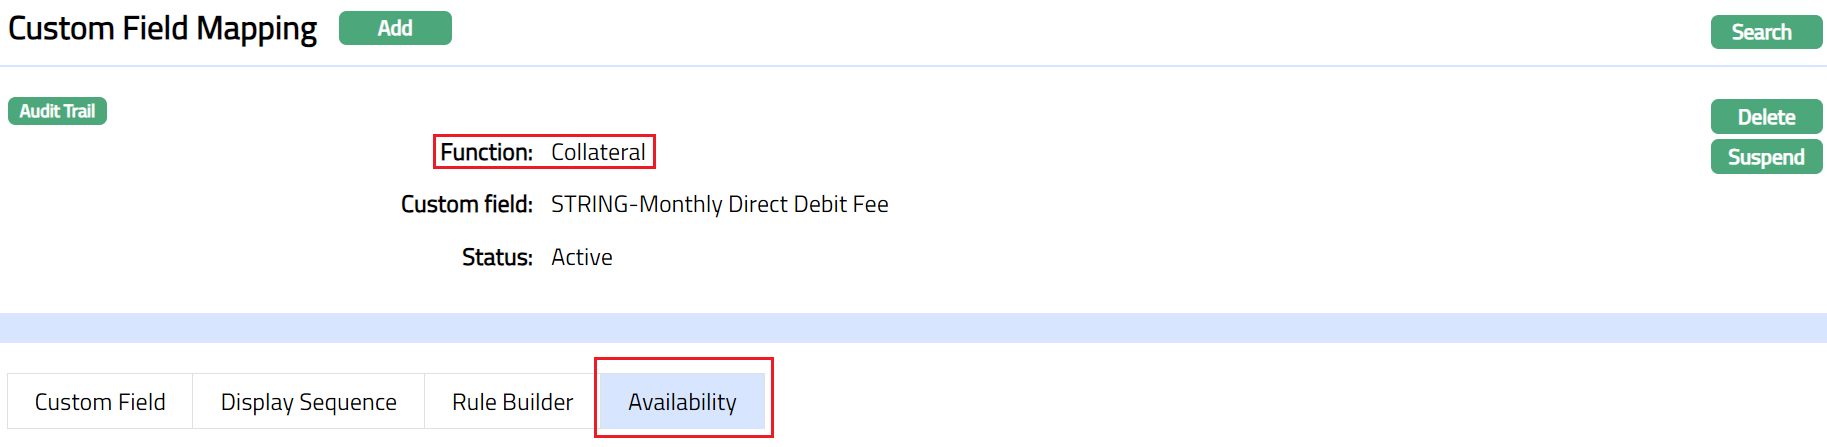
Collaterals
Client Account
Station Journal
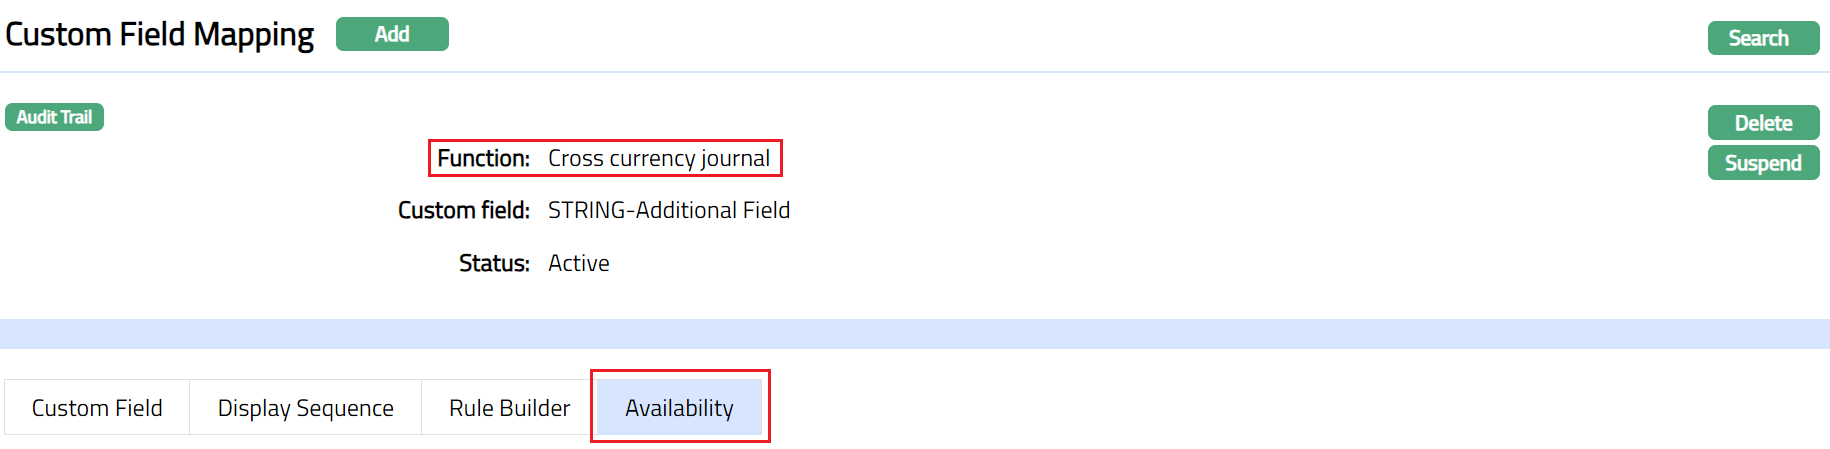
Cross currency journal
If one custom field is already mapped to a function, then Aura will not display the custom field under custom field hyper link to map again with the same function.
To add custom field availability
- Access Custom Field Mapping page and click Availability tab. Initially there will be no details. However, you can make the custom field available to the functions.
- Click Add. Add Custom Field Availability page appears. Depending on the Function chosen in New Custom Field Mapping -- Details (1/2), the field name will change.

- Based on selected Function, the field name varies.
- If Client Account is chosen as Function, then Aura will display Product field and by clicking Product hyperlink, Aura will display all the related Products. Sample screen shown below.

- If Client is chosen as Function, then Aura will display Client type field and by clicking Client type hyperlink, Aura will display all the active client types. The options are Personal, Corporate and Joint. Sample screen shown below.

- If Collateral is chosen as Function, then Aura will display Collateral type field and by clicking Collateral type hyperlink, Aura will display all the active Collateral types. Sample screen shown below.

- If Station journal or Cross Currency Journal is chosen as Function, then Aura will display Journal Template field and by clicking Journal Template hyperlink, Aura will display all the Journal Templates. Sample screen shown below.
Station Journal:

Cross Currency Journal:

Click Custom field hyperlink. Aura will display all the custom fields mapped to the function with availability type as selected. Choose a custom field which you want to make available for the Client Type / product / collateral type / Journal template.
Click Save. Availability tab appears with the added details.

Functions: Add, Delete
Delete: You can delete the added custom field by clicking on Delete button. Aura will ask for confirmation. On confirmation, the custom field will be deleted from the Availability tab. Deletion of a custom field under Availability tab, will affect new custom field mapped to a function, but not on the existing one.