Card Product
Card Product menu allows you to maintain the details of various card products that are offered by your bank to your customers. These products can be created under various types like Debit, Credit and Load. You can select the created card provider such as VISA or MasterCard. Once the card product is created, you can manage the various parameters related to it such as notification, design, charges and so on.
Following are the tabs in Card Product screen:
To add new Card Product
- From Card menu, click Settings, and then click CardProduct. Card Product Search page appears. All Card Products available in Aura appears on the page.

- Click Add. New Card Product -- Profile (1/4) page appears.
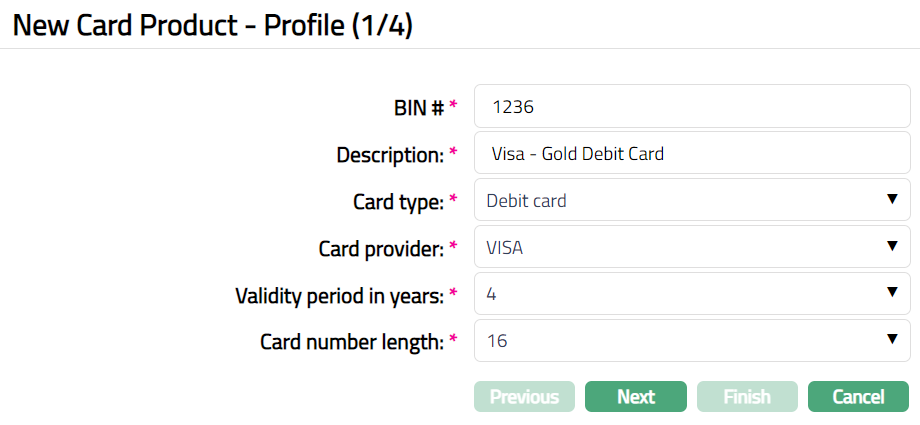
Enter BIN # i.e., Bank Identification Number. This will be the first four to six digits of the card number, identifying the provider and should be unique.
Enter Description for the card product.
Select Card type from the drop-down list of available card types. The various pre-shipped list of card types are Debit card, Credit card and Load card.
Select Card provider from the drop-down list of maintained values for the card provider. Card providers should have been maintained under Card > Settings > Card provider.
Select Validity period in years from the available drop-down list.
Select Card number length from the available drop-down list.
Click Next. New Card Product -- Settings (2/4) page appears.
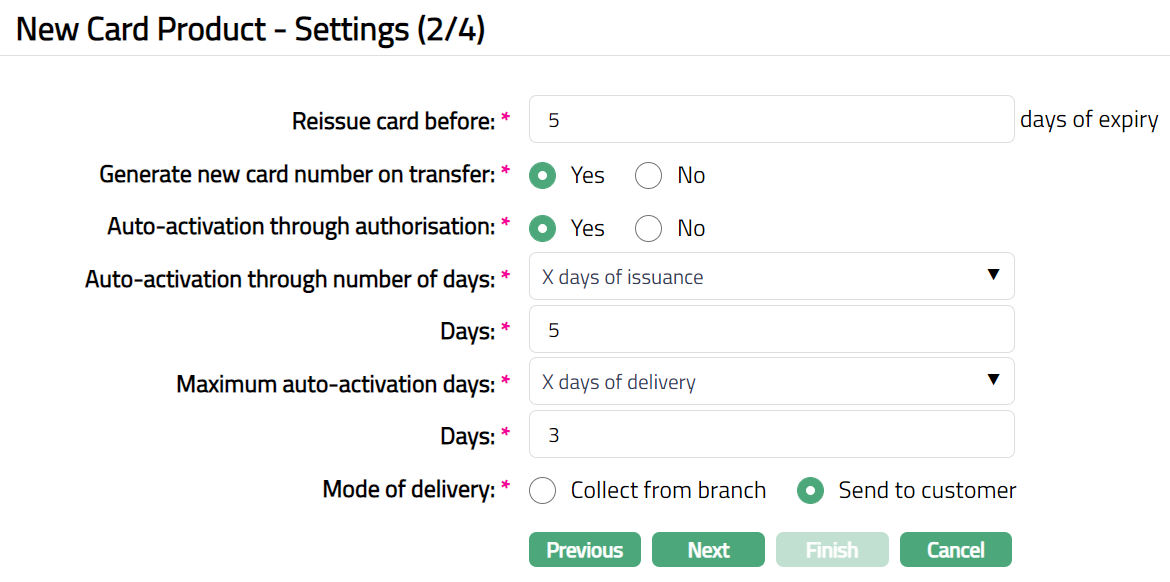
Reissue card before field, enter the number of days. This denotes the number of days before which the card re-issue process needs to start before the card gets expired.
Select option for Generate new card number on transfer. If you select Yes, then new number will be generated based on settings at account. If user selects No then new card record will have same card number as old.
Select option for Auto-activation through authorization. This sets parameters for Auto-activation through authorization, if you select yes, then card is automatically activated on first pin enabled transaction (i.e., on first swipe). If you select No, then you will have to follow the manual process of card authorization.
Select option from the auto-activation of card from the Auto-activation through number of days. This stores parameters for Auto-activation through number of days The options are:
X days of issuance -- If this option is selected, then the card is automatically activated within x days after the card is issued to the client.
X days of dispatch - If this option is selected, then the card is automatically activated within x days after the card is dispatched to the client.
X days of delivery - If this option is selected, then the card is automatically activated within x days after the card is delivered to the client.
Enter number of Days.
Select option from the Maximum auto-activation days drop-down list. This option allows you to define the maximum days till when the bank can wait for the auto -- activation of the card to happen. The options available are:
X days of issuance -- If this option is selected, then the bank will wait for x days after the card is issued. The client has to do the first transaction within the X days and the card is activated. Else the card is de-activated.
X days of dispatch - If this option is selected, then the bank will wait for x days after the card is dispatched. The client has to do the first transaction within the X days and the card is activated. Else the card is de-activated.
X days of delivery - If this option is selected, then the bank will wait for x days after the card is delivered. The client has to do the first transaction within the X days and the card is activated. Else the card is de-activated.
Enter number of Days.
Click Next. New Card Product -- Confirmation (3/4) page appears.
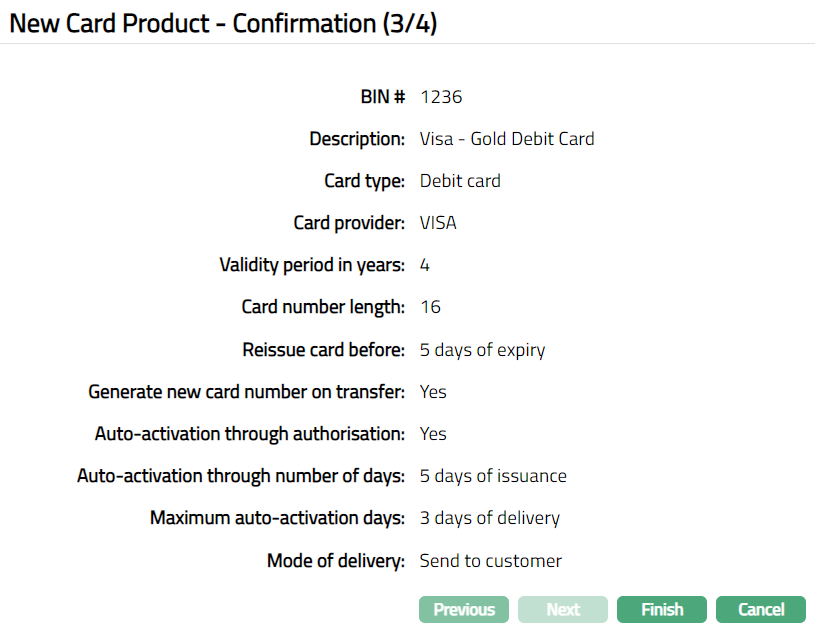
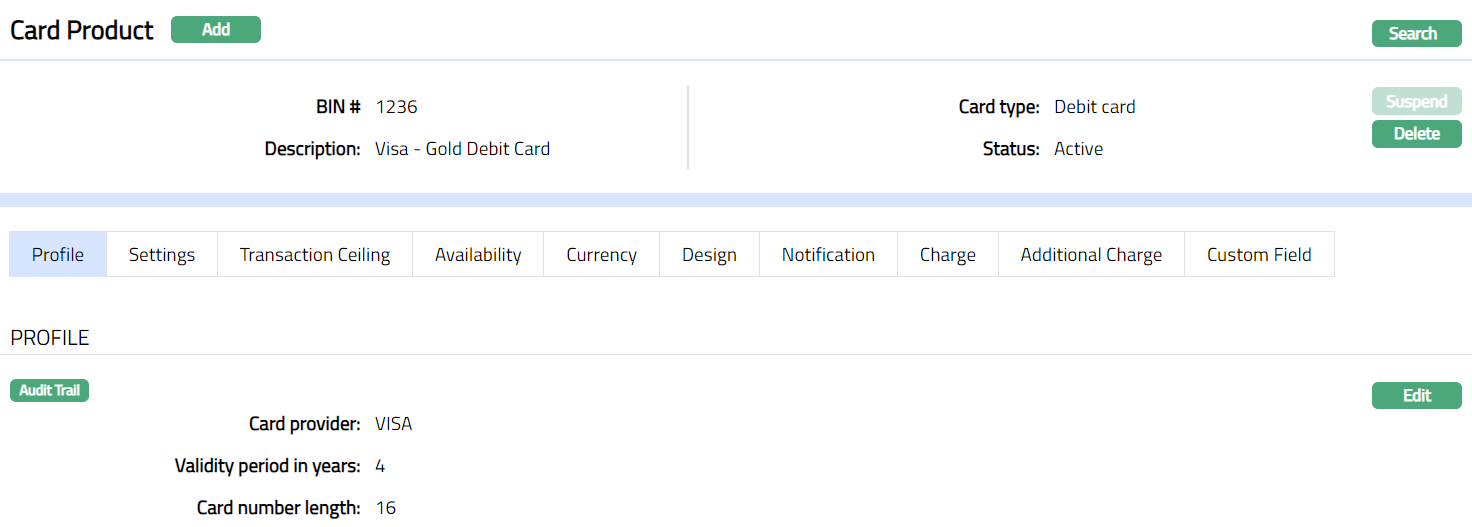
- Click Finish. Card Product page appears with the added details.
 Functions: Add, Delete, Search, Suspend
Note: Status of the Card Product is Active as soon as the product is created.
Delete: You can delete a Card Product by clicking on Delete button. When you click on Delete button, Aura displays an alert message. On confirmation Aura will delete the Card Product.
Search: You can search a Card Product saved in Aura by a click on Search button. Aura will then display Card Product Search screen where you can search for a card product by entering the related search inputs.
Suspend: You can suspend the Card Product by clicking on Suspend button. When you click on Suspend button, Aura displays an alert message. On confirmation, Aura will suspend the Card Product. Suspend button will be then renamed to Activate. Suspended products can be activated by using the Activate button.
Activate: You can activate a suspended product by clicking on Activate button. When you click on Activate button, Aura displays an alert message. On confirmation Aura will activate the product. Activation of a product only makes it available in future for any new card creation / any other dropdown list.
Profile
Profile tab, which is the default tab in the Card Product screen, shows the basic details of the Card Product.
To view / edit Profile.
- Access Card Product page. Click Profile tab to view the details as per sample below. The details are defaulted from the entries that you made during Card Product creation. For details refer to New Product -- Profile (1/4).

- Click Edit. Edit Profile window appears.

- You can edit only the following fields:
- Description
- Validity period in years
- Click Save. Profile page appears with the edited details.
 Functions: Edit
Settings
This tab will allow you to maintain the settings of the card product such as card activation, re-issuance.
To view / Edit settings.
- Access Card Product page. Click Settings tab to view the details as per sample below. The details are defaulted from the entries that you made during Card Product creation. For details refer to New Card Product -- Settings (2/4).
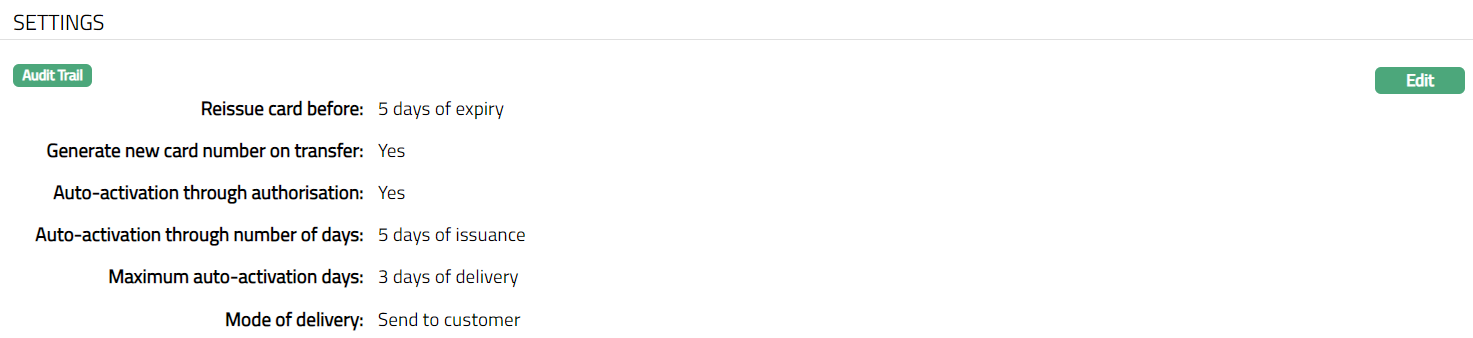
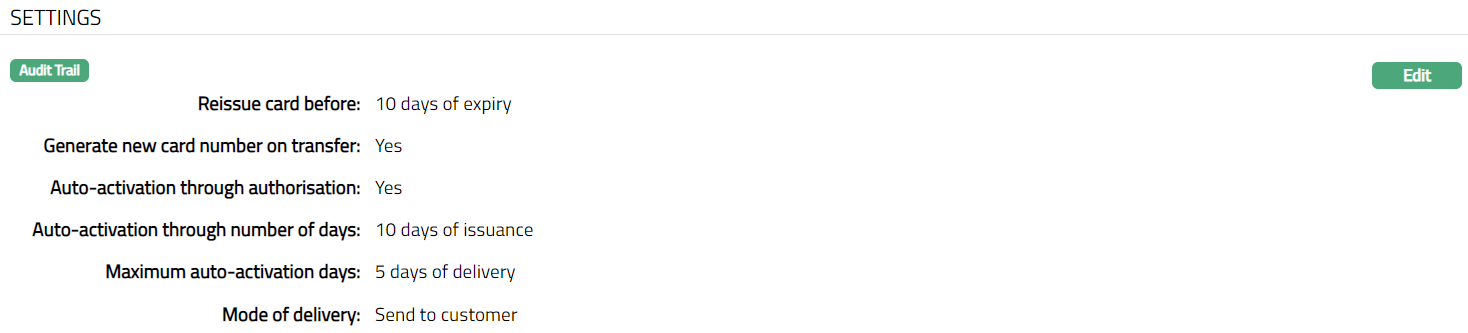
- Click Edit. Edit Settings page will appear.

Note: All fields are editable.
- Click Save. Settings page appears with the edited details.
Function: Edit
Transaction Ceiling
This tab will allow you to set the transaction limit per merchant associated with the bank. The transaction is limited either based on transaction amount per day or the maximum amount per transaction that can be swiped in the selected merchant outlet.
To set transaction ceiling
- Access Card Product page. Click Transaction Ceiling tab to view the details as per sample below.

- Select Group or Code radio button as an option for Merchant category group / code.
If Group is selected, then you can set the transaction ceiling for a merchant category group. The transaction ceiling set will be applicable for transactions made by all the merchants mapped to the selected merchant category group.
If Code is selected, then you can set the transaction ceiling for an individual merchant. The transaction ceiling set will be applicable only merchants mapping to the selected merchant category group.
- Click Add. Add Transaction Ceiling page appears.
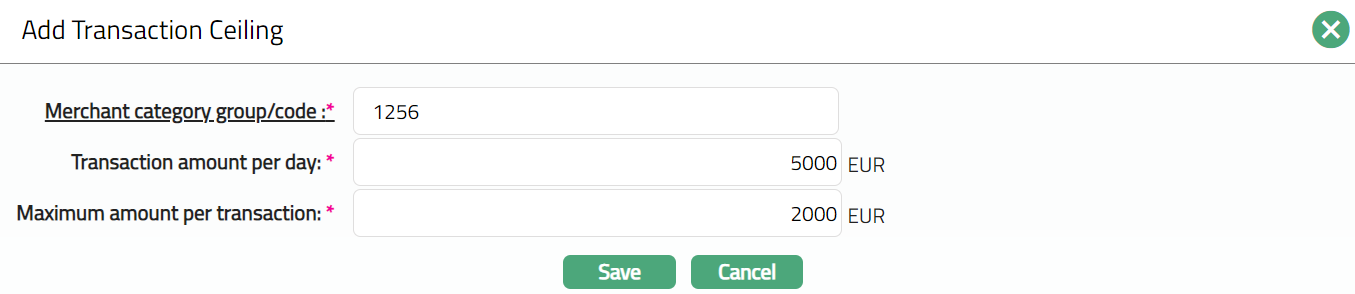
Click Merchant category group / code hyperlink. If Group is selected as an option, then list of merchant category groups are displayed on the Merchant Category Search page. If Code is selected as an option, then list of individual merchants with the codes are displayed on the Merchant Category Code Search page.
Enter Transaction amount per day. This denotes total amount that can be transacted in the selected merchant outlet or in the outlets belonging to the select merchant category group.
Enter Maximum amount per transaction. This denotes maximum amount that can be transacted in the selected merchant outlet or in the outlets belonging to the select merchant category group.
Click Save Transaction Celling page appears with the added details.

Functions: Add, Edit Delete
To edit transaction ceiling
- Click Edit. Edit Transaction Ceiling page appears.
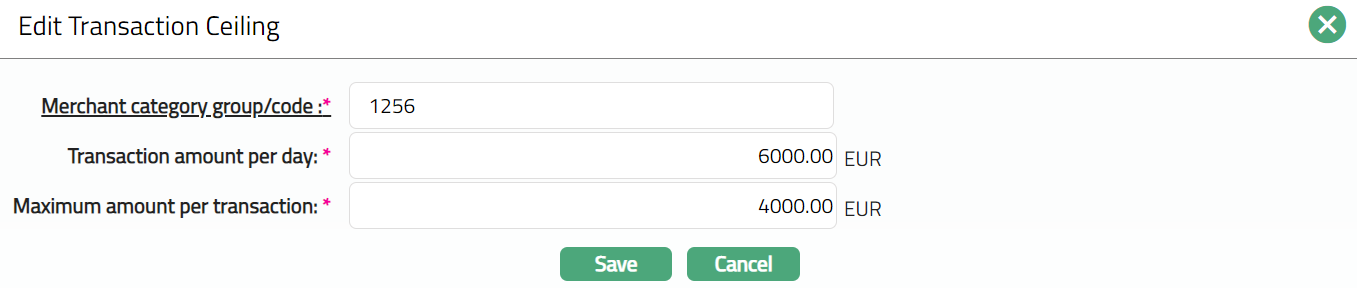
Note: All fields are editable in this page.
- Click Save. The Transaction Celling page appears with the edited details.

Functions: Add, Edit, Delete
Availability
This tab can be used to control the availability of the Product to all or a specific Branch or Transaction code or Offering or Client or Account product. It has five sub-tabs:
Availability-Branch
Using this tab, you can allow the Product to be available for all the branches or only specific branch(es).
To select branch
- Access Card Product page. Click Availability tab and then click Branch tab.

By default, All radio button is selected so that this Product is available for all Branches.
To restrict the branches for which this Product is available, click Selected radio button. Add button will be enabled.

- Click Add. Add Branch window appears where you can select the required branch from the drop-down of all active Branches as maintained under Admin > Branches > Maintain.
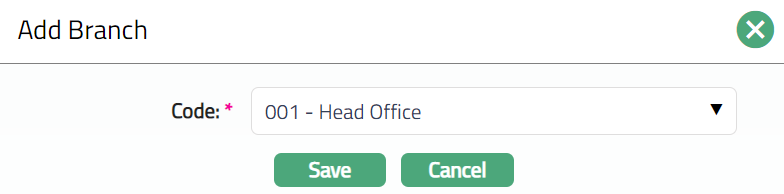
- Click Save. Branch sub tab under Availability appears with the added details. The selected branch(es) will appear in Card Product screen.
 Function: Add, Delete
Note: You may choose to allow All branches for the Card Product at any time. However, Aura will prompt you to confirm if the selected branches may be deleted. If confirmed, then all the selected branches will be deleted, and the Product will be available for ALL branches.
Availability-Transaction Code
Using this tab, you can allow the product to be available for all the transaction codes or only specific transaction code(s).
- Access Card Product page. Click Availability tab and then click Transaction Code tab.

By default, All radio button is selected so that this Product is available for all Transaction codes.
To restrict transaction codes for which this Product is available, click Selected radio button. Add button will be enabled.

- Click Add. Add Transaction Code page appears showing the transaction codes as maintained under General Ledger > Settings > Transaction code. Search for the required Transaction code with relevant criteria and select the required Transaction code.
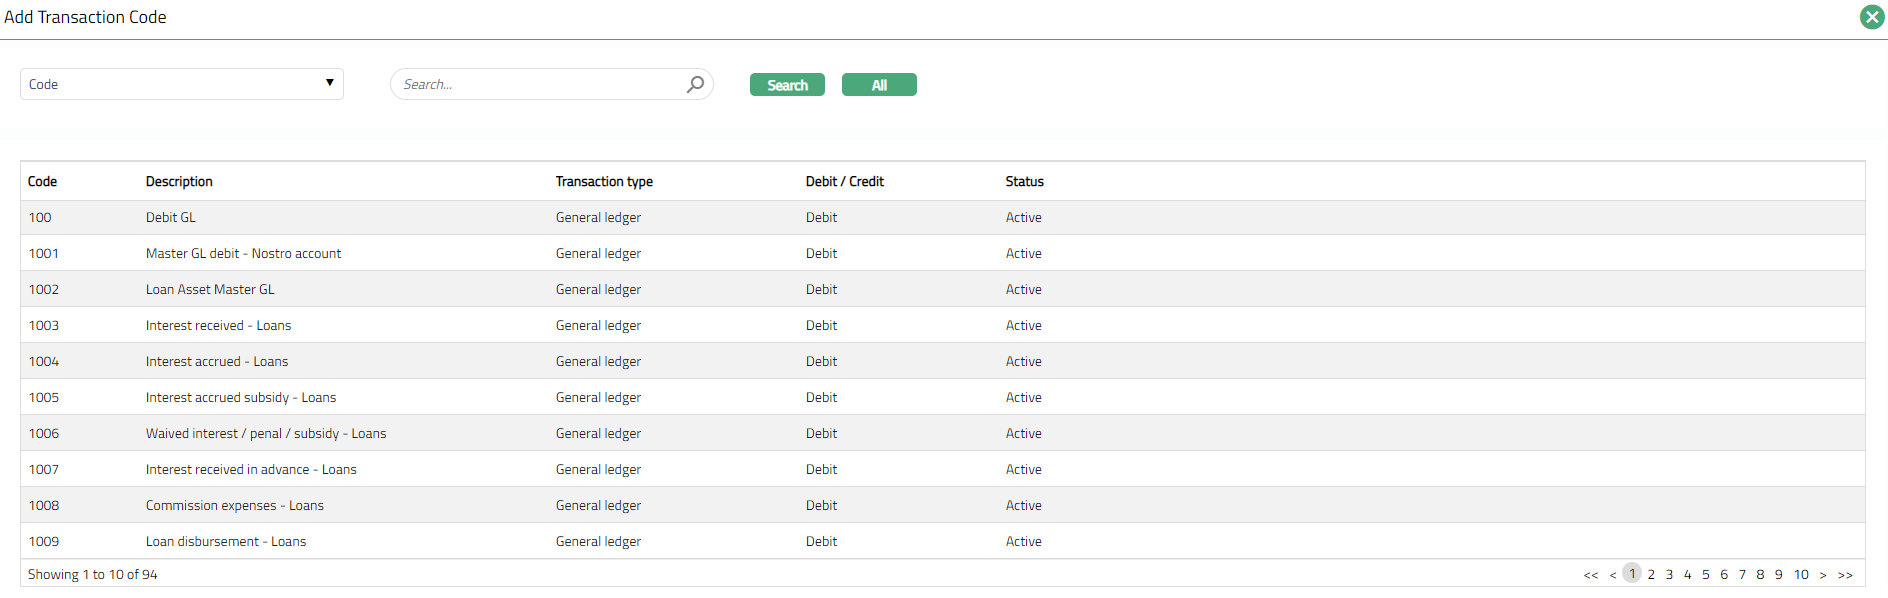
- Transaction Code sub tab appears under Availability tab with the added details as shown below.
 Function: Add, Delete
Note: You may choose to allow All Transaction codes for the Card Product at any time. However, Aura will prompt you to confirm if the selected Transaction codes may be deleted. If confirmed, then all the selected Transaction codes will be deleted, and the Product will be available for ALL Transaction codes.
Availability-Offering
Using this tab, you can allow the product to be available for all the offerings or only specific offering(s).
- Access Card Product page. Click Availability tab and then click Offering tab.

By default, All radio button is selected so that this Product is available for all Offerings.
To restrict offerings for which this Product is available, click Selected radio button. Add button will be enabled.

- Click Add. Add Offering window appears where you can select the required Offering from the available drop-down list of active Offerings as maintained under Admin > Pricing> Categories > Offering.
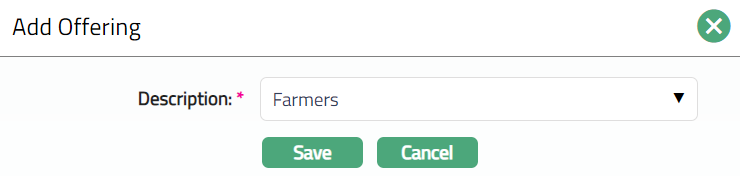
- Click Save. Offering sub tab under Availability tab appears with the added details. Selected Offering will appear in Card Product screen as shown below.
 Function: Add, Delete
Note: You may choose to allow All Offerings for the Card Product at any time. However, Aura will prompt you to confirm if the selected Offerings may be deleted. If confirmed, then all the selected Offerings will be deleted, and the Product will be available for ALL Offerings.
Availability-Client
Using this tab, you can allow the product to be available for all the clients or only specific client(s).
- Access Card Product page. Click Availability tab and then click Client tab.

By default, All radio button is selected so that this Product is available for all Clients.
To restrict clients for which this Product is available, click Selected radio button. Add button will be enabled.

- Click Add. Add client page appears, showing the clients as maintained under CRM > Clients > Maintain. Search for the required client with relevant criteria and select the required Client.
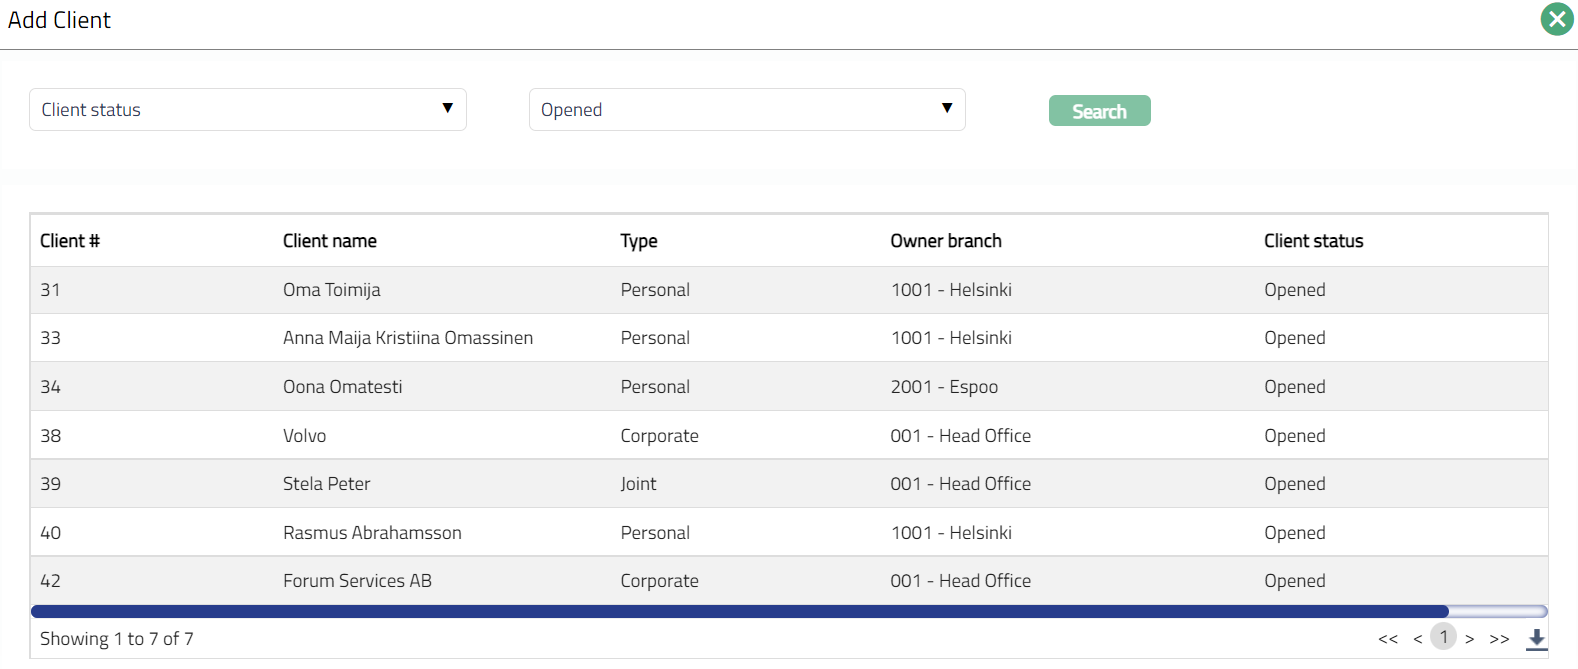
- Client Sub tab under Availability tab appears with the added client screen as shown below.

Function: Add, Delete
Note: You may choose to allow All Clients for the Card Product at any time. However, Aura will prompt you to confirm if the selected Clients may be deleted. If confirmed, then all the selected Clients will be deleted, and the Product will be available for ALL Clients.
Availability-Account Product
Using this tab, you can allow the product to be available for all the account products or only specific account product(s)
- Access Card Product page. Click Availability tab and then click Account Product tab.

By default, All radio button is selected so that this Product is available for all Account Products.
To restrict Account Product for which this Card Product is available, click Selected radio button. Add button will be enabled.

- Click Add. Add Account Product window appears, showing the list of Current account products as maintained under Retail > Settings > Product. In case of Credit Card products, this list shows only those Current account products where the Overdraft is allowed. Search for the required Account Product with relevant criteria and select the required Account Product.

- Account Product sub tab under Availability tab appears with the added details as shown below.

Function: Add, Delete
Note: You may choose to allow All Account Products for the Card Product at any time. However, Aura will prompt you to confirm if the selected Account Products may be deleted. If confirmed, then all the selected Account Products will be deleted, and the Product will be available for ALL Account Products.
Availability-Merchant Category Codes
Using this tab, you can allow the product to be available for all the account products or only specific account product(s)
- Access Card Product page. Click Availability tab and then click Merchant category codes tab.

By default, All radio button is selected so that this Product is available for all the merchants maintained in Aura.
To restrict Merchant code for which this Card Product is available, click Selected radio button. Add button will be enabled.

- Click Add. Merchant category code search window appears, showing the list of merchant codes as maintained under Card > Settings > Merchant category. Search for the required merchant code with relevant criteria and select the required Account merchant code is provided. The selected merchant code will appear in Card Product screen as shown below.
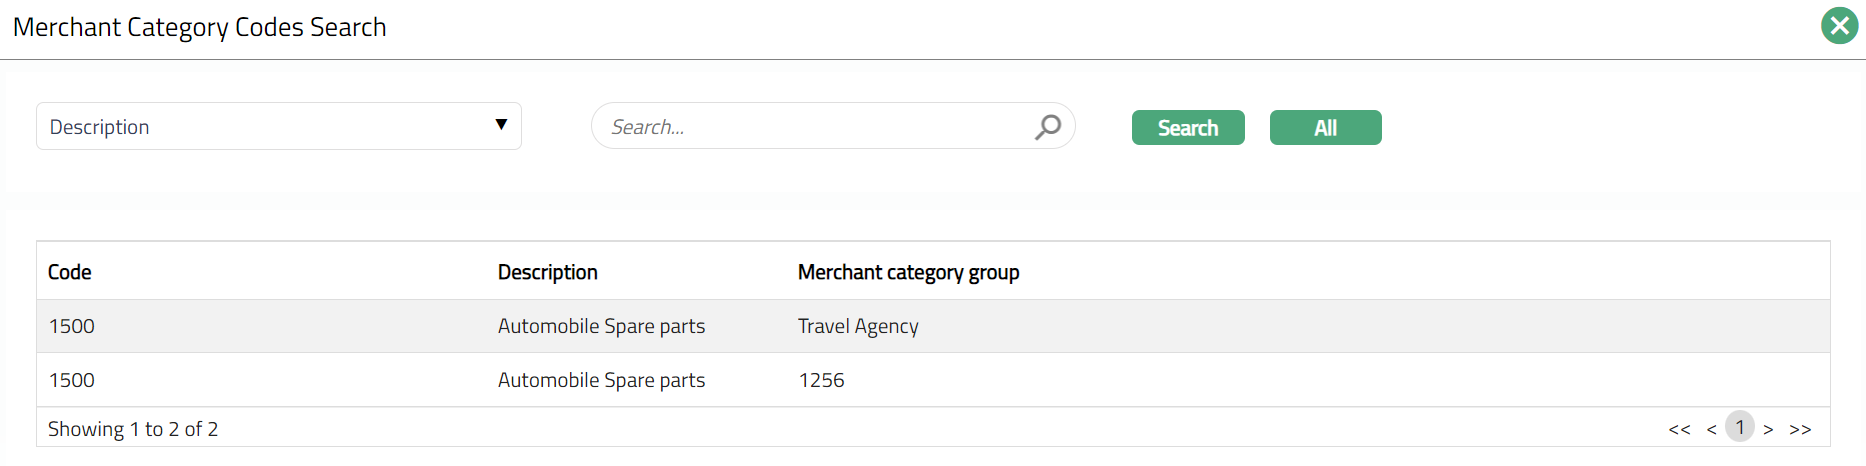
- Merchant category code sub tab under Availability tab appears with the added details as shown below.

Function: Add, Delete
Currency
The Currency tab allows you to maintain the currency for the Card Product. Cards under the Product can be issued only in these currencies.
- Access Card Product page. Click Currency tab to view the details.

By default, All radio button is selected so that this Product is available in all currencies under General Ledger > Settings > Currency.
To restrict Currencies in which this Product is available, click Selected radio button. Add button is now enabled.

- Click Add. Add Currency window appears, where you can select the required currency from the dropdown list of the active currencies as maintained under General Ledger > Settings > Currency. Only those active currencies that are not already added for the Card Product will be displayed.
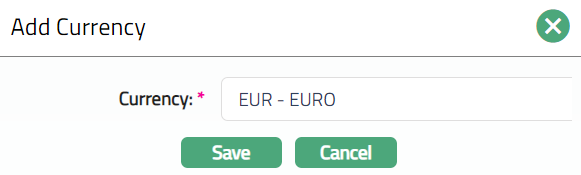
- Click Save. Currency page appears with the added details.
 Functions: Add, Delete
Note: You may choose to allow All Currencies for the product at any time. However, Aura will prompt you to confirm if the selected Currencies may be deleted. If confirmed, then all the selected Currencies will be deleted, and the product will allow All Currencies to be used.
Design
The Design tab allows you to add and maintain design of the Card Product.
- Access Card Product page. Click Design tab to view the details as per sample below.

- Click Upload. New Design window appears.
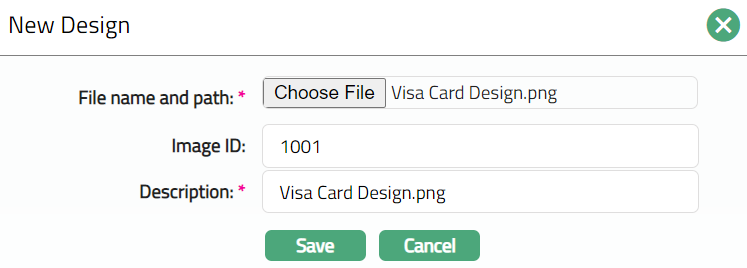
Select desired card design image file saved in your system by clicking the Choose File button.
Enter Image ID.
Description will be defaulted to the name of the selected image file with the ability for you to make changes.
Click Save. Design page appears with the added details.

Functions: Upload, Delete
- Click Delete to delete the uploaded image. Aura will prompt you to confirm if the uploaded image may be deleted. When confirmed, the image will be deleted.
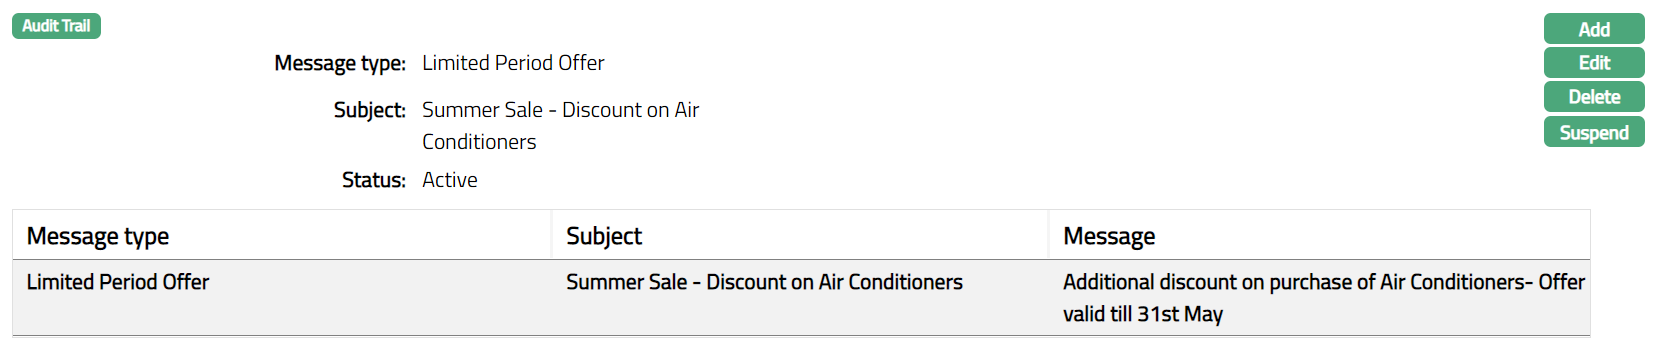
Notification
Notification tab allows you to create, view and maintain messages for a Card Product that will be sent to the client.
- Access Card Product page. Click Notification tab to view the details as per sample below.

- Click Add. Add Message window appears.
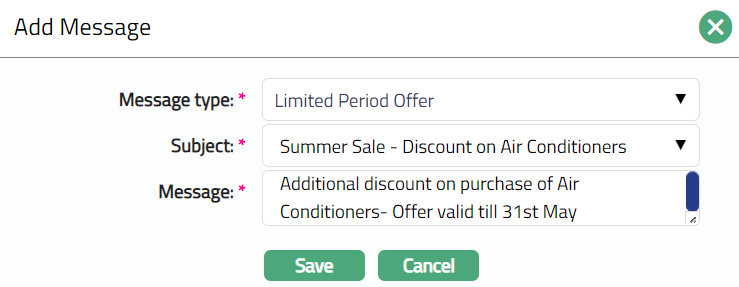
Select any of the Message type from the drop-down list of the active Message type as maintained under Card > Settings > Message type.
Enter Subject of the message.
Enter Subject of the message.
Enter Message.
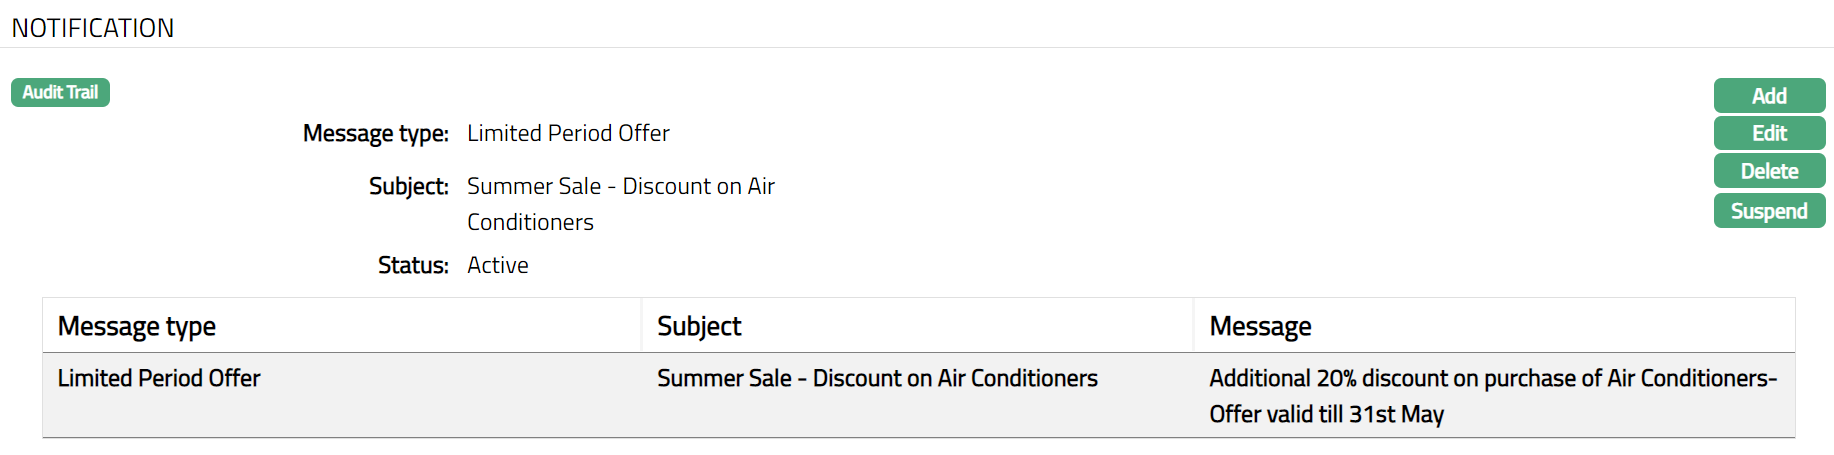
Click Save. Notification page appears with the added details.
Functions: Add, Edit, Delete, Suspend
Delete: You can delete a Notification by a click on Delete button. When you click Delete button, Aura displays an alert message. On confirmation Aura will delete the Notification.
Suspend: You can suspend the Notification by a click on Suspend button. When you click Suspend button, Aura displays an alert message. On confirmation Aura will suspend the Notification. Suspending a Notification only makes it unavailable in future for any new account creation / any other dropdown list. Existing accounts under the product continue without any impact. Suspended Notifications can be activated by using Activate button.
To edit Notification message
- Click Edit. Edit Message page appears.
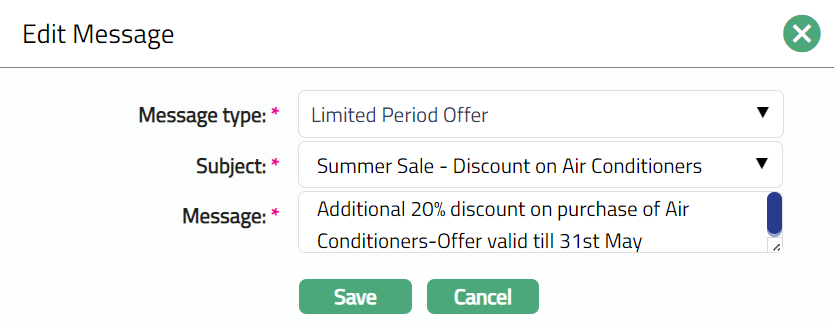
Note: All fields are editable in this page.
- Click Save. Notification page appears with the edited details.
Functions: Add, Edit, Delete, Suspend
Charge
Charge tab allows you to maintain, view and edit the details of different charges for cards under the Card Product.
- Access Card Product page. Click Charge tab to view the details as per sample below.

- Click Edit. Edit Charge window appears.
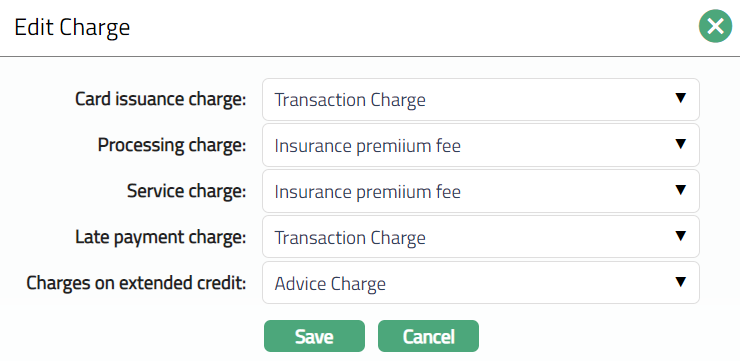
If you want to levy a charge for issuing the Cards under this Card Product, select the Card issuance charge from the drop-down list of Active Charges where the Charge Type is Transaction, Flat or Banded maintained at Admin > Pricing > Charges > Charges. The charge amount is collected upon issuance of the card.
If you want to levy a charge for processing the Card under this Card Product, select the Processing charge from the drop-down list of Active Charges. Banded maintained at Admin > Pricing > Charges > Charges, where the Charge Type is Periodic or Flat. The charge amount is collected upon issuance of the card.
When you want to levy Service charges for the Cards under this Product, select the Service charge from the drop-down list of Active Charges maintained at Admin > Pricing > Charges > Charges, where the Charge Type is Periodic Flat or Banded The charge amount is collected upon issuance of the card.
When you want to levy a late payment fee, select the Late payment charge from the drop-down list of Active charges maintained at Admin > Pricing > Charges > Charges where the Charge Type is Transaction, Flat or Banded. The charge amount is collected when a user pays after the due date.
When you want to levy a charge on extended credit, select the Charges on extended credit from the drop-down list of Active Charges maintained at Admin > Pricing > Charges > Charges, where the Charge Type is Transaction, Flat or Banded. The charge amount is collected when a user extends the assigned credit.
Click Save. Charge page appears with the edited details.
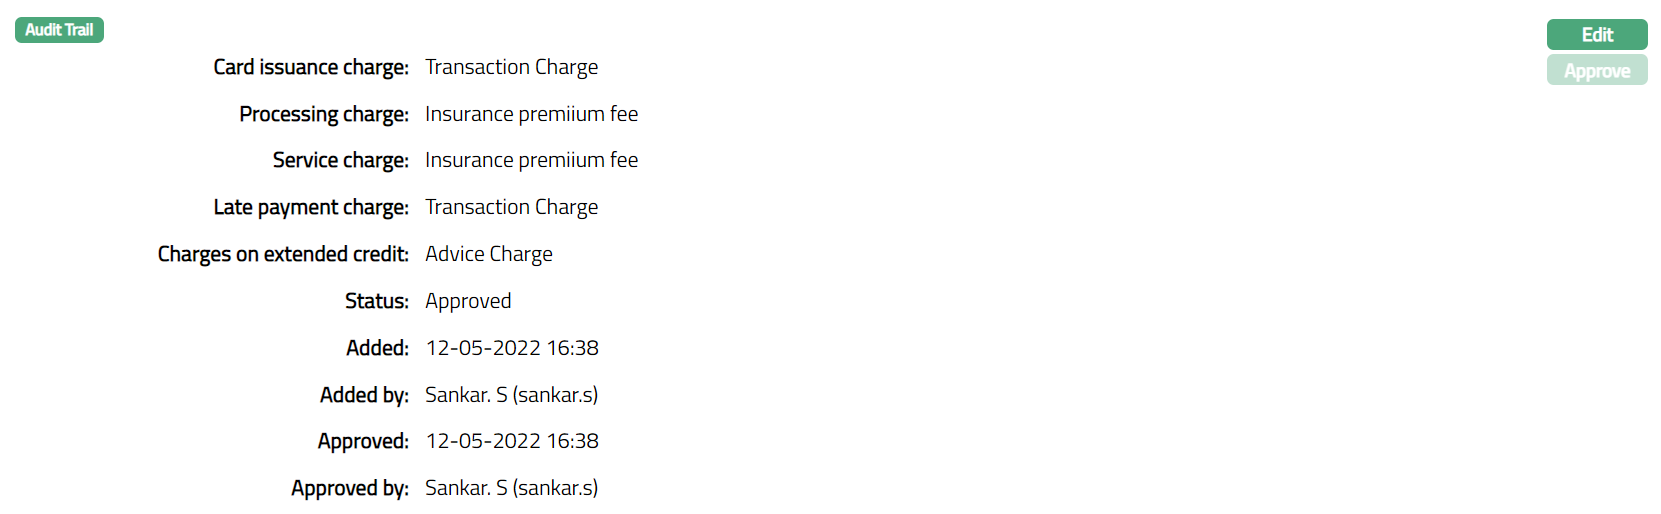
Functions: Edit, Approve
Note: Once the charge is added or any changes made, the charge tab will be in the Pending status. On Approval, the charges will be applicable on the new Accounts created based on this product.
Additional Charge
The Additional Charge tab allows you to view and maintain additional charges for the Product -- apart from the ones that are specified under Charges tab.
- Access Product page. Click Additional charge tab if any additional charges had already been added, these would be displayed; else, it will be blank.

- Click Add. Add Additional Charge page appears. Charge id is displayed by default.
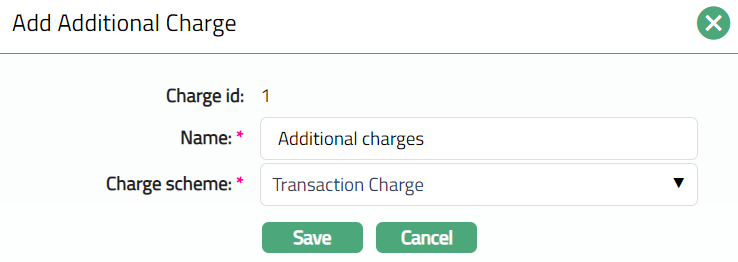
Enter Name of the additional charge to be added.
Select Charge scheme for the Additional Charge from the drop-down list which must be maintained under Admin > Pricing> Charges > Charges. You can add any Periodic charge -- whether Flat or Banded. If Banded, the Current balance will be taken as the basis for the charge.
Click Save. Additional Charge page appears with the added details.
 Functions: Add, Edit, Delete.
To Edit Additional Charge
- Click Edit. Edit Additional Charge page appears.

Note: Except Charge id all other fields are editable.
- Click Save. Additional Charge page appears with the edited details.

Functions: Add, Edit, Delete
Custom Field
This option provides you the flexibility to define fields apart from those that are already available in the standard version of Aura. Thus, it enables you to customize additional data storage and use as required to suit your specific business needs.
- Click Custom Field tab. Custom field page appears.

Custom field appears only when it is created in Admin > System codes > Custom fields > Custom fields and linked to specific Accounts option in Admin > System codes > Custom fields > Field mappings. Based on the rule set in the rule builder at Admin > System codes > Custom fields > Field mappings, certain custom maintenance will be mandatory.
Click Edit. Edit Custom Field page appears. In the following illustration, a custom field, Card Product Launch Date has been mapped to the Product as shown below:

Enter Card Product Launch Date. This is the custom field mapped to client account at Admin > System codes > Custom fields > Field mappings,
Click Save. Custom Field page appears with the edited details.
 Functions: Edit
Note: Custom field functionality has been explained in detail in Admin > Custom field manual.