Payment Template
Payment Template menu allows you to maintain the settings on the basis of which payment transactions take place.
Each template defines how Aura determines the debit source, applicable product types, and account selection rules during Net Settlement or Credit Transfer operations. The configuration you maintain here controls all backend behaviour linked to Template type, Product type and Debit Account logic, ensuring that only valid accounts, ledgers, or product categories can be selected during payment initiation.
The tabs that are shown under Payment Template are:
To add a new Payment Template
1. From Retail menu, click Settings, then Payment Template. Payment Template Search page appears. All Payment Template records available in Aura appear on the page.

2. Click Add. New Payment Template → General (1/2) page appears.
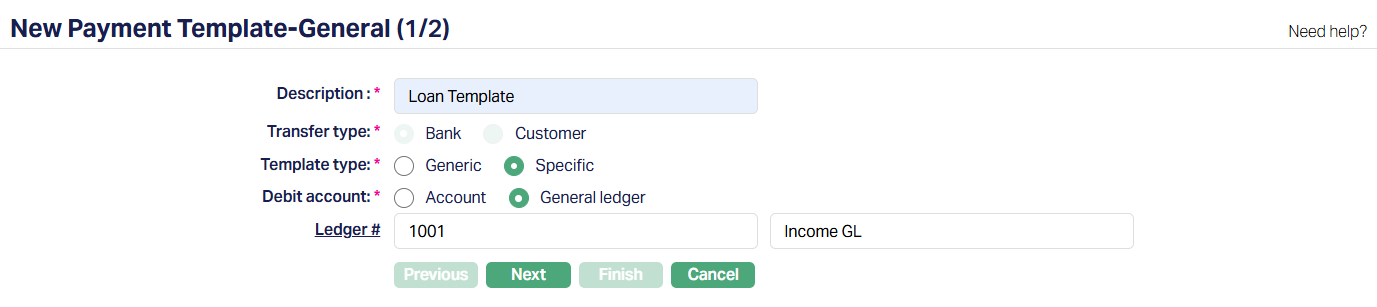
3. Enter Description for Payment template.
4. Transfer type is displayed as a radio-button field with the options Bank and Customer. Aura currently defaults it to Bank and does not allow you to change this value.
5. Select Template type by selecting the radio buttons. The available options are Generic and Specific.
If you select Generic - Aura displays a drop-down of Product type. This field is populated with specific Product Types maintained under Retail > Settings > Product defined for this functionality -
- Credit Card Account
- Client Account
- Marketplace Loan
- Mortgage and Loan
(Please refer to the sample screenshot shown below.)

If you select Specific - Aura displays radio buttons under Debit Account, allowing you to choose whether the debit entry is made against - Account or General Ledger. (Please refer to the sample screenshots shown below.)

Depending on your selection, Aura displays the corresponding Ledger # or Account # field.
6. Ledger # and Account # is used as an intermediary ledger for Outgoing / Incoming payments. Enter the required Ledger # or Account # that will be used as the Transit Ledger to record all such transactions under this Payment Template. Clicking the hyperlink will open the respective search screen.
7. Click Next. New Payment Template → Confirmation (2/2) page appears.
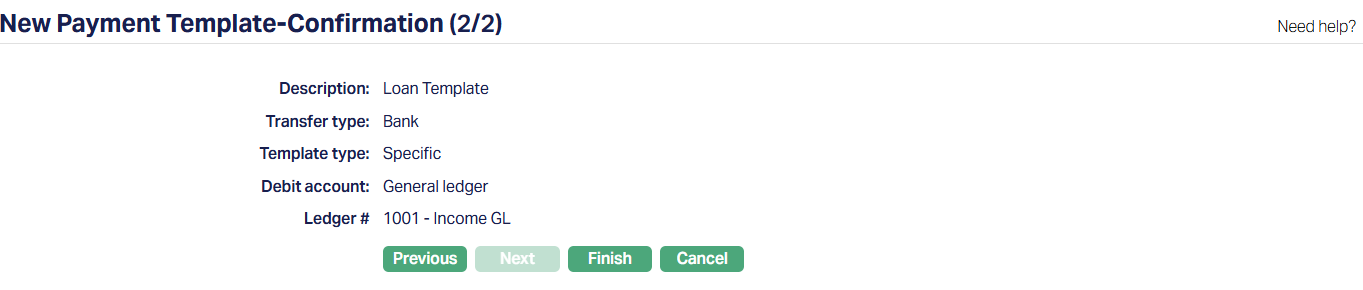
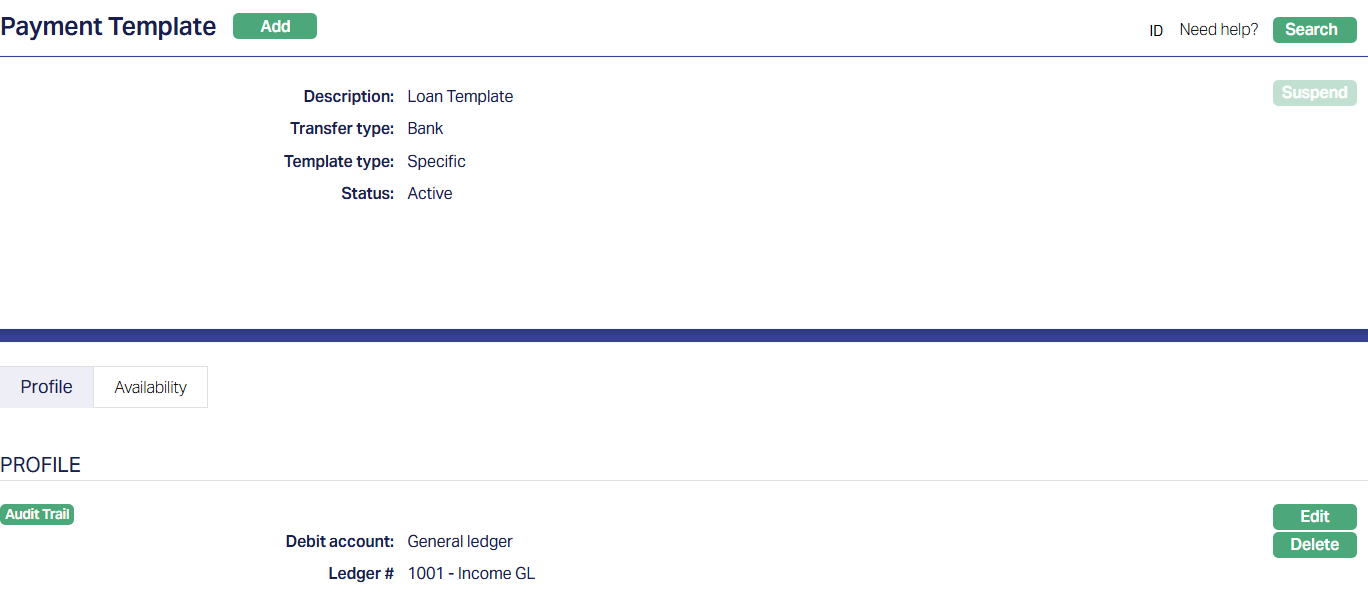
8. Click Finish. Payment Template page appears. A new Payment Template is created, and you will see the Status of the Payment Template as Active.
Tabs Overview:
Common Tab - Header Pane
Visible across all tabs containing the Description of the template along with Transfer type and Template type that was entered while creating the account.
The Common Tab also displays the status of the Payment Template - whether it is Pending or Approved.

Functions: Add, Suspend.
Suspend: You can suspend a Payment Setting record by clicking on the Suspend button. When you click on the Suspend button, Aura will ask for confirmation. On confirmation, Aura will suspend the Payment Setting and Activate button will appear in place of the Suspend button. Once the Payment Setting is suspended, then it becomes unavailable for use in Aura and Payment Grid. However, suspended Payment Setting records can be activated by using the Activate button.
Profile
The Profile Tab, which is the default screen in the Payment template screen, shows the basic details of the Payment template. Refer New Payment Template → General (1/2) for details.

Functions: Edit, Delete.
To edit,
1. Access Payment template screen. Profile tab is displayed by default.
2. Click Edit. Edit Payment template page appears.
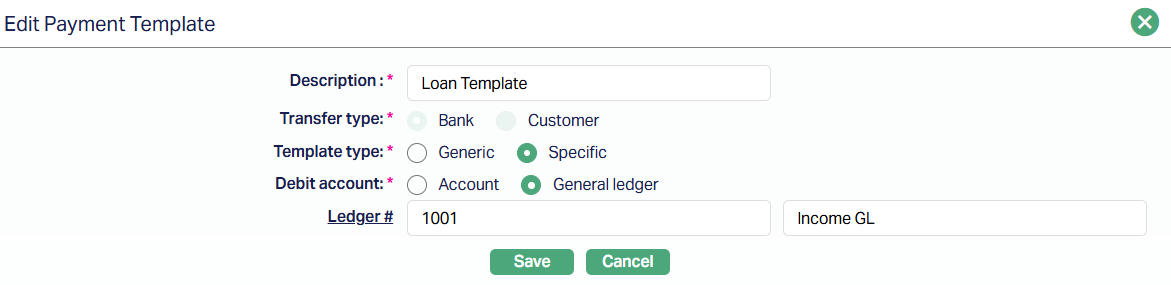
All fields are editable except Transfer type which is system default.
3. Click Save. After Saving, Payment Template page appears with the edited details.
Delete: To delete the Payment Template, click Delete. However, Aura will prompt you to confirm if the Template has to be deleted. If confirmed, then the Template will be deleted.
Availability
The Availability tab allows you to define whether a Payment Template can be used by all Roles/Users or only by specific Roles/Users. Using this tab, you can restrict which Role or User is permitted to apply the Payment Template during payment-related operations. This ensures that only authorized users can initiate or select the template when performing payment transactions.
To define role or user-based availability
1. Access the Payment Template screen and navigate to the Availability tab.

By default, the Role/User sub-tab is selected.
2. Choose whether you want to allow the template for Role or User by selecting the corresponding radio button. You can toggle between Role and User and assign availability accordingly.
- If you switch from Role to User or User to Role after making selections, Aura will ask for confirmation, whether you want to delete the selected Role/User. Only on confirmation, you can switch between User and Role.
3. Click All radio button if you want all the Role/User to be allowed to use this Payment Template.
When Role is selected:

When User is selected:

4. To restrict the Role/User that are available under this Payment Template, click Select radio button. When Select is chosen, the Add button becomes enabled.
When Role is selected:

When User is selected:

Adding Role/User
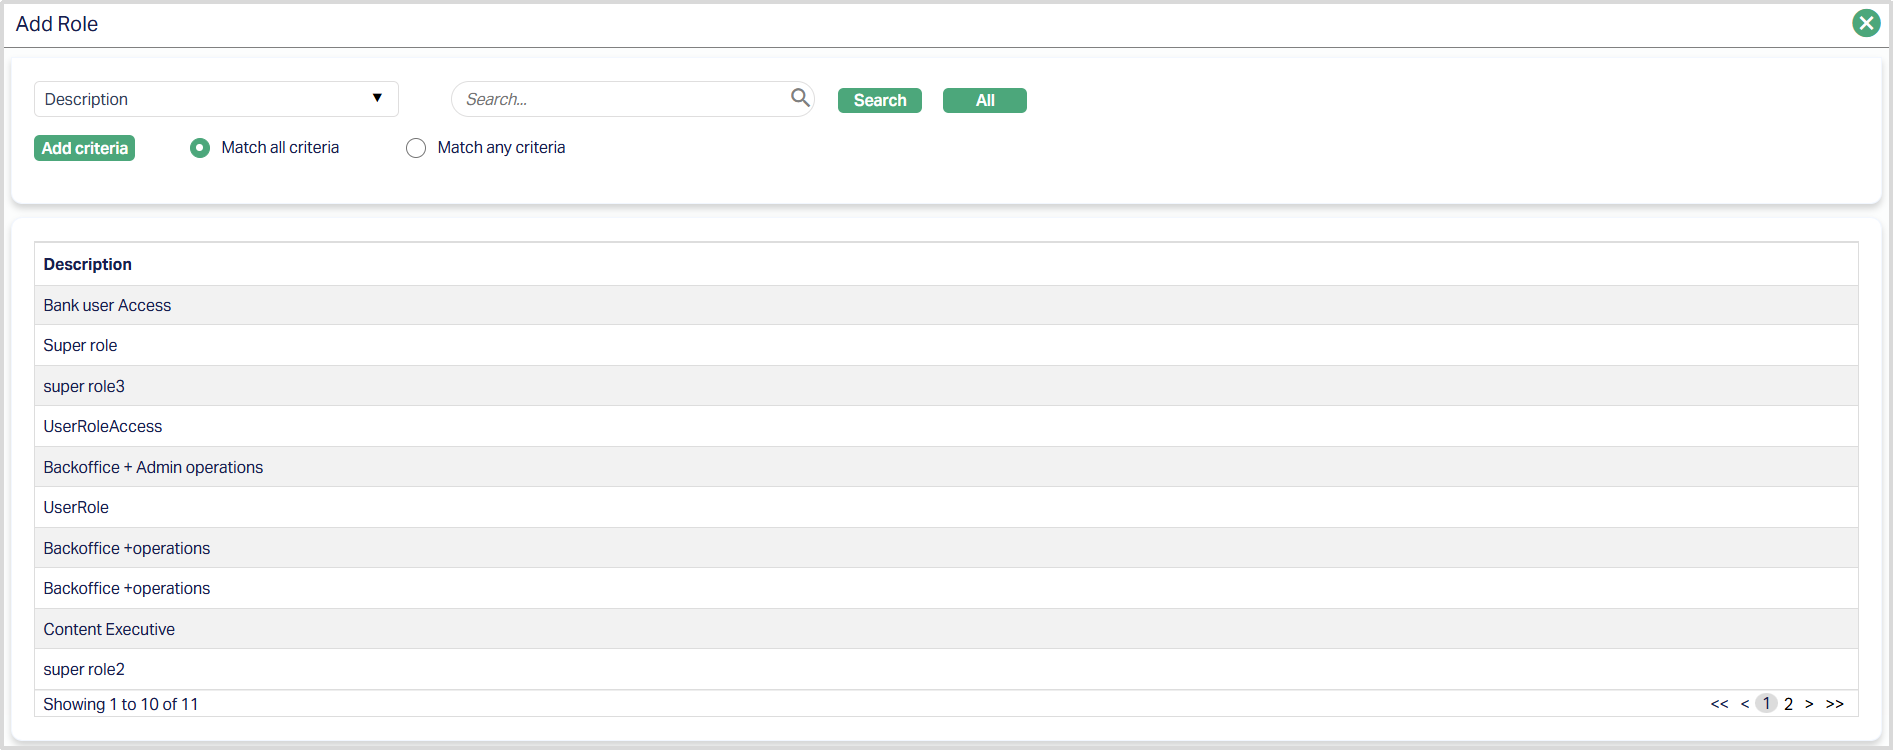
5. When Role is selected:
- Click Add. Aura opens the list of Roles maintained under Admin > Users > Roles. Search for and select the required Role.
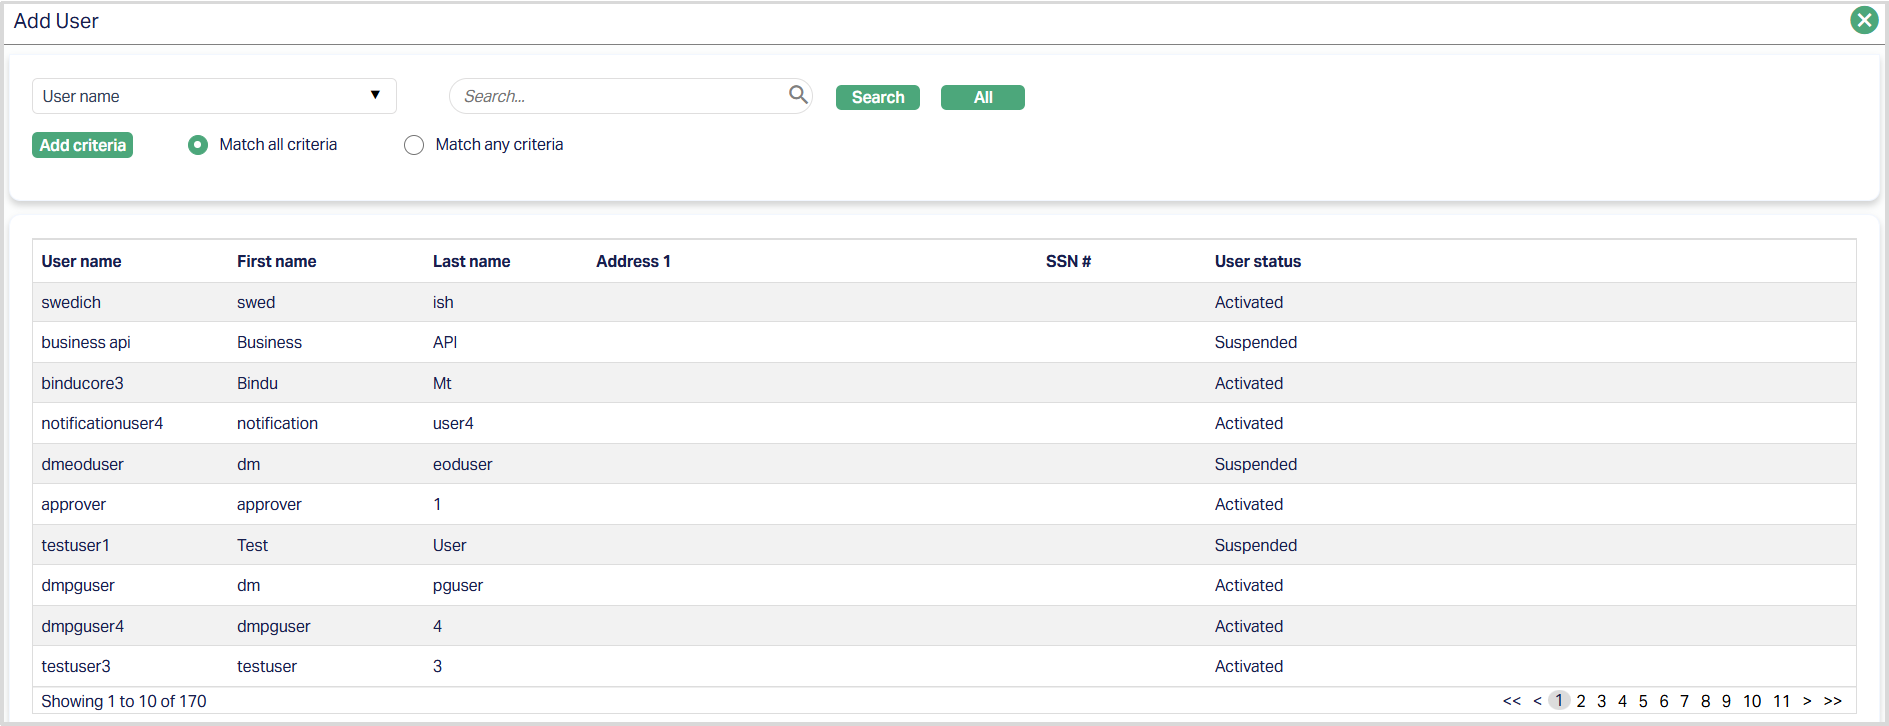
6. When User is selected:
- Click Add. Aura opens the list of Users maintained under Admin → Users → Maintain. Search for and select the required User.
Added Role

Added User

Functions: Add, Delete.
Delete: You can delete the Role/User saved in Aura by clicking on the Delete button. Aura will ask confirmation, on approving which the selected record will be deleted.
Notes:
- You may switch between All and Select any time. If switching from Select to All, Aura will ask for confirmation and delete all selected Roles/Users before applying the All access.
- This configuration directly controls whether the Payment Template will appear in the drop-down during payment initiation screens such as Net Settlement → Credit Transfer.
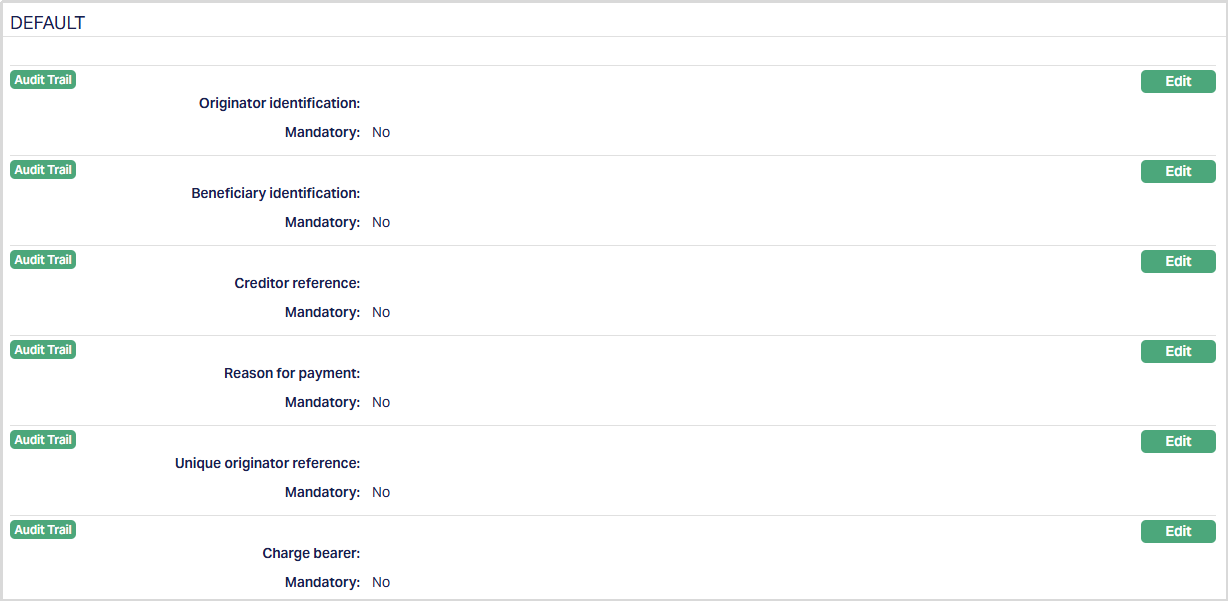
Default
The Default tab allows you to maintain default values for payment-related fields that will be automatically populated during Credit Transfer processing based on the selected Payment Template.
Aura also allows you to modify the defaulted values during Credit Transfer processing before submitting the transaction.
The following fields are available under the Default tab:
- Originator identification
- Beneficiary identification
- Creditor reference
- Reason for payment
- Unique originator reference
- Charge bearer
To edit Default values,
1. Access the Payment Template screen and navigate to the Default tab.
2. Click Edit corresponding to the required field. The Edit Payment Template Default screen appears.

3. Depending on the selected parameter, perform one of the following:
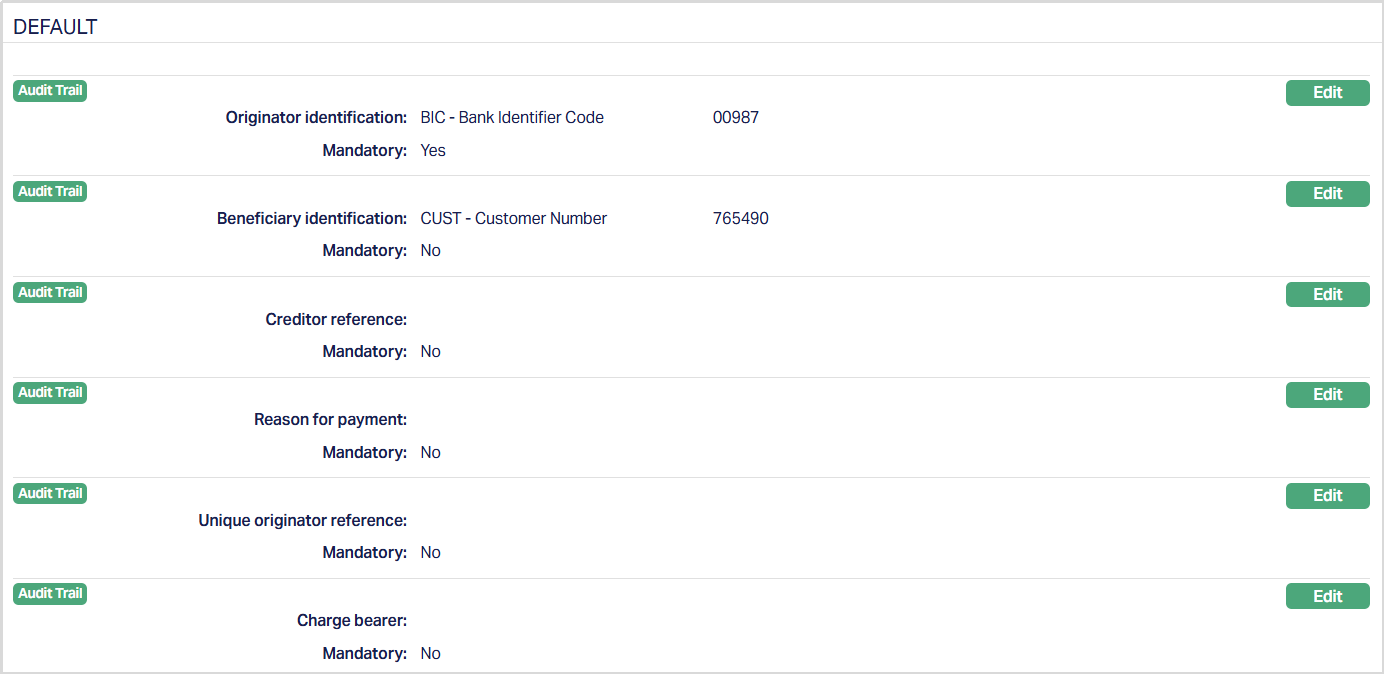
- For drop-down based parameters such as Originator identification, Beneficiary identification, and Charge bearer, select the required value from the drop-down list. Where applicable, enter the corresponding value in the text field displayed next to the drop-down.
- For text based parameters such as Creditor reference, Reason for payment, and Unique originator reference, enter the required value in the text field.
4. Select Yes or No for mandatory.
- If Mandatory is selected as Yes, the field becomes mandatory during Credit Transfer processing when this Payment Template is selected. Aura allows you to configure Mandatory as Yes even when a default value is not maintained.
- If Mandatory is selected as No, the field remains optional.
5. Click Save. Aura saves the configuration and displays the updated value in the Default tab.
Function: Edit