Loan Change of Terms
Change of terms menu allows you to change the various loan parameters such as loan amount, interest scheme / interest rate, maturity date, tenor, payment schedule due dates, charges and so on.
The following are the options based on which the Change of Terms record can be created:
Interest Parameter
Payment Terms
Settings
Invoice Cancellation
Change of terms based on Invoice Cancellation
The following are the tabs in Invoice Cancellation page:
To add the Invoice Cancellation for the loan account,
- From the Retail menu, click Loans and then click Change of terms. The Loan Change of Terms Search page appears.

- Click Add. The New Loan Change Of Terms - Profile (1/3) page appears.
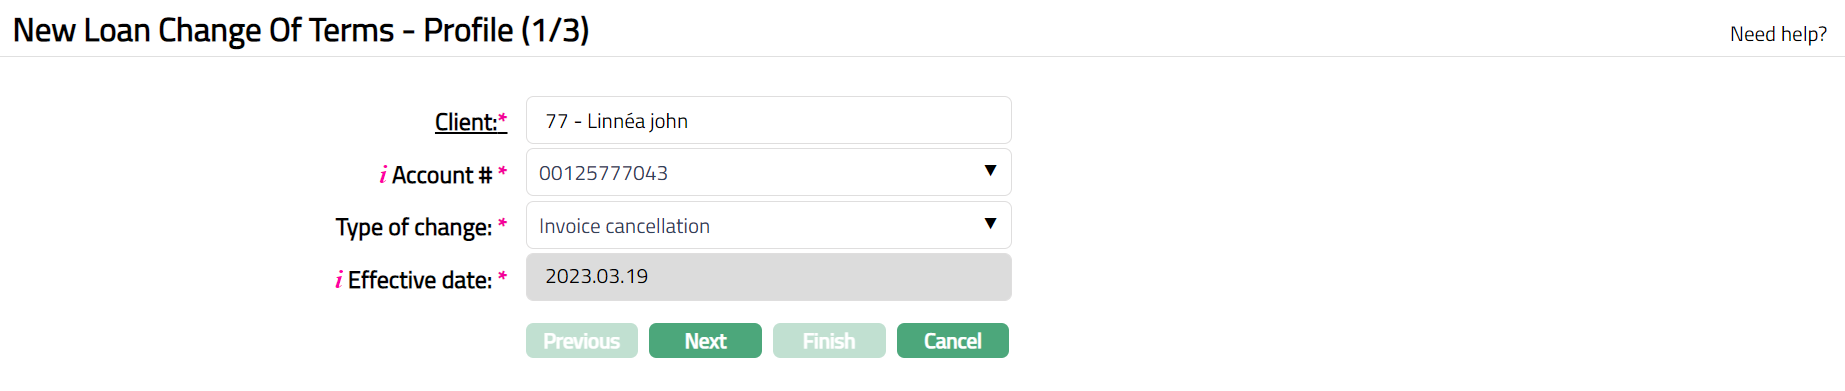
- Select the Client by clicking on client hyperlink. The Client search page appears with the list of Clients maintained under CRM > Clients > Maintain. You can search for a client with relevant criteria and select the required client. You can also input the client name and select the required client from the list displayed by Aura.

Select the Account # from the drop-down list of active consumer loan accounts of the selected client.
Select the Invoice Cancellation as the Type of change from the drop-down list of type of changes.
Aura displays Effective date as the current system date by default. You can change the Effective Date but it should be greater than or equal to the current system date and less than the Maturity Date of the consumer loan account.
Click Next. The New Loan Change Of Terms -- Invoice Cancellation (2/3) page appears. The existing invoice number along with the values for the loan account are shown as per sample below:

Select Invoice number which you want to cancel.
Click Next. The New Loan Change Of Terms -- Confirmation (3/3) page appears.
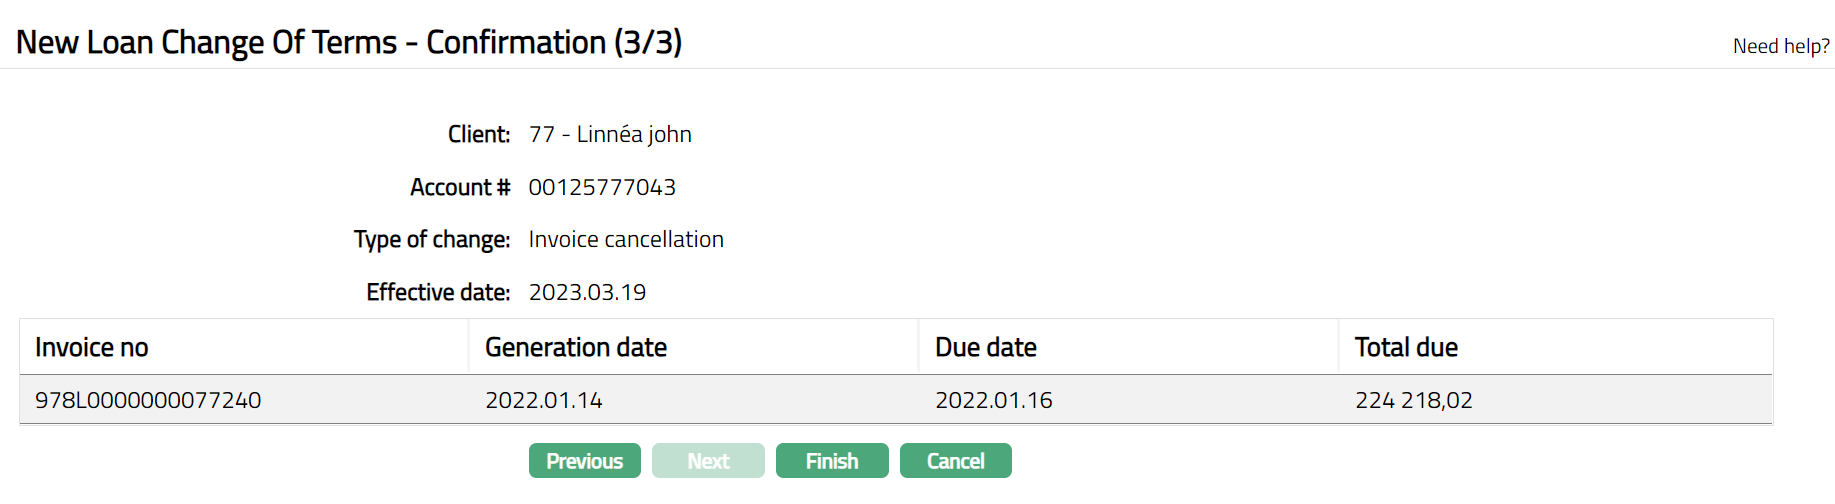
- Click Finish. The record is created with a Change ref number, a unique number identifying the record. The Loan Change of Terms page appears displaying the details of the record.
 Functions: Add, Search
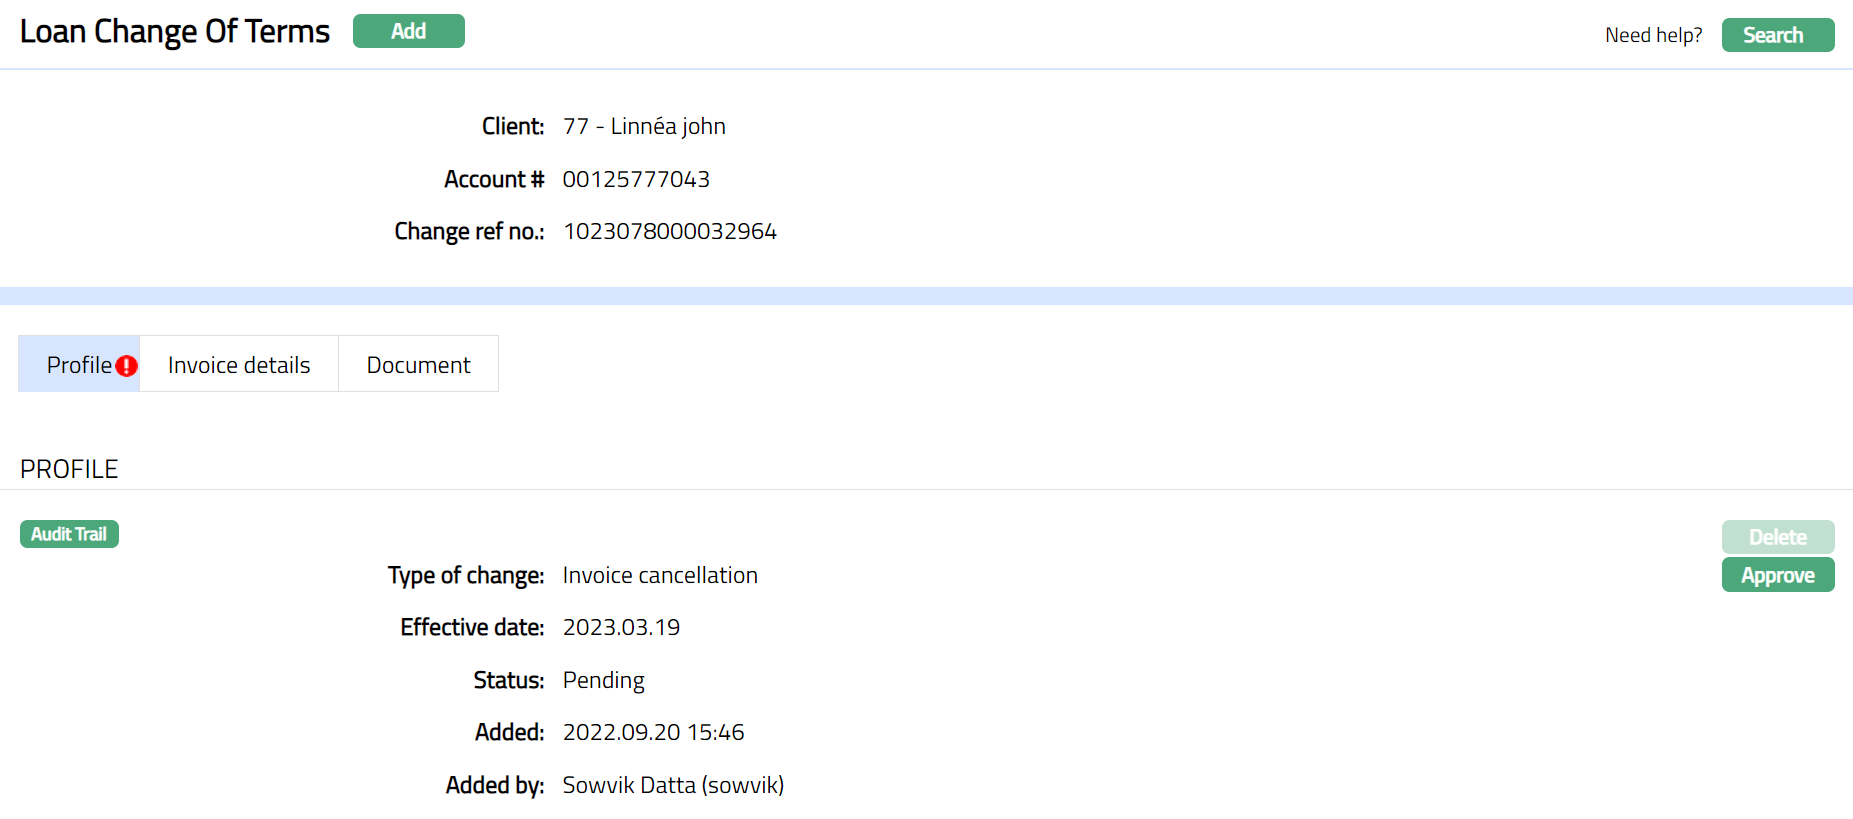
If the type of change is Invoice Cancellation, then the record will be under pending status. Any user other than the one who has created the record has to approve the record.
Note: If the type of change is Invoice Cancellation, Aura will allow you to delete the record until it is approved.
Delete: You can delete a Change of Term record by a clicking on Delete button. When you click on Delete button, Aura displays an alert message. On confirmation, Aura will delete the change of term record. Aura will also delete any changes made to the interest / payment terms / settings and continue with the previous record for any interest / penalty calculations. The record can be deleted until it is approved.
Approve: You can approve a Change of Term record by a click on Approve button. Aura will prompt you to confirm if the selected record may be approved. On confirmation, Aura will approve the record. Any user other than the one who created the record can approve it.
Profile
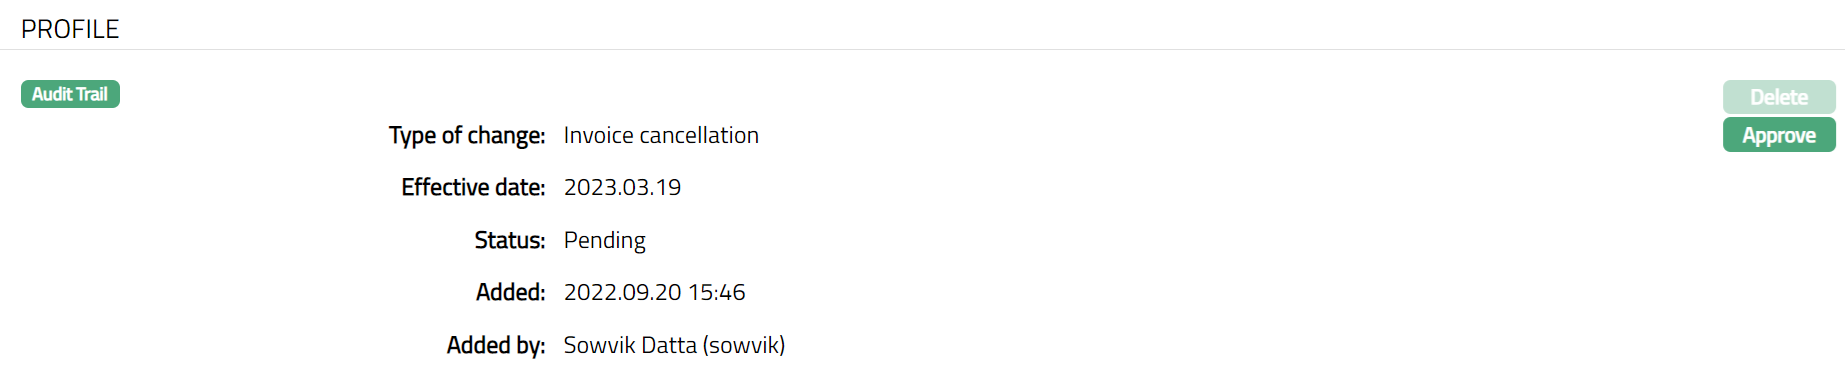
The Profile tab, which is the default tab in the New Loan Change of Terms screen, shows the basic details of the Change of term record.
To view / edit the Profile
- Access the Loan Change of Terms page. Search for Invoice Cancellation record which you have created. Profile tab is displayed by default as per the sample below. The details are defaulted from the entries that you made during the creation of the Change of Terms record.
You can approve a Change of Term record by a click on Approve button. Aura will prompt you to confirm if the selected record may be approved. On confirmation, Aura will approve the record. Any user other than the one who created the record can approve it.
 Functions: Delete, Approve
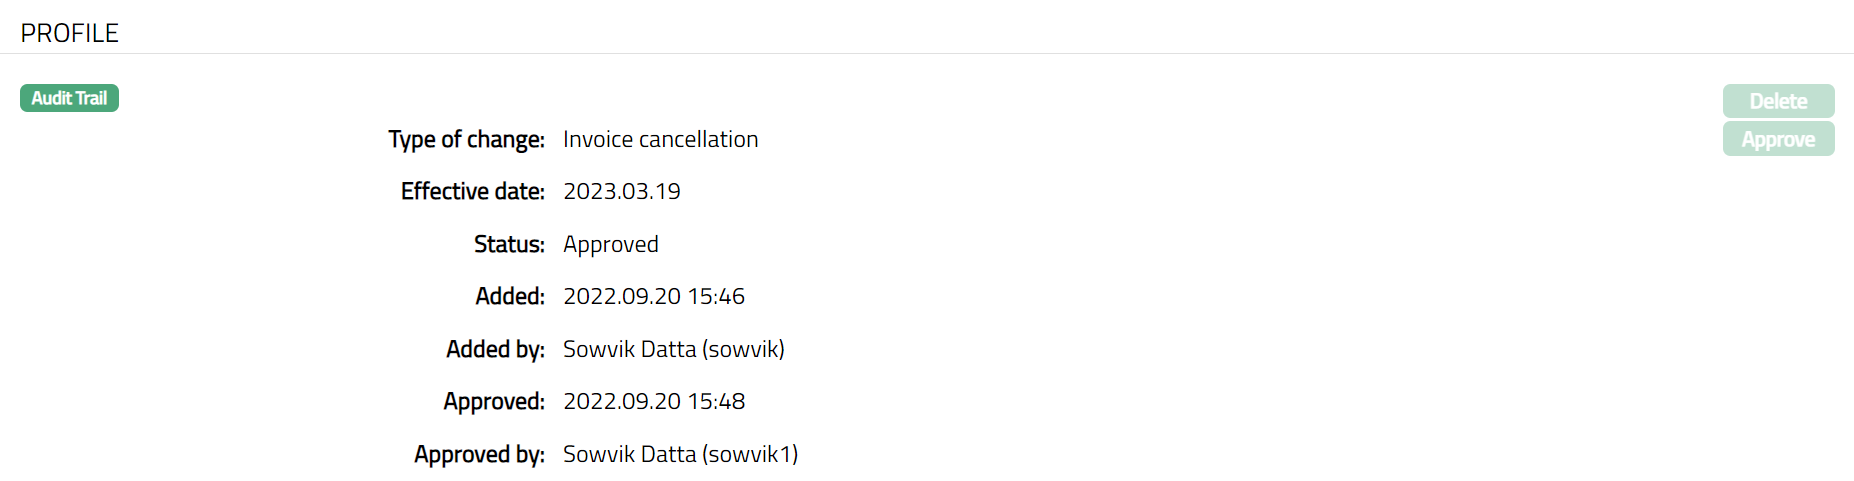
Note: Once approved you cannot delete the record.
The additional fields are as follows:
Status field denotes the status of the record.
Added field denotes the date on which the record was added.
Added by field denotes the name of the user who created the record.
Approved field denotes date on which the record was approved and is displayed only on approval.
Approved by field denotes name of the user who approved the record and is displayed only on approval.
Invoice Details
Document
The Document tab allows you to view / add any relevant documents. Also, you can generate advice using the available templates.
- Access Loan Change of Terms page. Search for Invoice Cancellation record which you have created. Click Document tab. Document page appears. Initially it will display Blank.

- Click New. New Document page appears.
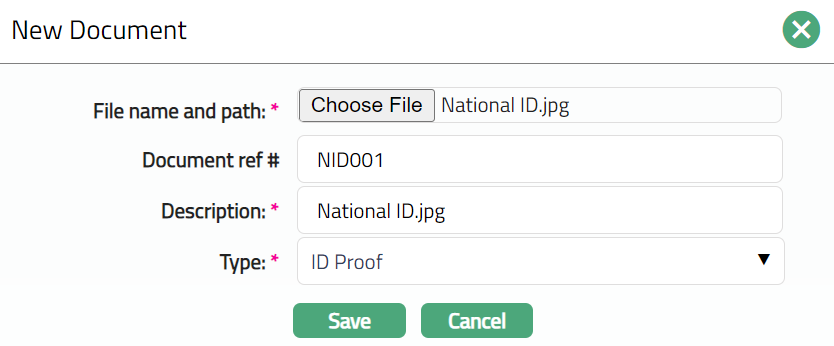
Click Choose File, select the desired file on your local media.
Enter the Document ref no.
Description will be defaulted to the name of the selected file with the ability for you to make changes.
Select the Type of the document from the list of available drop-down as maintained under Admin > System codes > Documents > Document types.
Click Save. The Document page appears with the added details.
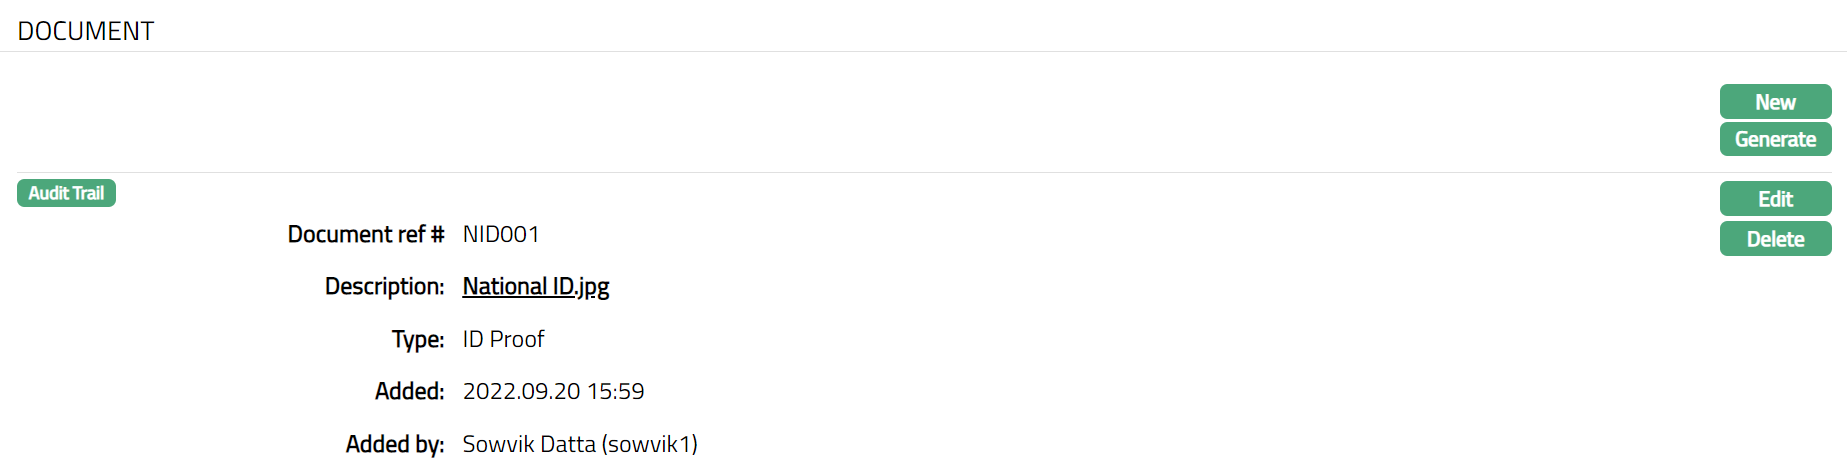 Functions: New, Generate, Edit, Delete
To edit the details of the document attached,
- Click Edit. The Edit Document page will be displayed.
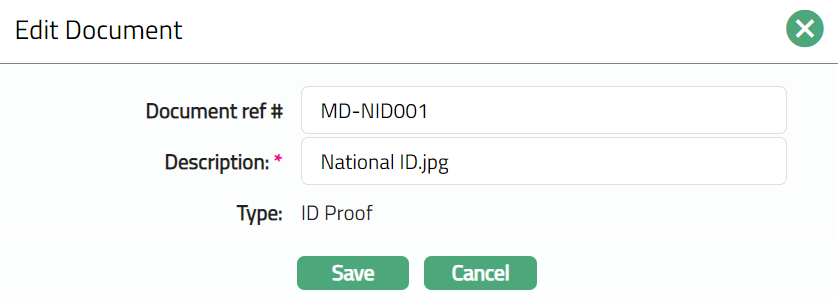
Note: Except Type field all other fields are editable.
- Click Save. The Document page appears with the edited details.
 Functions: New, Generate, Edit, Delete
Note: You can edit only Document Ref No. and Description fields in Edit.
Delete: Click Delete button to delete the record. Aura will prompt you to confirm if the selected record may be deleted. On confirmation, Aura will delete the record.
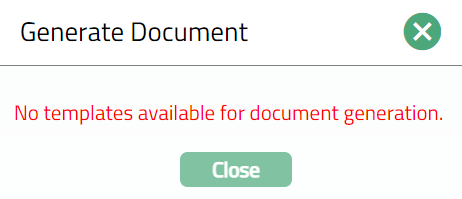
- Click Generate to generate a pdf version of the document by selecting from a list of templates available for manual loan disbursement.