Process Mapping
This option allows you to map the process with certain products. This mapping will ensure that only certain products will have this Process under the pop-up action menu. Process mapping can be done only after the launch of the Workflow in front end.
The following tabs are available on the Process Mapping Maintenance page:
To map a Process
- From Admin menu, click System Codes, Process, and then Process mappings. Process Mapping Search page appears.

- Click Add. New Process Mapping -- General (1/3) page appears.
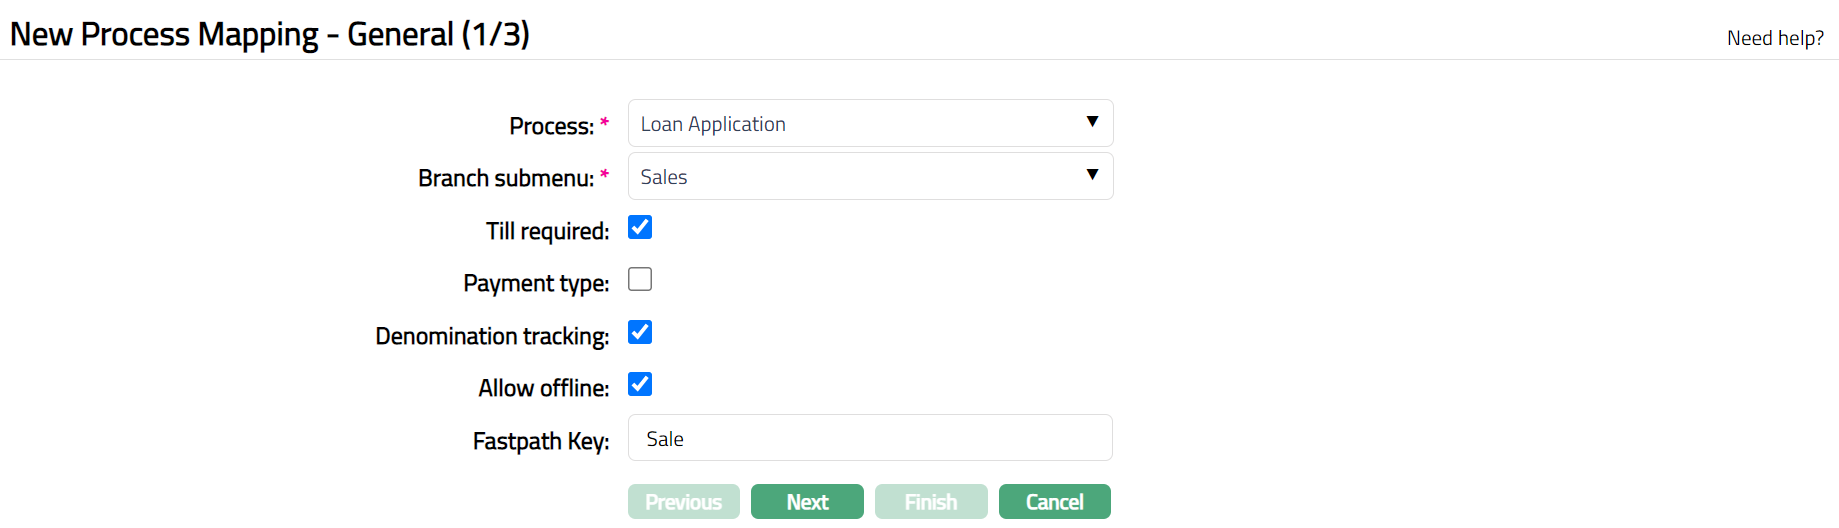
Select Process from the drop down. The process and its parameters will be created and deployed in PD.
Select Branch submenu from the dropdown list of branch submenu maintained in Admin > System codes > Process > Branch Submenu.
On checking Till required, the Process will be available to you but you should have a Till open -- else the WF will not be visible to you at all. WFs will be visible at two places -- in the navigation pane or as pop ups for account actions. In both places the WF will not be visible if the Till is not opened and the WF requires a Till.
Check Denomination tracking.
Check Allow offline.
Enter Fastpath key. This key is used in the Branch view to search the process.
Click Next. New Process Mapping -- Product (2/3) page appears.
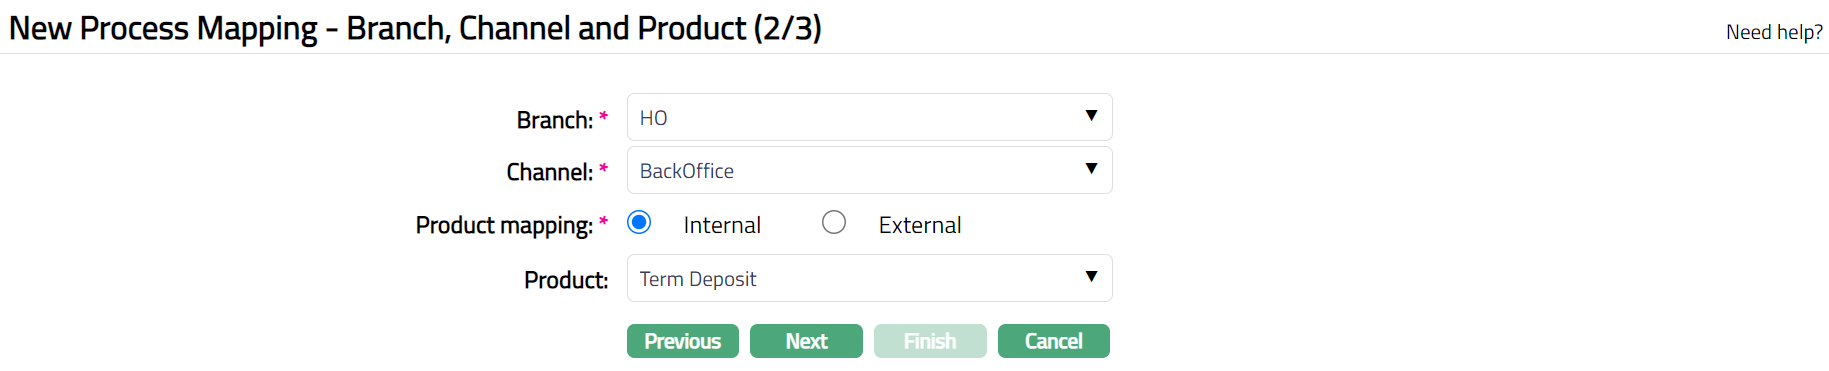
Select Branch from the drop-down list of all the branches maintained under Admin > Branches > Maintain.
Select Channel from dropdown list of channels maintained at Admin > Categories > Service Delivery Channel. You can select one or more channels. It is the medium / mode through which the customers interact with the bank, and by which the bank delivers its products and services to them.
Select Internal or External radio button for Product mapping.
On selecting Internal radio button, all the internal products which is maintained in Banking > Product will be displayed in Available list. Select one / more products.
On Selecting External radio button, you will get all external products which are external to the enterprise.
Select Product from the drop-down list of products maintained in Aura.
Click Next. New Process Mapping -- Confirmation (3/3) page appears displaying the details of the record you added.
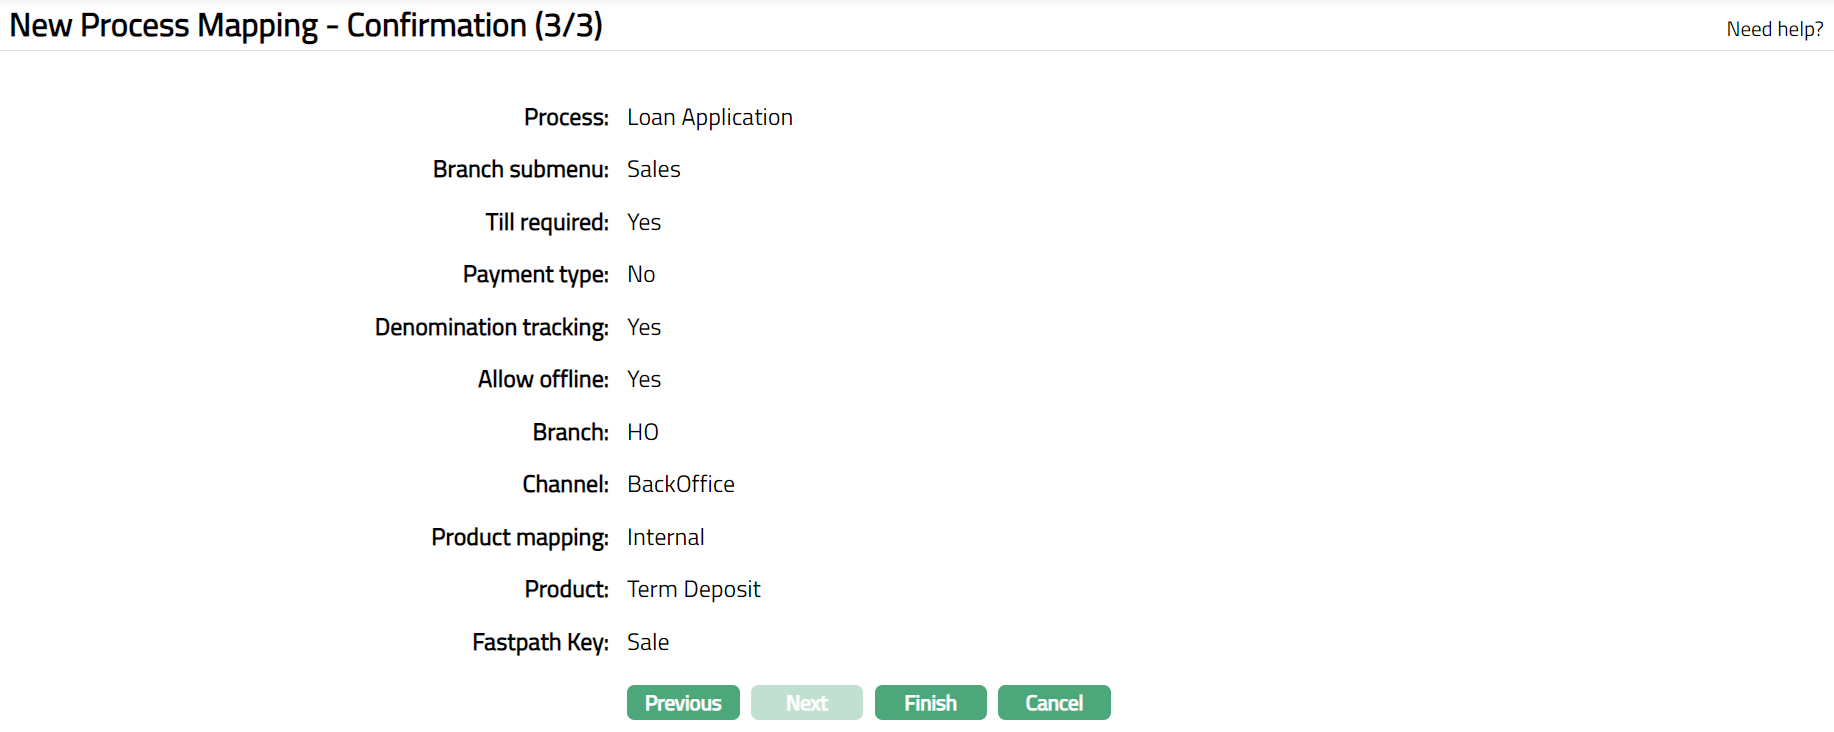
- Click Finish. Process Mapping Maintenance page appears.
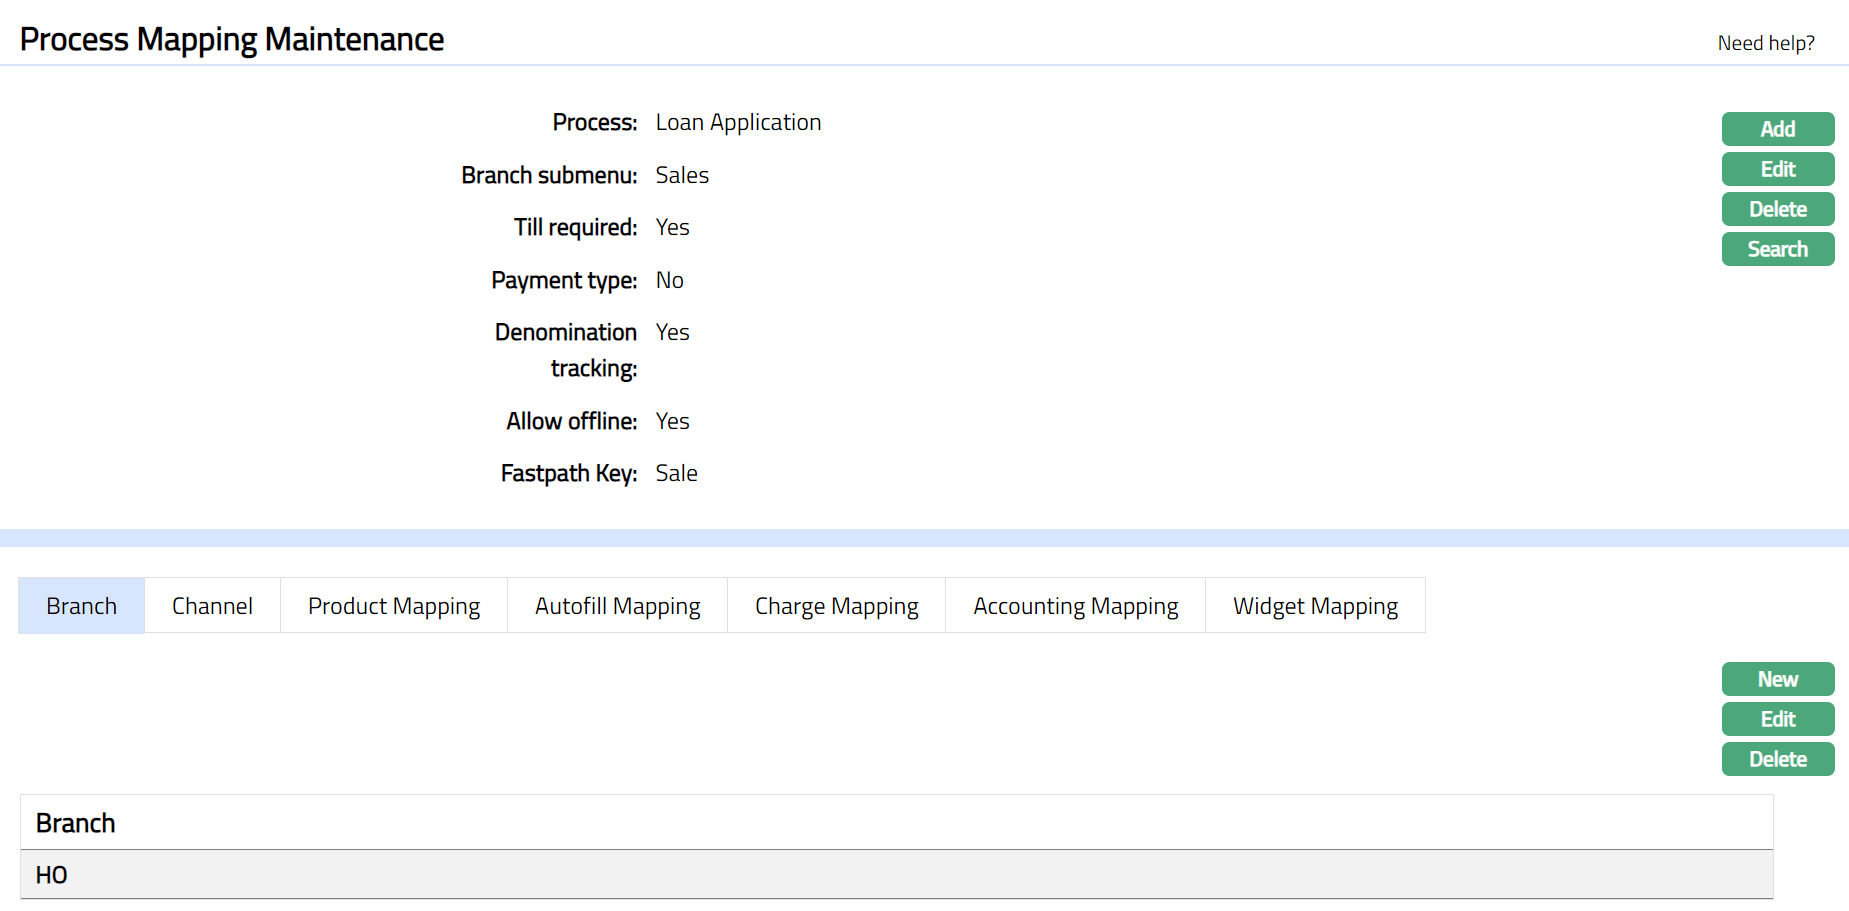
Functions: Add, Edit, Delete, Search
Branch
This tab allows you to View / Add the branches to which process is mapped.
To Add / Edit a branch,
- Access Process Mapping Maintenance Page Branch tab is defaulted with the details of the branch to which the process is mapped on creation of Process Mapping record. Refer to New Process Mapping -- Product (2/3).

- Click New. New Branch page is displayed.
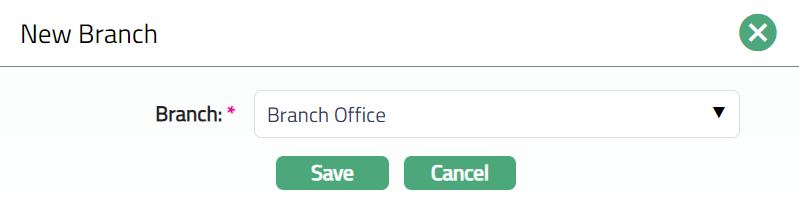
Select Branch from the drop-down list of all the branches maintained under Admin > Branches > Maintain.
Click Save. h tab appears with the added details.

Functions: New, Edit, Delete.
To Edit Branch
- Click Edit. Edit Branch page appears.
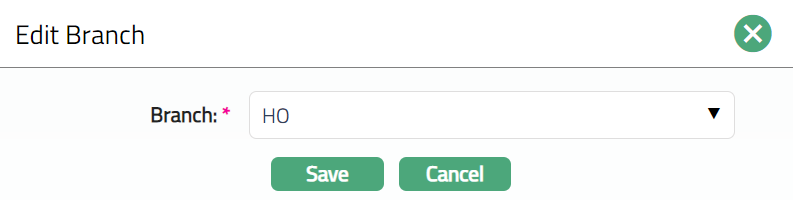
- Click Save. Branch page appears with the edited details.

Functions: New, Edit, Delete.
Channel
This tab allows you to view / add the service delivery channels associated in the process mapping. It is the medium / mode through which the customers interact with the bank, and by which the bank delivers its products and services to them.
To Add / Edit a channel,
- Access Process Mapping Maintenance page and click on Channel tab, the details of the channel to which the process is mapped on creation of Process Mapping record. Refer to New Process Mapping -- Product (2/3).

- Click New. New Channel page is displayed.
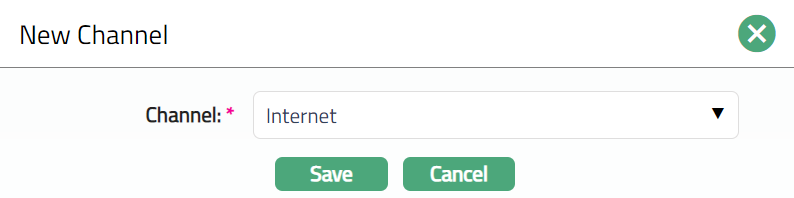
Select Channel from dropdown list of channels maintained at Admin > Categories > Service Delivery Channel. You can select one or more channels. It is the medium / mode through which the customers interact with the bank, and by which the bank delivers its products and services to them.
Click Save. Channel tab appears with the added details.

Functions: New, Edit, Delete.
To Edit Channel
- Click Edit. Edit Channel page appears.
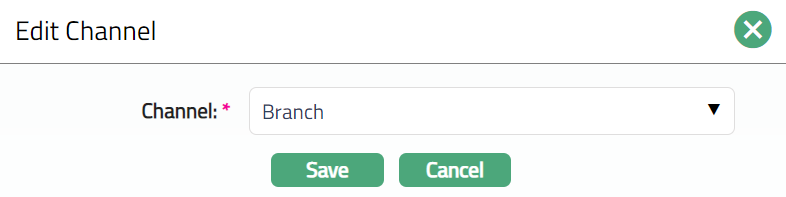
- Click Save. Channel tab appears with the edited details.

Functions: New, Edit, Delete.
Product Mapping
This tab allows you to map the products maintained in Aura to the Processes.
To Add / Edit product.
- Access Process Mapping Maintenance page and click on Product Mapping tab, the details of the channel to which the process is mapped on creation of Process Mapping record. Refer to New Process Mapping -- Product (2/3).

- Click New. New Channel page is displayed.

Select Product from the drop-down list of products maintained in Aura.
Click Save. Product Mapping tab appears with the added details.

Functions: New, Edit, Delete.
To Edit Product Mapping
- Click Edit. Edit Product Mapping page appears.
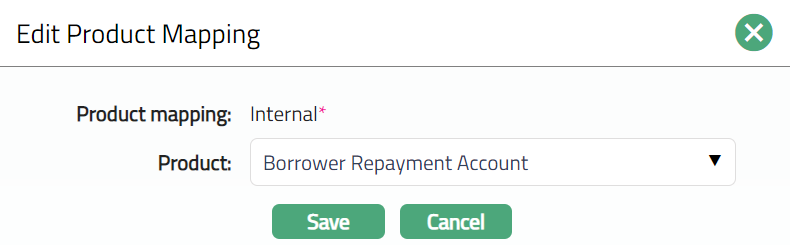
Note: Only Product field is editable.
- Click Save. Product Mapping tab appears with the edited details.

Functions: New, Edit, Delete.
Autofill mapping
This tab allows you to map the process variable and the variables from the Aura. On mapping these variables, the data from the Aura defaults when executing the process in the Front end. On creation of the Process mapping record, there will be no data in this tab.
To map / edit the mapping of variables.
- Access Process Mapping Maintenance page and click Autofill mapping tab,

The available fields are:
Process variable denotes the variables configured in the Process maintained in PD.
Auto fill variable denotes the variables that are used in the Product mapped to the Process. These variables are defaulted from Aura.
- Click New. New Autofill Mapping page is displayed.

Select Process variable from the dropdown list of process variables maintained in Process Design for the process.
Select Auto fill variable from the dropdown list of variables defaulted from the Product mapped to the Process maintained under Aura.
Click Save. Autofill Mapping tab appears with the added details.

Functions: New, Edit, Delete.
To Edit Autofill Mapping.
- Click Edit. Edit Autofill Mapping page appears.
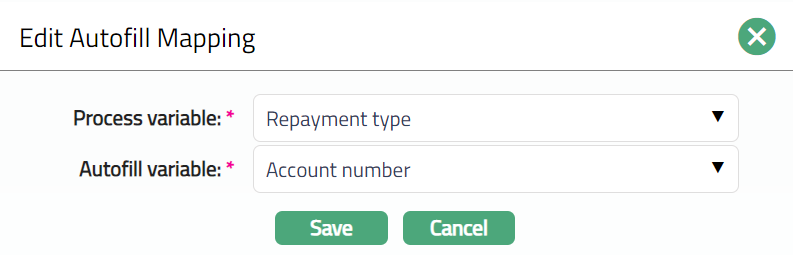
Note: Both fields are editable.
- Click Save. Autofill Mapping tab appears with the edited details.

Functions: New, Edit, Delete.
Charge mapping
This tab allows you to maintain the charge to be collected from the Client for rendering the service using the Process.
To map the charge
- Access Process Mapping Maintenance page and click Charge Mapping tab,
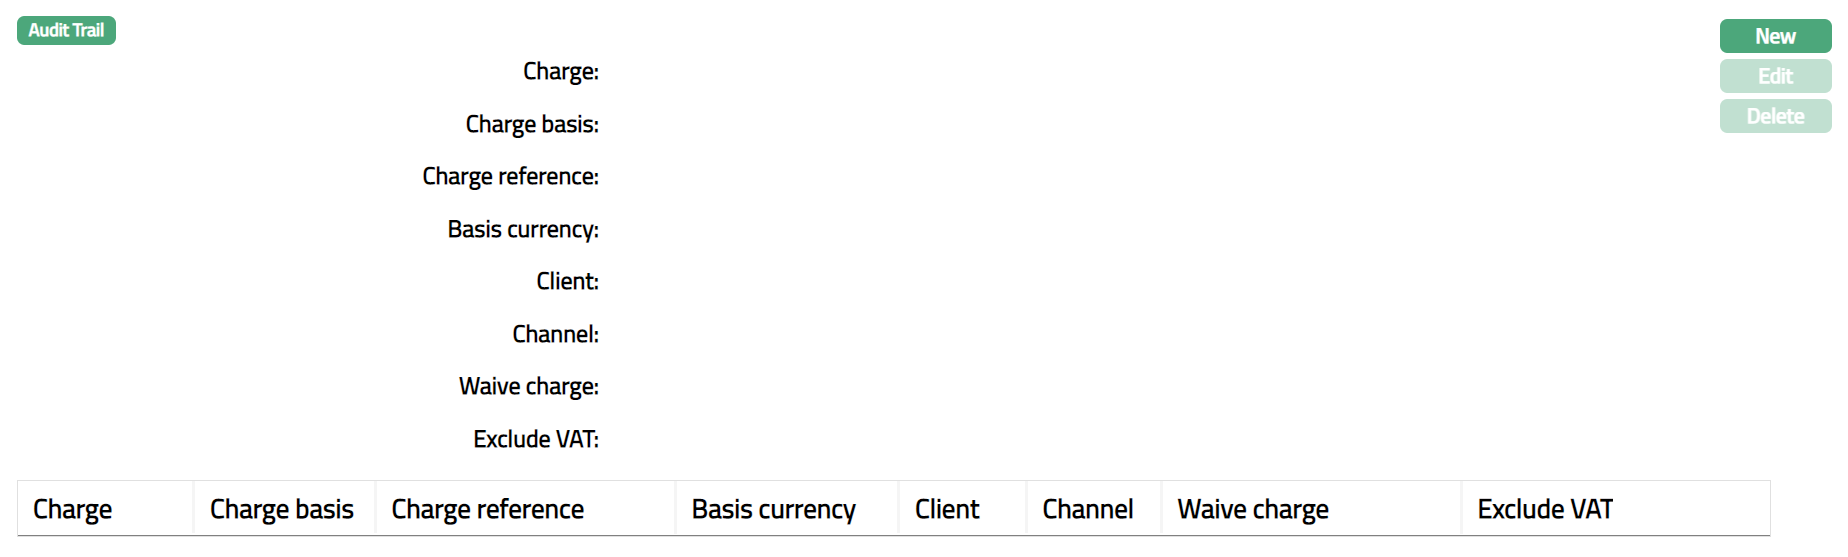
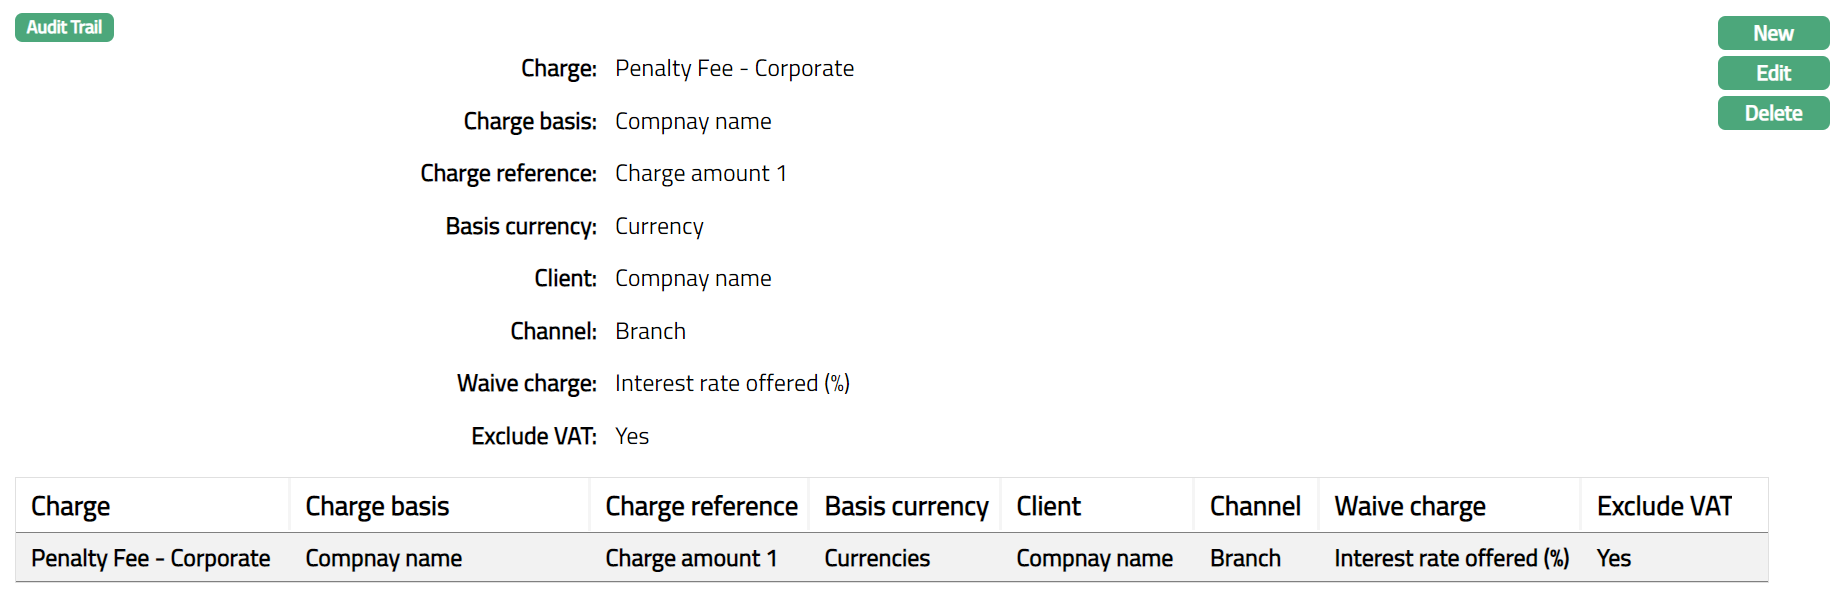
The available fields are:
Charge denotes the charge scheme mapped to the process.
Charge amount denotes the process variable on which the amount is charged.
Charge basis denotes the process variable based on which the amount is charged.
Waive charge denotes if the mapped charge is to be waived or not.
Exclude VAT denotes if the Vat is excluded for the process or not.
- Click New. New Charge Mapping page is displayed.
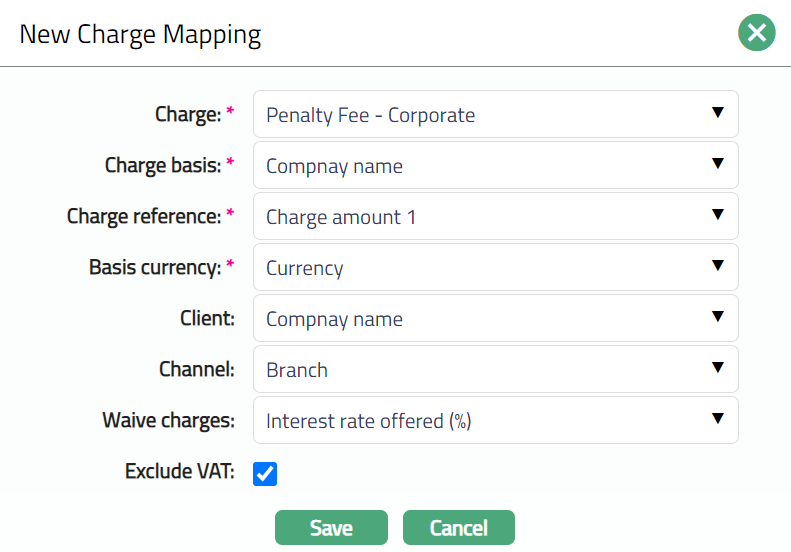
Select Charge from drop-down list of charges maintained under Admin > System codes > Charges where the charge is Event-based and Periodic. It is either Banded or Flat amount charge. If the Charge is Banded, the charge amount will be calculated on the basis of the current balance in the account.
Select process variable from Charge amount dropdown list process variables defaulted from the Process maintained in Process Design. For the selected variable the amount is charged.
Select process variable from Charge basis dropdown list process variables defaulted from the Process maintained in Process Design. For the selected variable the amount is charged.
If mapped charge is to be waived, check Waive checkbox.
If VAT is to be excluded in this charge, then check Exclude VAT checkbox.
Click Save. Charge Mapping tab appears with the added details.
Functions: New, Edit, Delete.
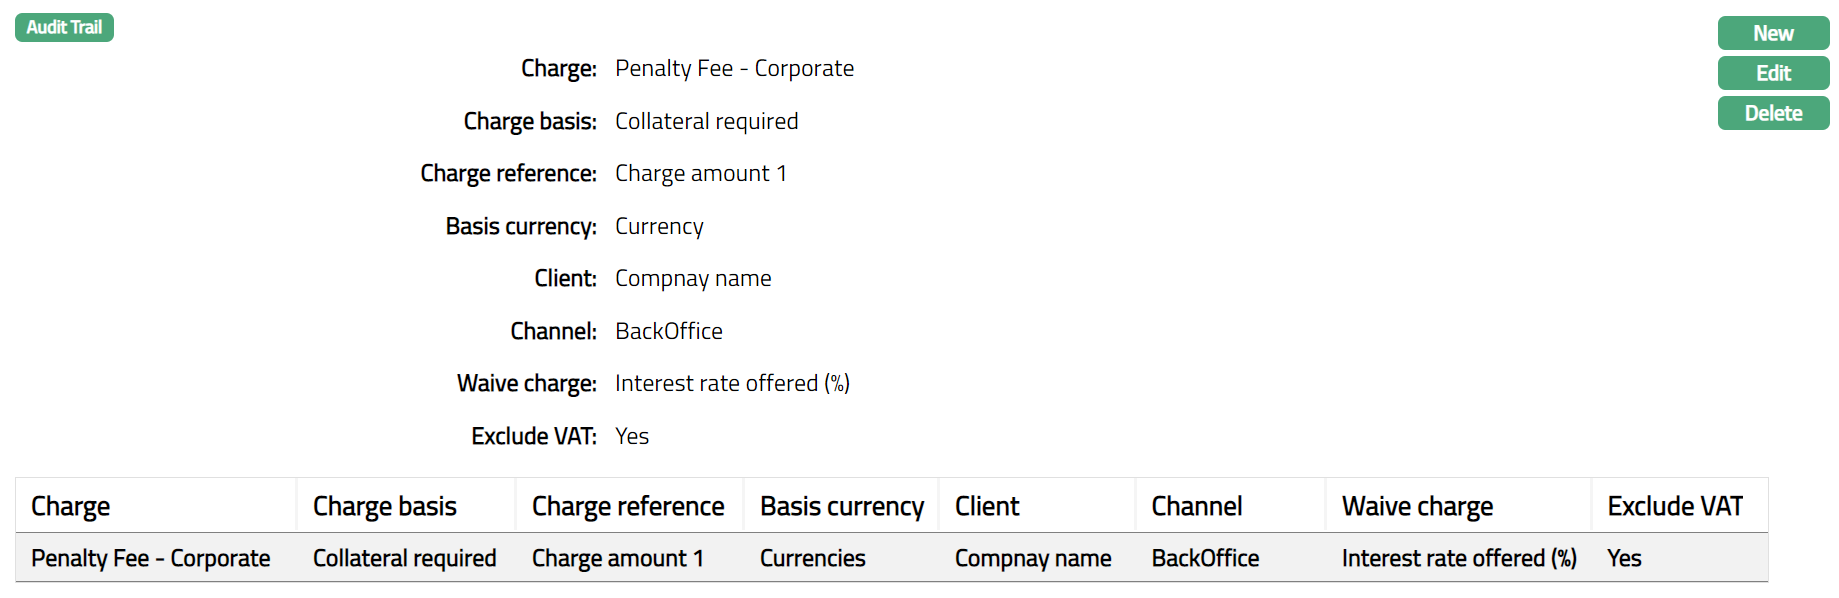
To Edit Charge Mapping
- Click Edit. Edit Charge Mapping page appears.
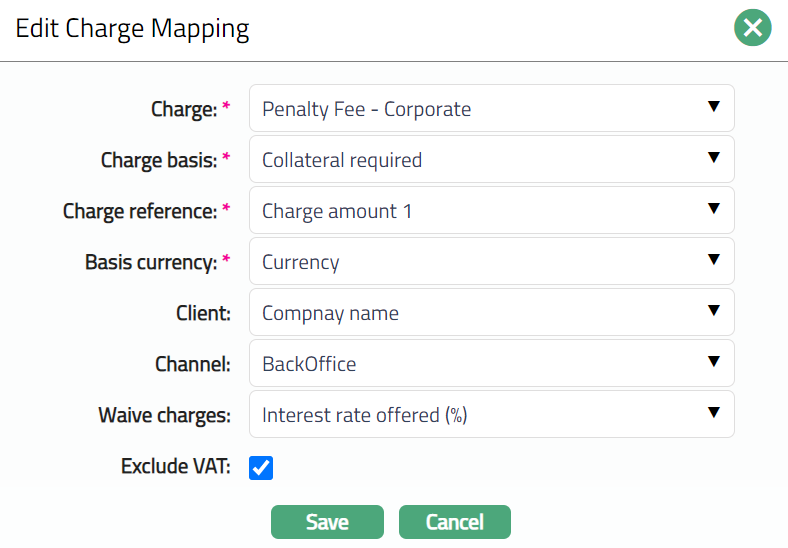
Note: All fields are editable.
- Click Save. Charge Mapping tab appears with the edited details.
Functions: New, Edit, Delete.
Accounting Mapping
This tab allows you to map the details that are used in the making the accounting entries using the process.
To map the accounting variables
- Access Process Mapping Maintenance page and click Accounting Mapping tab,

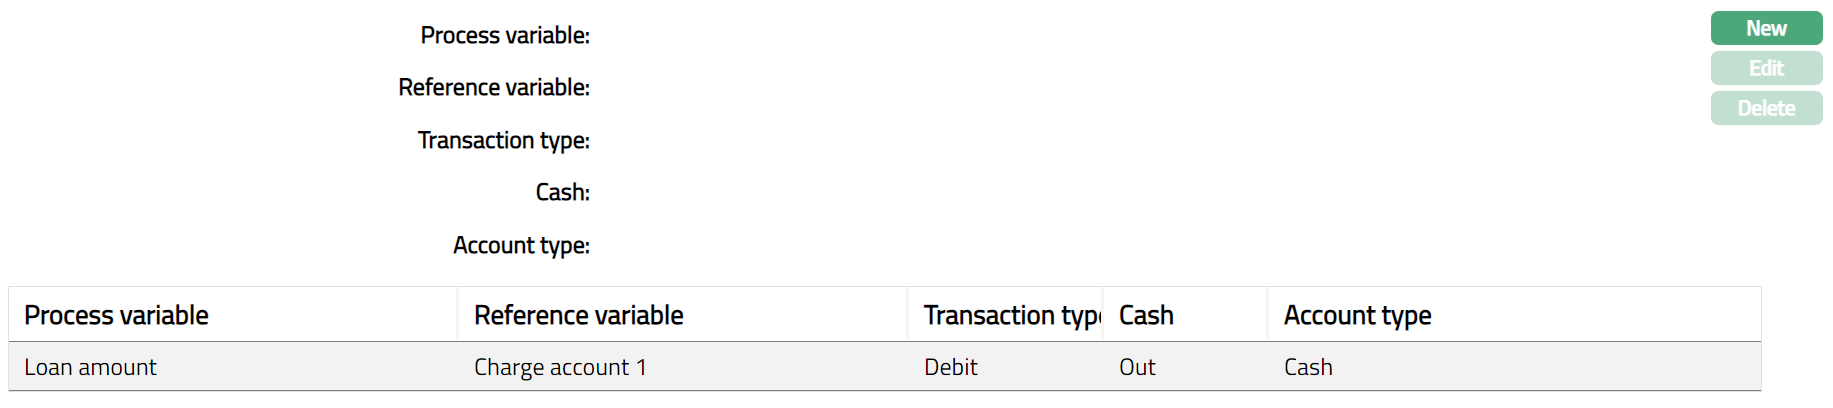
The available fields are:
Process variable denotes the variables configured in the Process maintained in Process Design.
Reference variable denotes the variable that is considered as a reference for making an accounting entry in the process.
Transaction type denotes the type of transaction done using this accounting.
Denomination denotes if the accounting entries made using this variable is for incoming or outgoing transactions.
Account type denotes the type of the account to which the process is mapped.
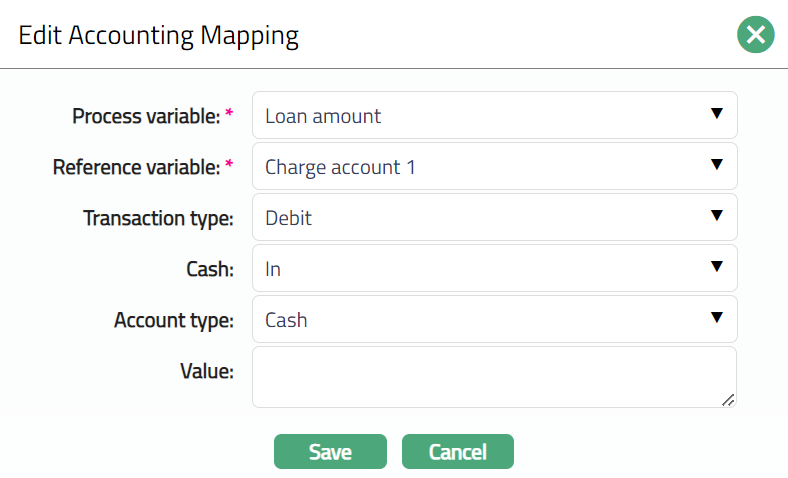
- Click New. New Accounting Mapping page is displayed.
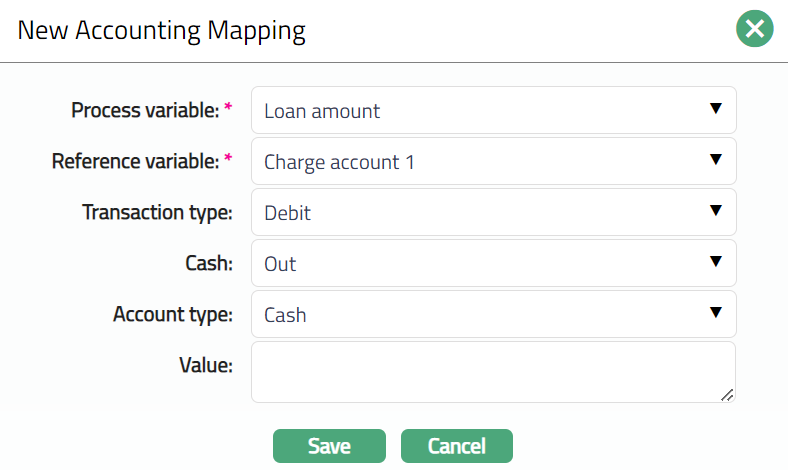
Select Process variable from the drop-down list of variables defaulted from the Process maintained in Process Design.
Select Reference variable from the drop-down list of pre-shipped values.
Select Transaction type from the drop-down list. The options available are Credit and Debit.
Select Denomination from the drop-down list. The options available are In and Out.
Select Account type from the drop-down list of pre-shipped values. The options available are Cash and Account.
In Value field, enter the transaction code or the id of the general ledger to which the accounting entries are made.
Click Save. Accounting Mapping tab appears with the added details.
Functions: New, Edit, Delete.
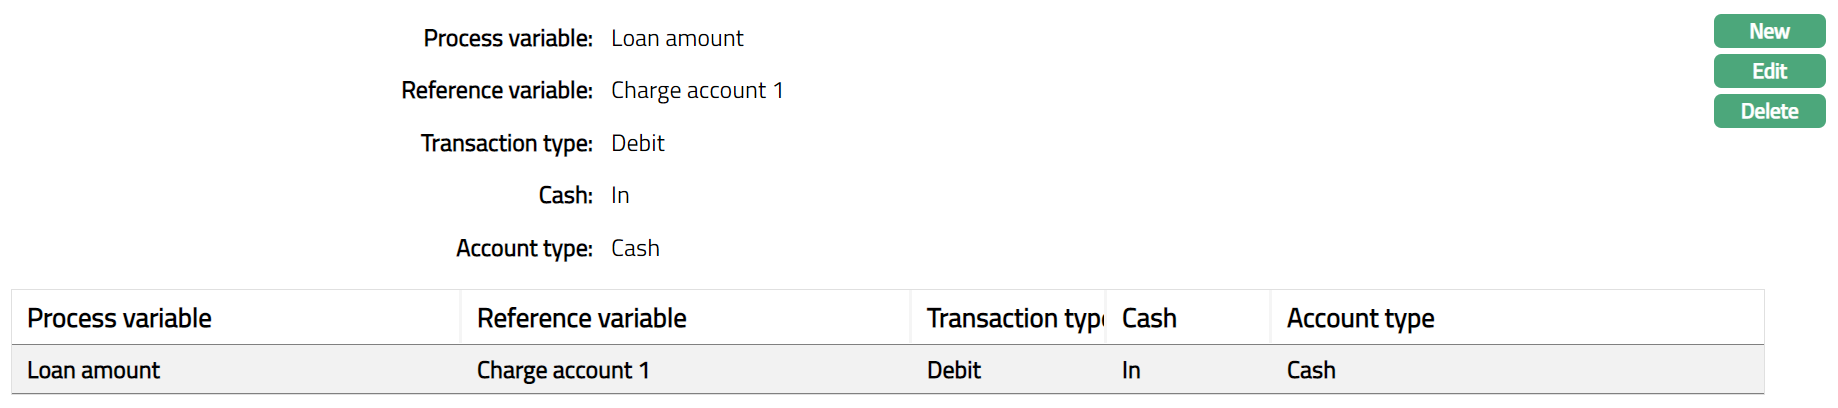
To Edit Accounting Mapping.
- Click Edit. Edit Accounting Mapping page appears.
Note: All fields are editable.
- Click Save. Accounting Mapping tab appears with the edited details.
Functions: New, Edit, Delete
Widget Mapping
This tab allows you to map the details that are used in making the widget entries using the process.
To map widget details
- Access Process Mapping Maintenance page and click Widget Mapping tab,

- Click New. New Widget Mapping page appears.
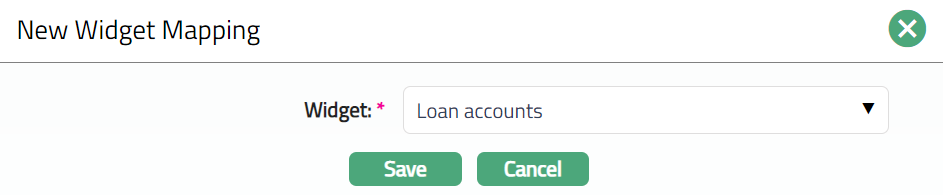
Select Widget from the drop-down list of pre-shipped values.
Click Save. Widget Mapping tab appears with the added details.

Functions: New, Edit, Delete
To Edit Widget.
- Click Edit. Edit Widget Mapping page appears.
- Click Save. Widget Mapping tab appears with the edited details.

Functions: New, Edit, Delete