Multi-Currency settings
A multi-currency setting enables you to maintain different currencies that your clients use, to pay / transfer a specified amount. to another account.
Following are the tabs in the Multi-Currency Setting page.
To add new Multi-Currency Setting
- From Retail menu, click Settings, and then Multi-Currency Setting. Multi-Currency Setting Search page appears.

- Click Add. New Multi-Currency Setting -- Profile (1/3) page appears.
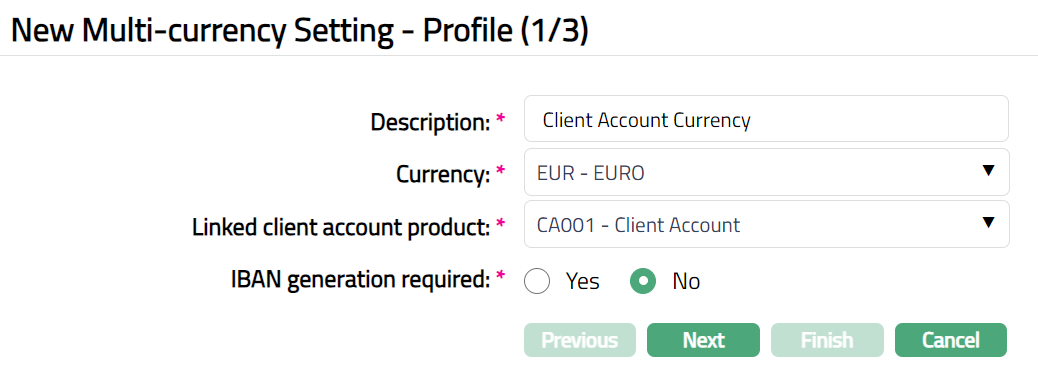
Enter Description for Multi-Currency Setting.
Select Currency for the Multi- Currency Setting, from the drop-down list of GL currencies. More currencies can be added during Edit using the Currency tab, once the Multi-Currency settings record is created.
Select linked client account product from the available drop-down list, maintained under Retail > Settings > Product.
Click Yes or No radio button for IBAN generation required for New Multi-Currency Settings. During Account creation under the Product, if this has been selected as Yes, Aura will automatically create IBAN according to the IBAN format maintained at the Entity level.
Click Next. New Multi-Currency Setting -- Charges (2/3) Page appears.

Select Set up fee from the available from drop-down list of Event based Flat or Banded charges maintained under Admin > System code > Charges. This is the fee that is to be collected from the client for the statement defined above. This charge may be deferred.
Click Next. New Multi-Currency Setting -- Confirmation (3/3) page appears.
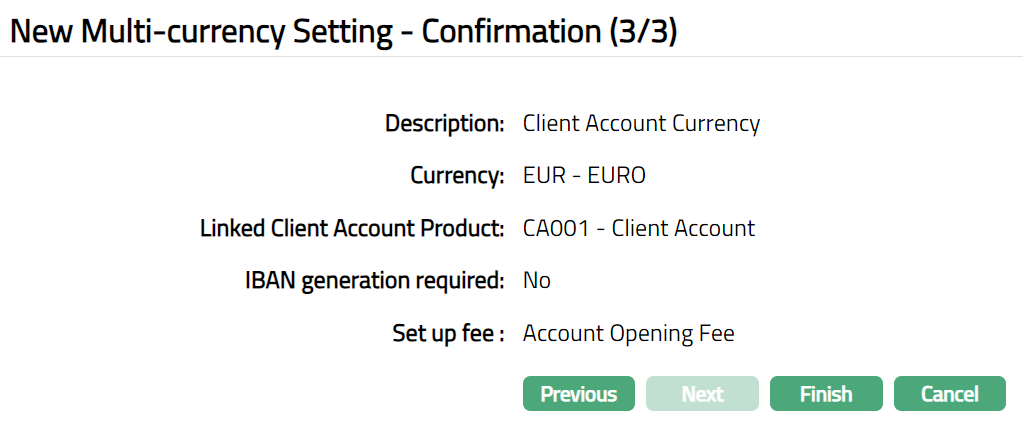
- Click Finish. New Multi-Currency Setting record is created, and you will see the Profile tab by default.
 Functions: Add, Search, Suspend.
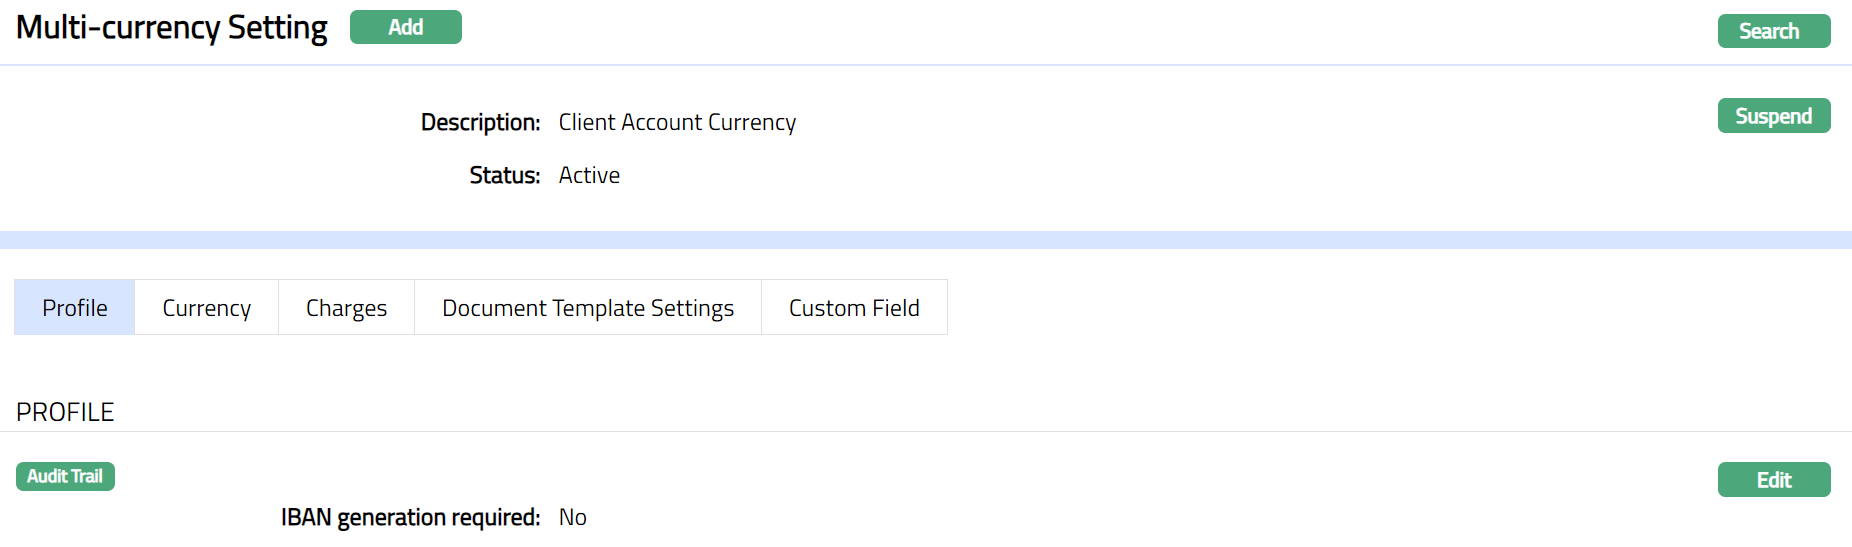
Profile
Profile tab, which is the default tab in the Multi-Currency Settings screen, shows the basic details of the Multi-currency Setting.
To view / edit Profile.
- Access Multi-Currency Settings page and click Profile tab. The details are defaulted from the entries that you made during Standing Instruction creation. For details refer to New Multi-Currency Settings -- Profile (1/3).

- Click Edit. Edit Profile screen appears.

Note: All fields are editable.
- Make required changes and click Save. Multi-Currency Settings screen appears with the edited details.
 Function: Edit
Currency
This tab allows you to control the availability of Multi-Currency Settings to specific currencies.
To add Currency
- Access Multi-Currency Settings page and click Currency tab
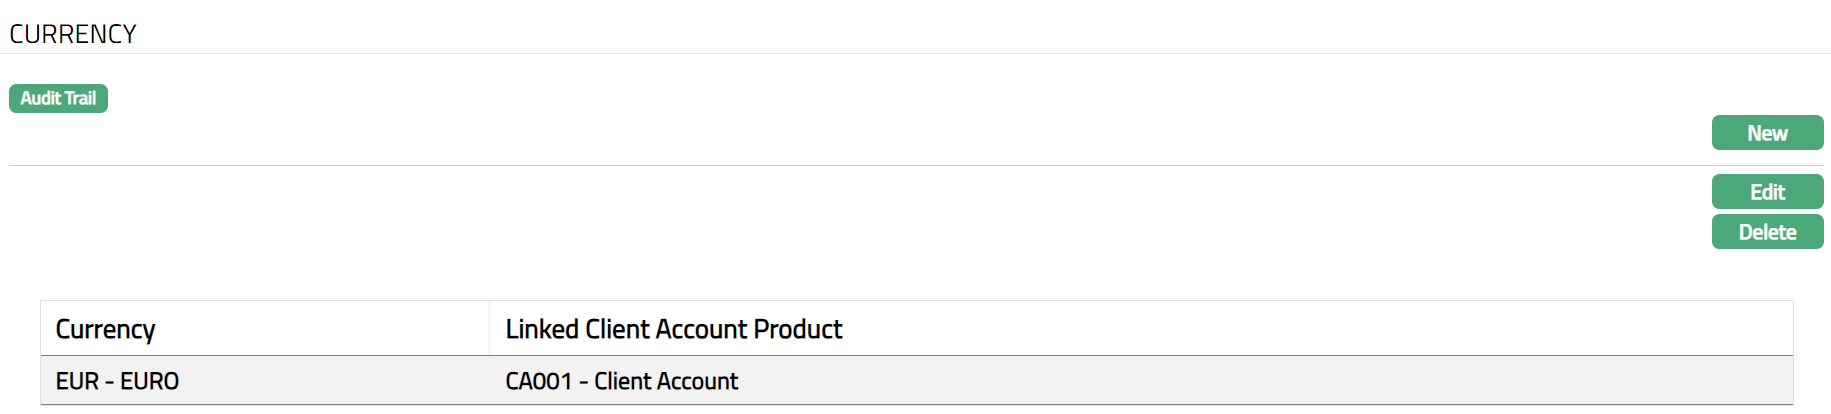
- Click New. New Currency screen appears where you can select the required currency from the drop-down of all active currencies.
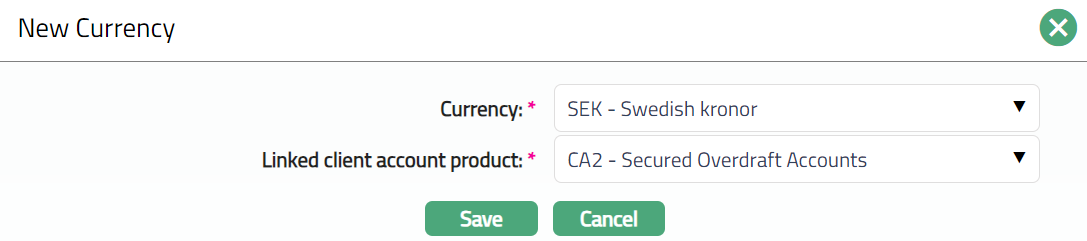
Select Currency from the available drop-down list.
Select Linked client account product from the available drop-down list.
Click Save. **Currency **page appears with the added currency.
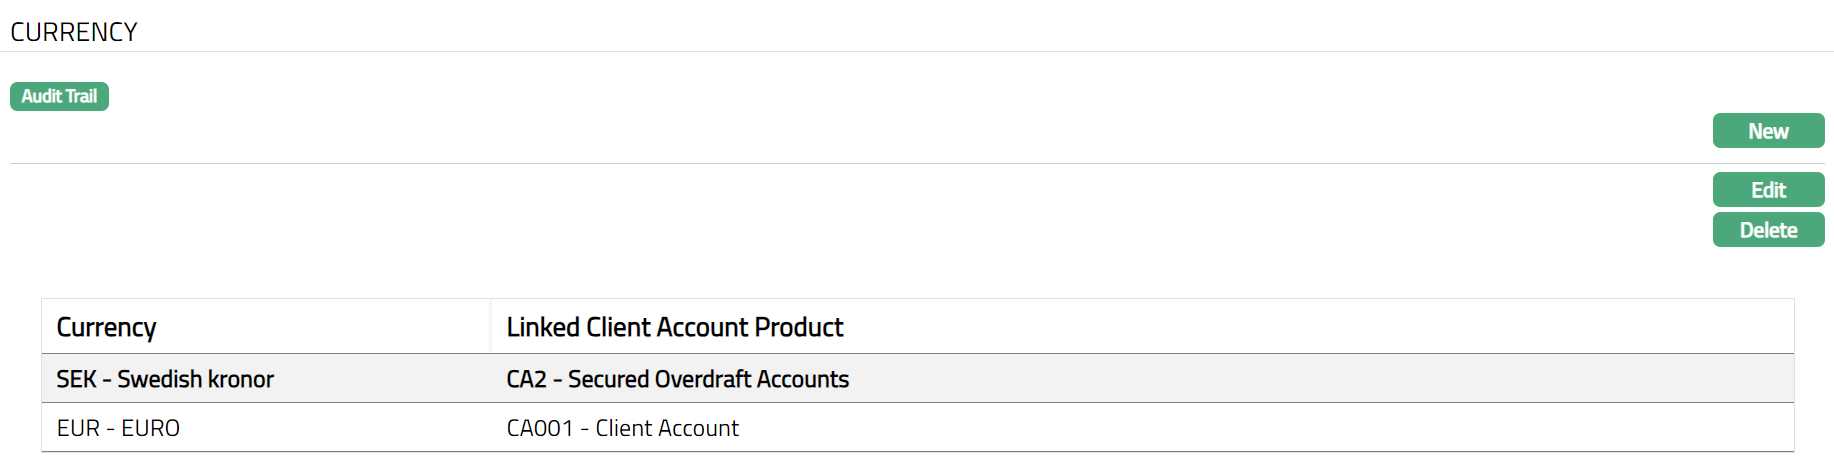
Functions: New, Edit, Delete.
Edit
To Edit Currency.
- Click Edit. Edit Currency page appears.
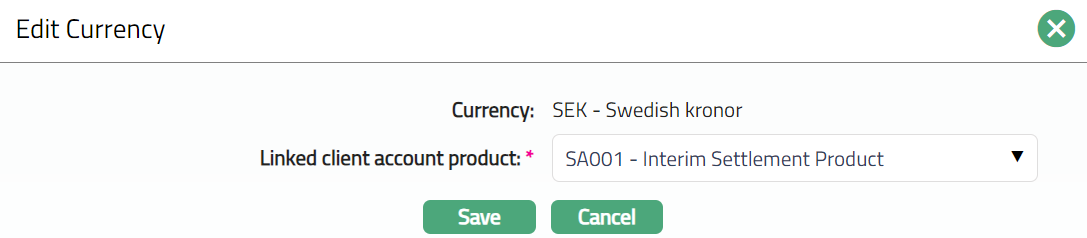
Note: All fields are editable.
- Make required changes and click Save. Currency page appears with the edited details.
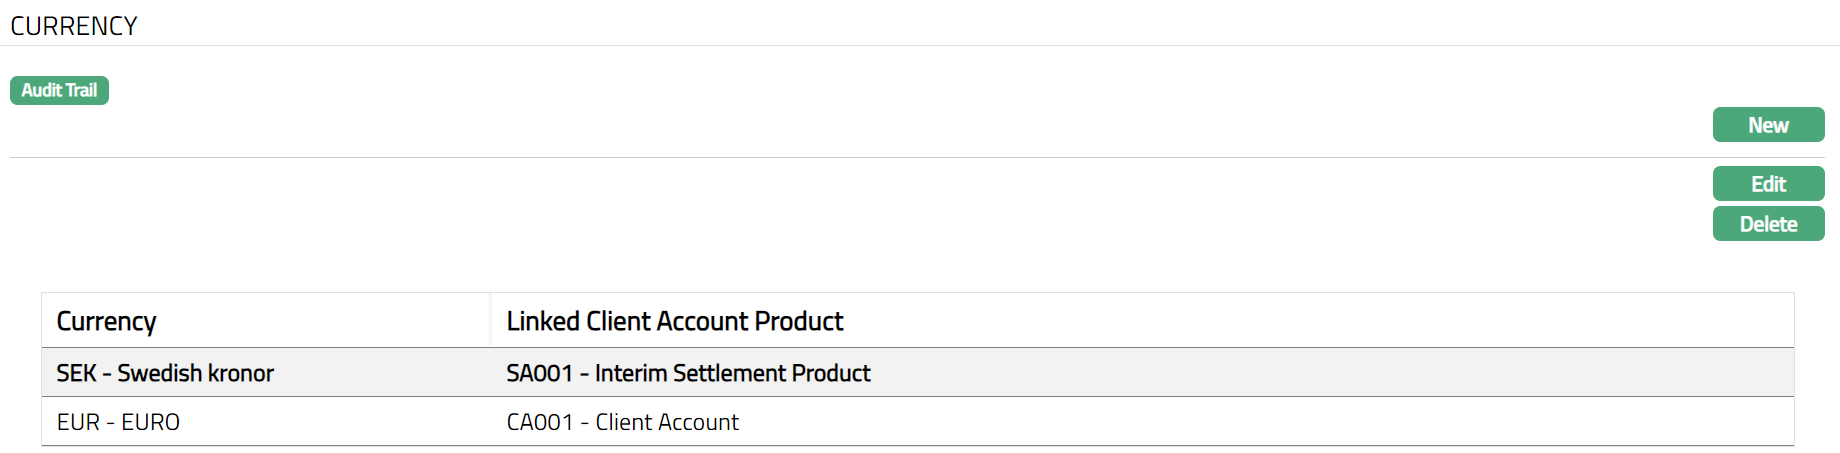
Functions: New, Edit, Delete.
Charge
Charge tab allows you to view and edit the details of different charges for transactions under the Multi-currency Settings.
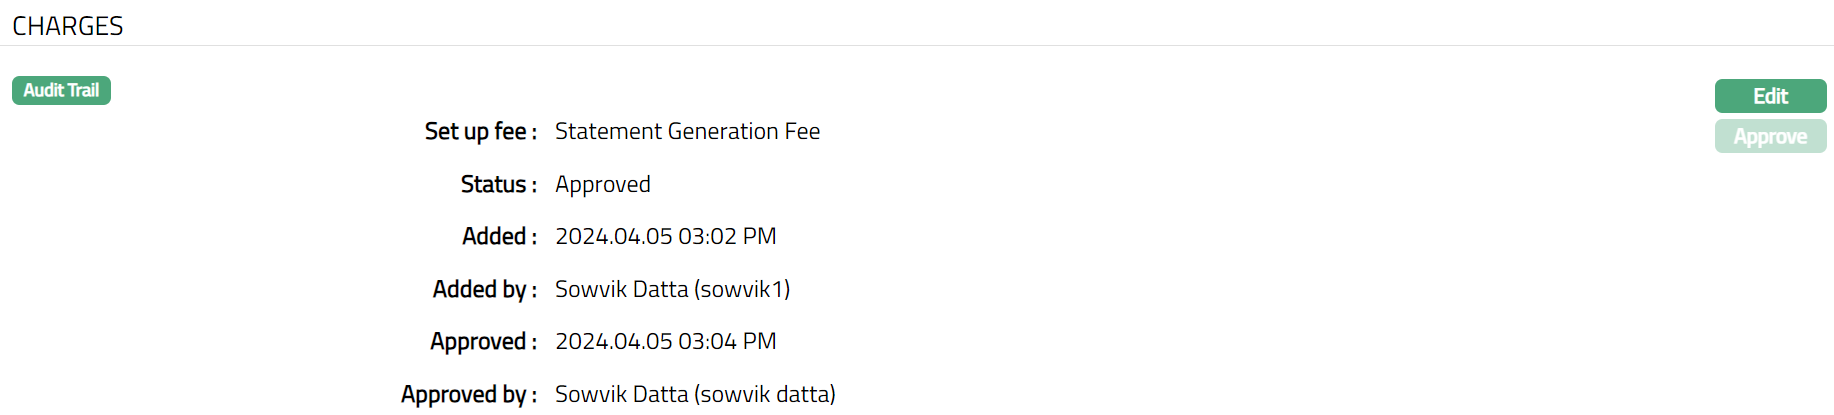
- Access Multi-currency Settings page. Click Charge tab to view the details as per sample below. The details are defaulted from the entries that you made during Multi-currency Settings creation. For details refer to New Multi-Currency Setting -- Charges (2/3).

- Click Edit. Edit Charges page appears.

- Make required changes and click Save. Charge page appears with the edited details.

Note: After creation / edit, the tab is in Pending status. However, only the person who has not created the record can approved. To approve, retrieve the record and click Approve. Aura will ask for confirmation. On confirming the same the status will change to Approve.
Functions: Edit, Approve.
The additional fields that you can view in the charge tab are explained below.
Status field denotes the status of the tab.
Added field denotes the date on which the record was added.
Added by field denotes the name of the user who created the record.
Approved field denotes date on which the record was approved and is displayed only for approved records.
Approved by field denotes name of the user who approved the record and is displayed only for approved records.
Document Template Settings
Using this tab, you can maintain the document template which can be used for uploading documents for all the accounts maintained under this Multi-Currency Settings.
- Access Multi-Currency Settings page. Click Document Template Settings tab.

- Click New. New Document Template page appears.
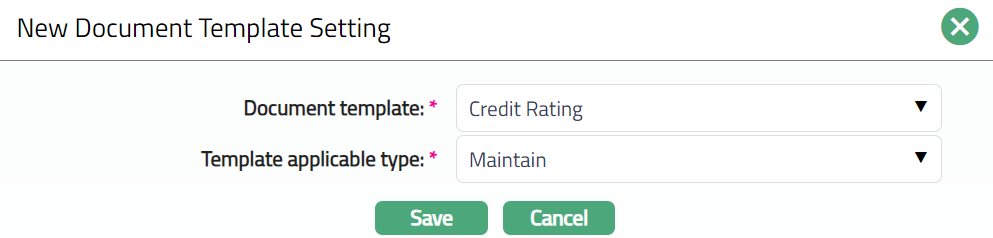
- Select Document template from the drop-down list of Document Templates as maintained under Admin > System codes > Process > Document templates.
Select Template applicable type from the available drop-down.
Click Save. Document Template page appears with the added details.

Functions: New, Delete
Custom Field
This menu option allows you to define fields apart from those that are already available in the standard version of Aura. Thus, it enables you to customize additional data storage and use as required to suit your specific business needs.
To maintain Custom Field
- Access Multi-Currency Settings page, then click Custom Field tab.

Custom field(s) appears only when it is created in Admin > System codes > Custom fields > Custom fields and linked to specific Product option in Admin > System codes > Custom fields > Field mappings.
Click Edit. Edit Custom Field page appears. In the following illustration, Currency Settings field have been mapped to the Multi -Currency Settings as shown below.

Enter Currency Settings as required.
Click Save. Custom Field page appears with the edited details.

Function: Edit