Sales Campaign
Using campaign menu, you can maintain multiple campaigning products for the bank, which can either be sold by the bank directly or the bank can outsource the task of campaigning to an agent, who on behalf of the bank can do the campaigning for the products.
Using this functionality, you can maintain multiple campaigning products and link agents to campaign in campaign management; wherein you can set up the budget for campaigning.
The following are the various tabs that appear on Campaign Management screen.
To add new Campaign,
1. From CRM menu, click Sales, and then Campaign. Campaign Management Search page appears. By default, Aura will display all the existing records if maintained. Sample screen shown below.
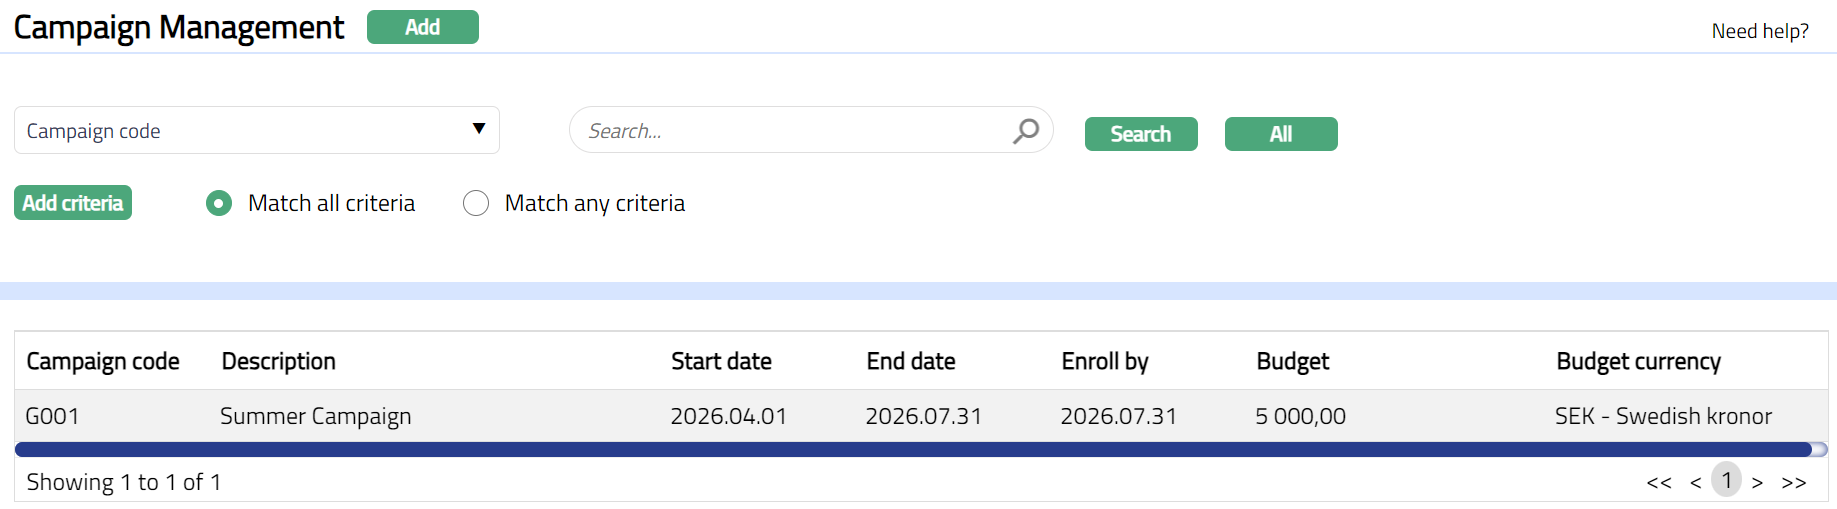
2. Click Add. New Campaign Management → Profile (1/2) page appears.
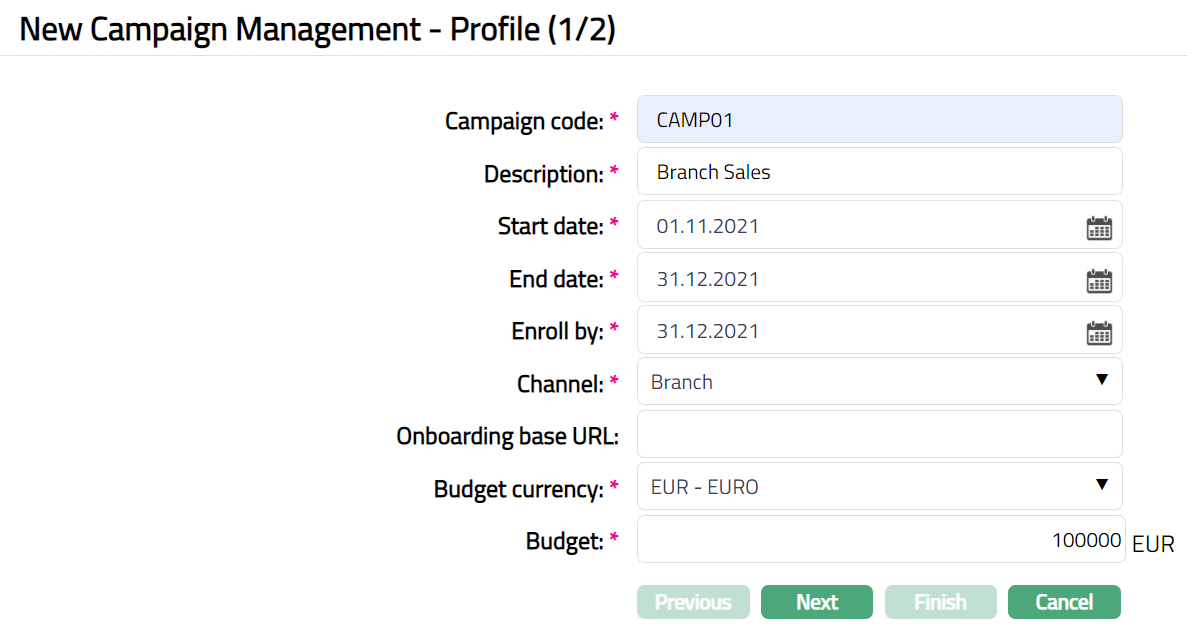
3. Enter Code for the Campaign.
4. Enter Description for the campaign.
5. Enter Start date of the campaign by typing in the date or using the date picker.
6. Enter End date of the campaign by typing in the date or using the date picker.
7. Enter Enroll by date for the campaign by typing in the date or using the date picker. It is the date within which the records related to the Campaign needs to be input into Aura.
Note: Enroll By date must be greater than or equal to End Date.
8. Select Channel for this Campaign from drop-down list of options maintained under Admin → System codes → Categories → Service delivery channel. A channel in a bank refers to the medium / mode through which the customers interact with the bank, and by which the bank delivers its products and services to them.
Examples are Back office, Branch, Branch banking, Contact centers, Interactive voice response (IVR), Online banking, etc.
9. Enter Onboarding Base URL if applicable.
10. Select Currency for the Budget to be allocated for the campaign, from the drop-down list of currencies maintained under Admin → System codes → Currency → Currency.
11. Enter Budget amount to be allocated for Campaign.
12. Click Next. New Campaign Management → Confirmation (2/2) page appears.

13. Click Finish. Campaign Management Page appears displaying the Profile tab by default.

Functions: Add, Delete, Search, Edit
Delete: You can delete Campaign Management record saved in Aura by clicking Delete button. Aura will ask for confirmation, on approving the selected record will be deleted.
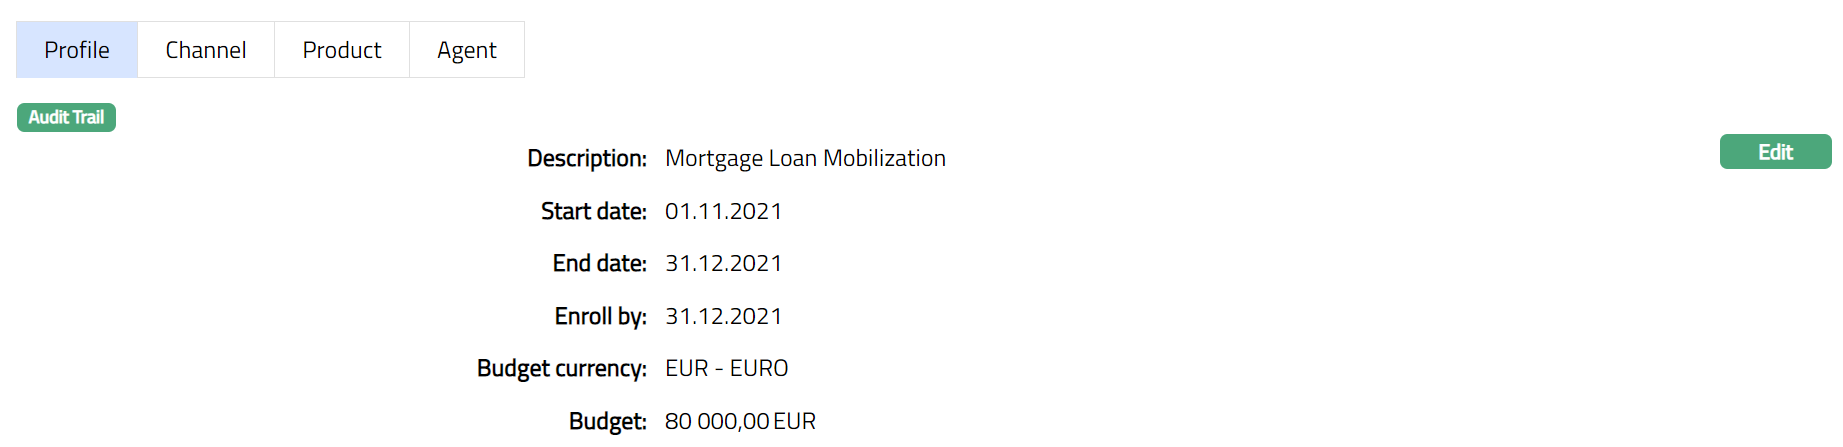
Profile
Profile tab, which is the default tab in the Campaign Management screen, shows the basic details of the Campaign which were added in New Campaign Management → Profile (1/2)
To view / edit Profile,
1. Access Campaign Management page and Click Profile tab.
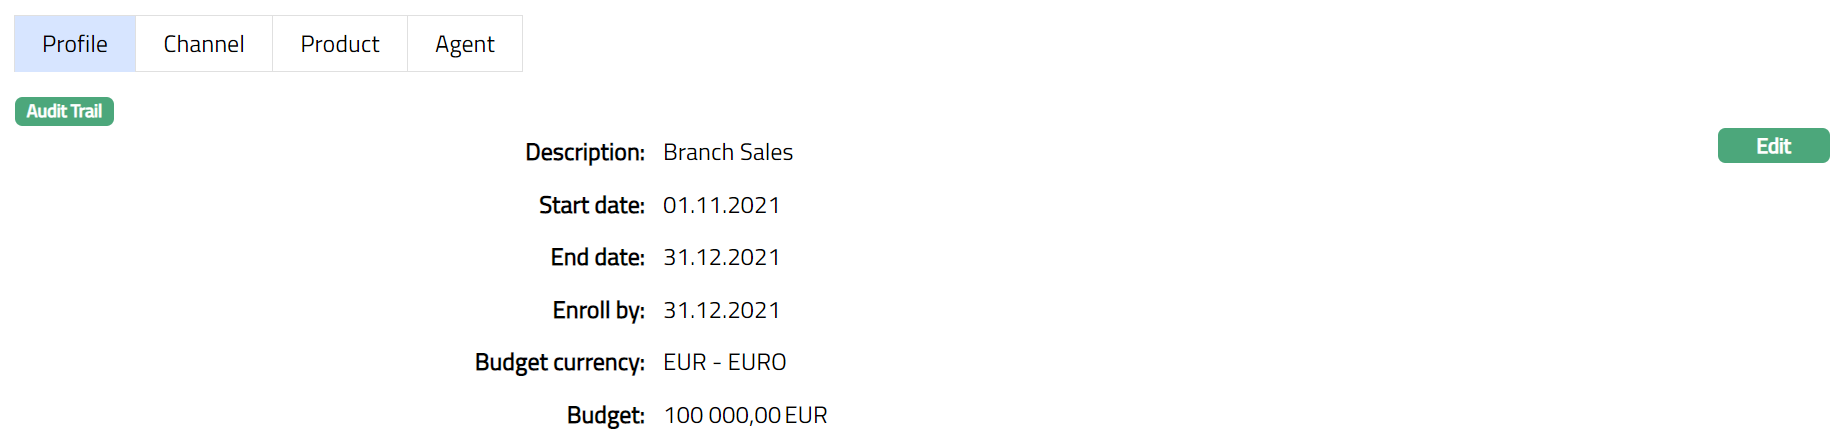
2. Click Edit. Edit Profile page appears.
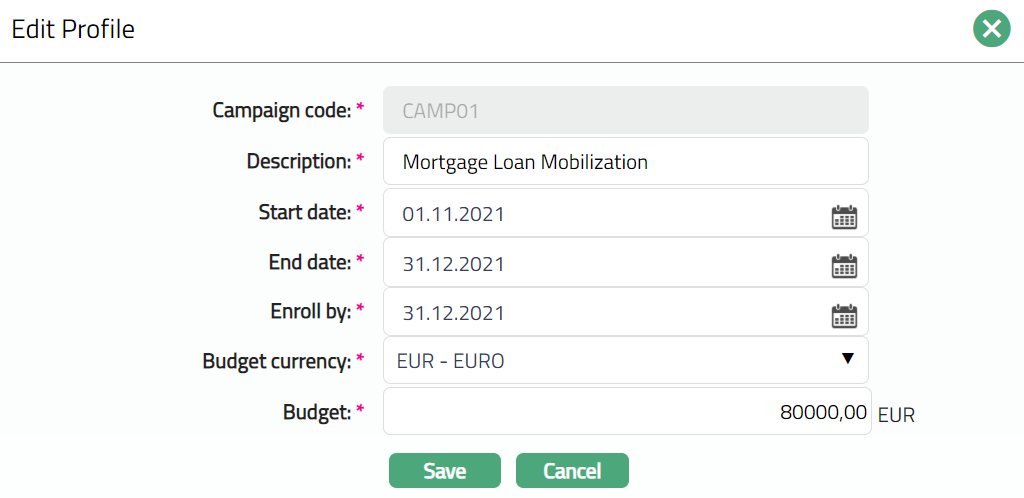
Note: Except Campaign code all other fields are editable.
3. Make required changes and click Save. Profile page appears with the edited details.
Functions: Edit
Channel
A channel in a bank refers to the medium / mode through which the customers interact with the bank, and by which the bank delivers its products and services to them. The detail is defaulted from the channel added in New Campaign Management → Profile (1/2).
To view / edit Channel,
1. Access Campaign Management page and Click Channel tab.

2. Click Add. Add Channel page appears.
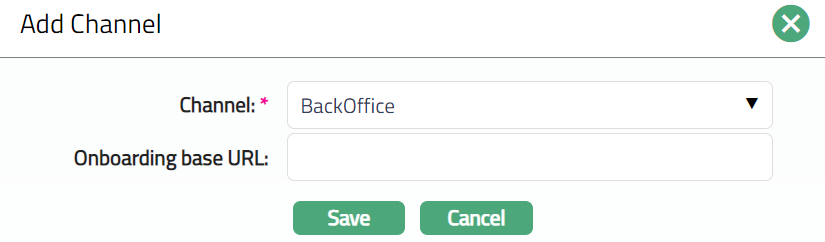
3. Select Channel from the drop-down list of options maintained under Admin → System codes → Categories → Service delivery channel.
4. Enter Onboarding base URL if required.
5. Click Save. Campaign Management page appears showing the details of the Channel that you added.

Functions: Add, Edit, Delete.
To edit channel.
1. Access Campaign Management page and click Channel tab.
2. Click Edit. Edit Channel page appears.
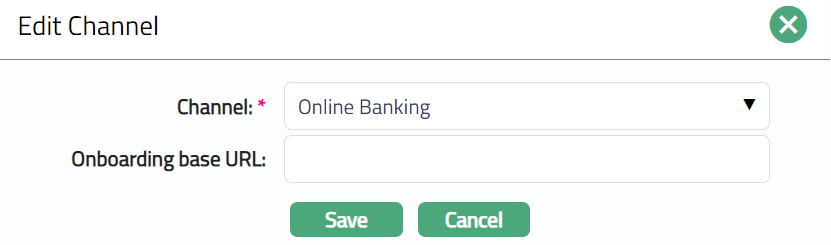
3. Click Save. Channel tab appears with the edited details.

Functions: Add, Edit, Delete.
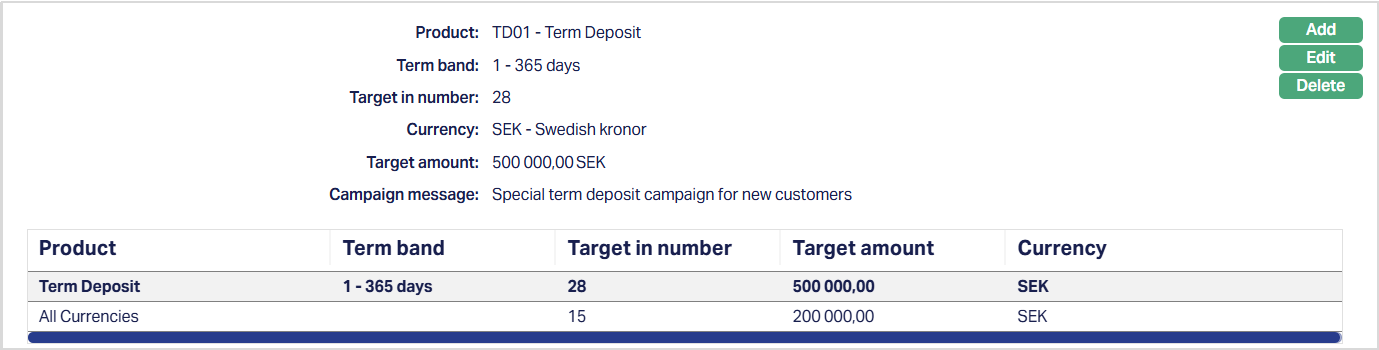
Product
Using this tab, you can attach internal or external products to the campaign and define campaign-specific targets.
To add Product,
1. Access Campaign Management page and click the Product tab.

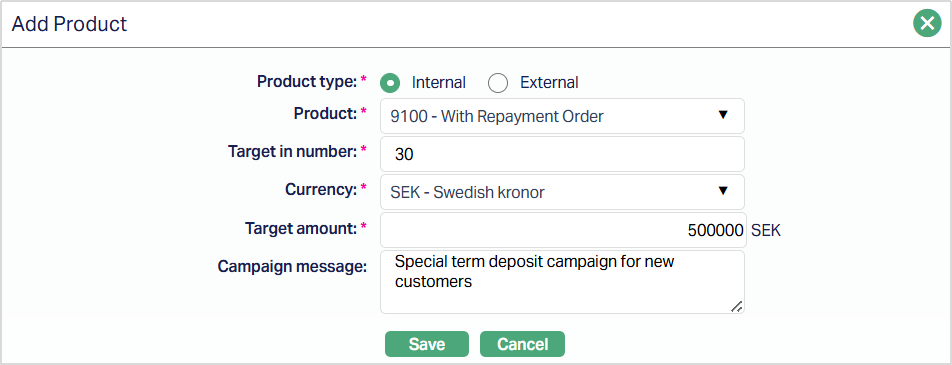
2. Click Add. The Add Product page appears.
If Term Deposit Product is selected:
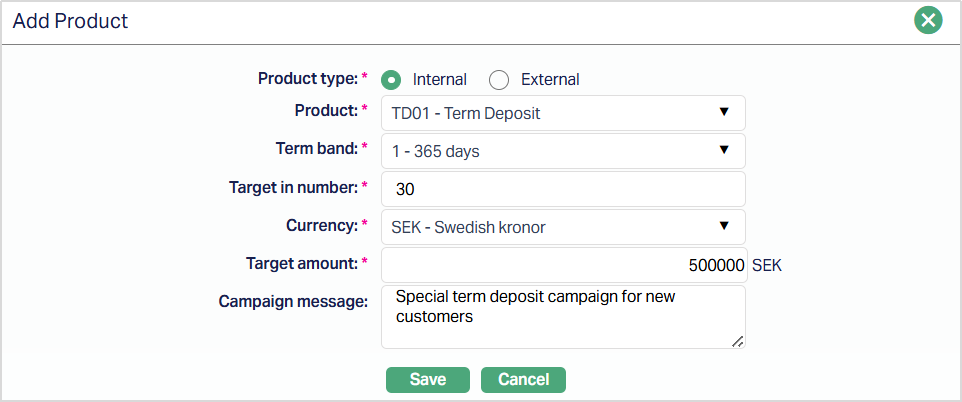
3. Select the Product type. Available options are - Internal and External. By default, Internal Product is selected.
4. Select the Product from the drop-down list. If the Product type is:
- Internal - Aura displays internal products maintained under Retail → Settings → Product.
- External - Aura displays external products maintained under Admin → System Codes → Generic Definition → Interface Definition → Maintain.
5. Term Band selection for Term Deposit Products:
- If Product Type = Internal
- If selected Product is a Term Deposit Product
Aura displays additional field name Term Band
Term Band selection is mandatoty for Term Deposit products. The Term Band drop-down is populated with all term bands maintained for the selected Term Deposit Product in the Product maintenance. You must select one Term Band for each campaign product entry. If the selected product is not a Term Deposit product, the Term Band field will not be displayed.
6. Enter Target in terms of number.
7. Select the Currency for the Target amount from the drop-down list of currencies maintained under Admin → System Codes → Currency.
8. Enter the Target Amount.
9. Enter the Campaign message, if required.
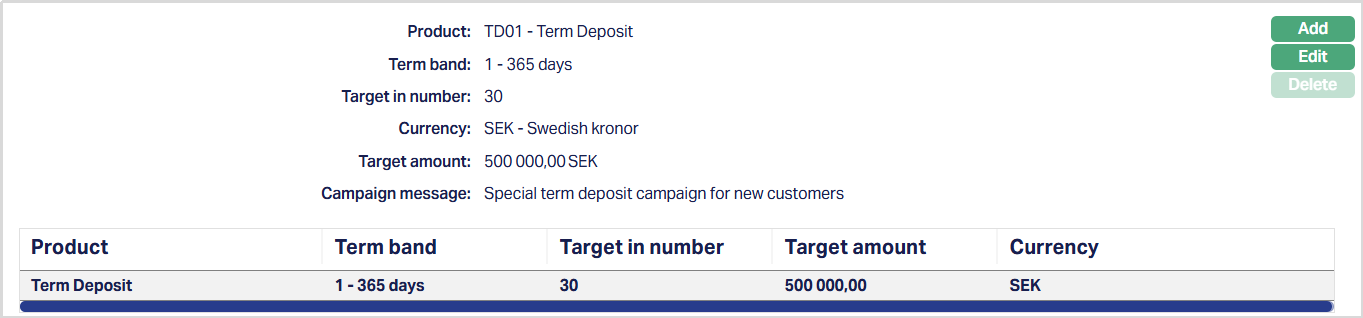
10. Click Save. The Product page appears with the added details.
Functions: Add, Edit, Delete.
To edit Product,
1. Click Edit. Edit Product page appears.
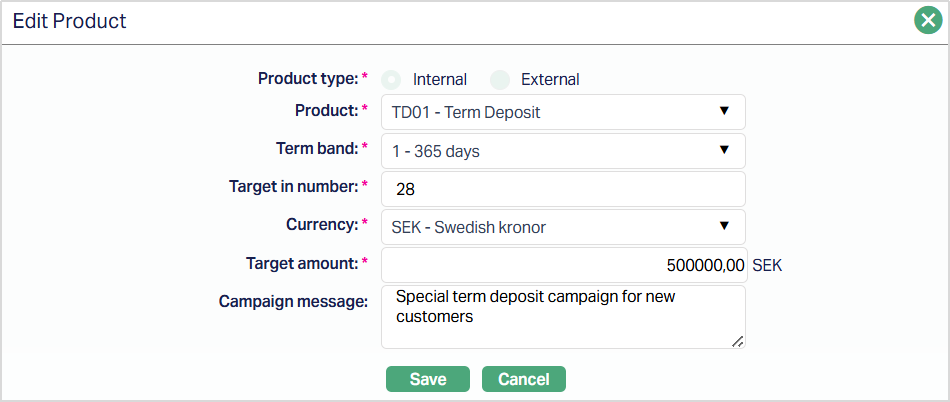
Note: Except Product Type, all other fields are editable.
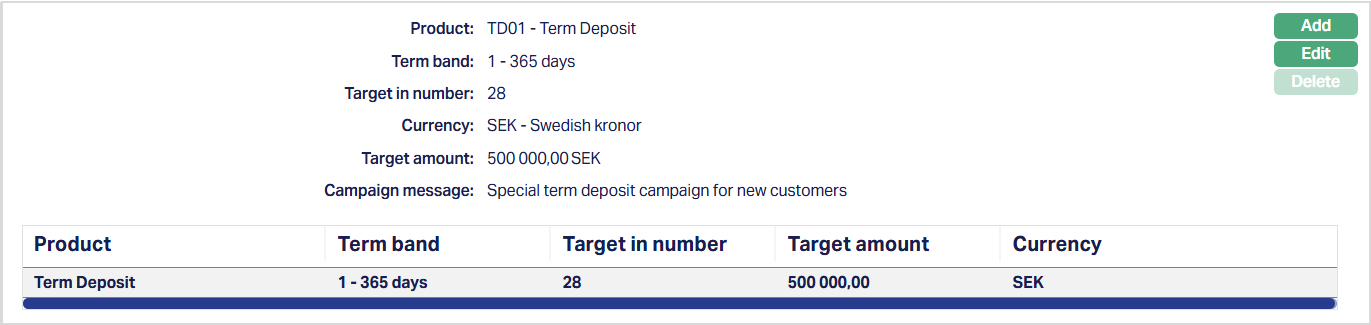
2. Make the required changes and click Save. The Product page appears with the edited details.
Multiple Combinations:
- Aura allows you to add multiple campaign product entries based on user input.
- Identical combinations of Product and Term Band are permitted and treated as valid entries.
- No unique constraint is enforced on the Product-Term Band combination at campaign level.
Functions: Add, Edit, Delete.
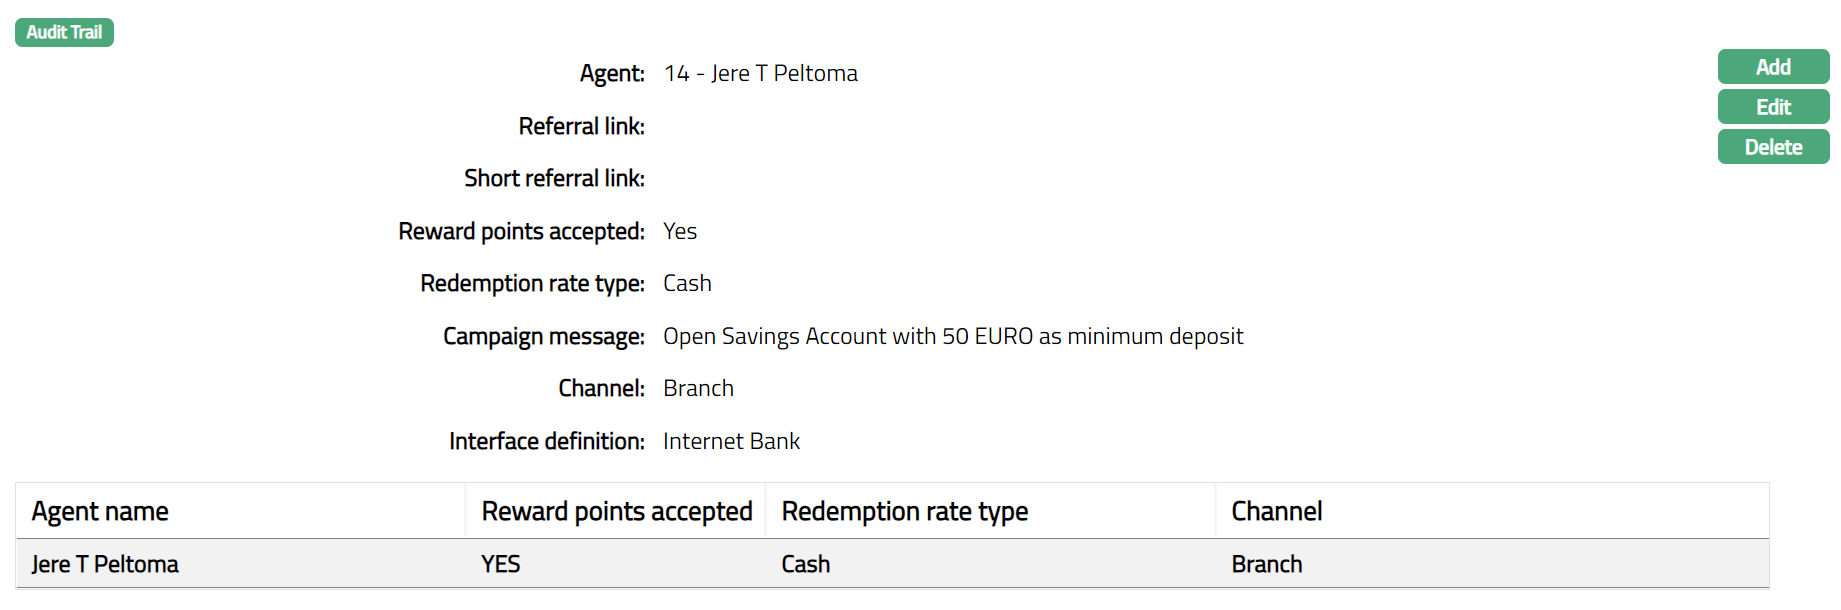
Agent
This tab allows you to add Agent for the campaign. Agent is who on behalf of the bank will do the campaigning for the products.
To add Agent
1. Access Campaign Management page and click Agent tab.
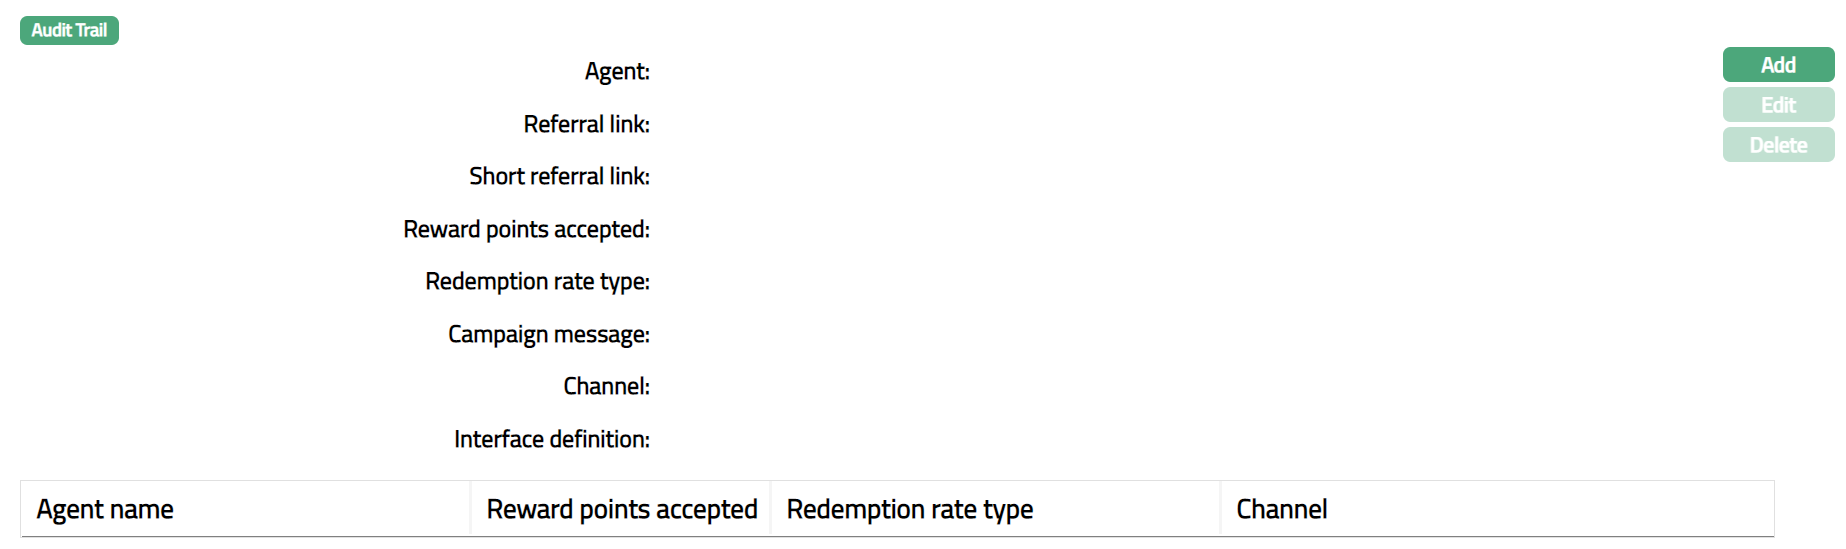
2. Click Add. Add Agent page appears.
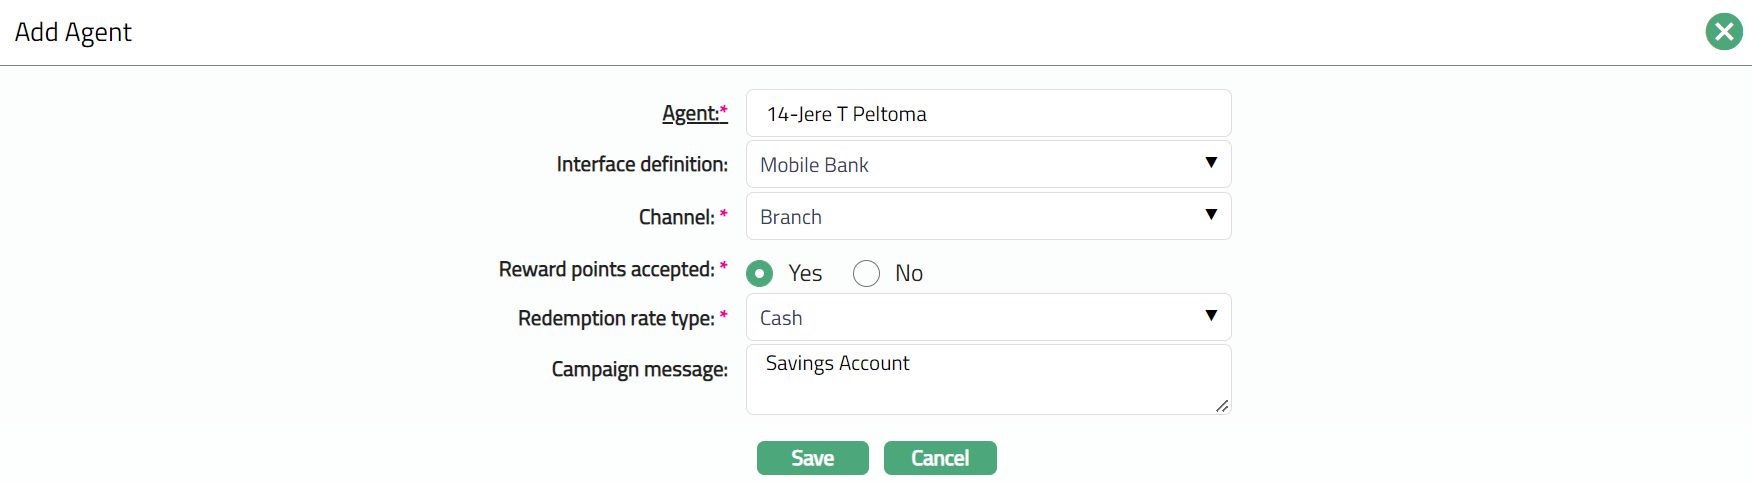
3. Select Agent by clicking hyperlink. Agent Search page appears with the list of activate Agents maintained under CRM → Sales → Agent.
4. Select Interface definition from the drop-down list of options maintained under Admin → System codes → Interface definition → Maintain.
5. Select Channel from the drop-down list of options maintained under Admin → System codes → Categories → Service delivery channel.
6. For Rewards points accepted select Yes or No to specify whether the same is accepted by the Agent or not. This is applicable when there is campaign for cards. By default, No option is selected.
7. Select Redemption rate type from the drop-down list of options maintained under Admin → System codes → Currency → Currency rate type. Redemption rate type is used for conversion of accrued points on the account.
8. Enter Campaign message. It specifies the offer information pertained to campaign for an agent.
9. Click Save. Agent page appears with the added details.
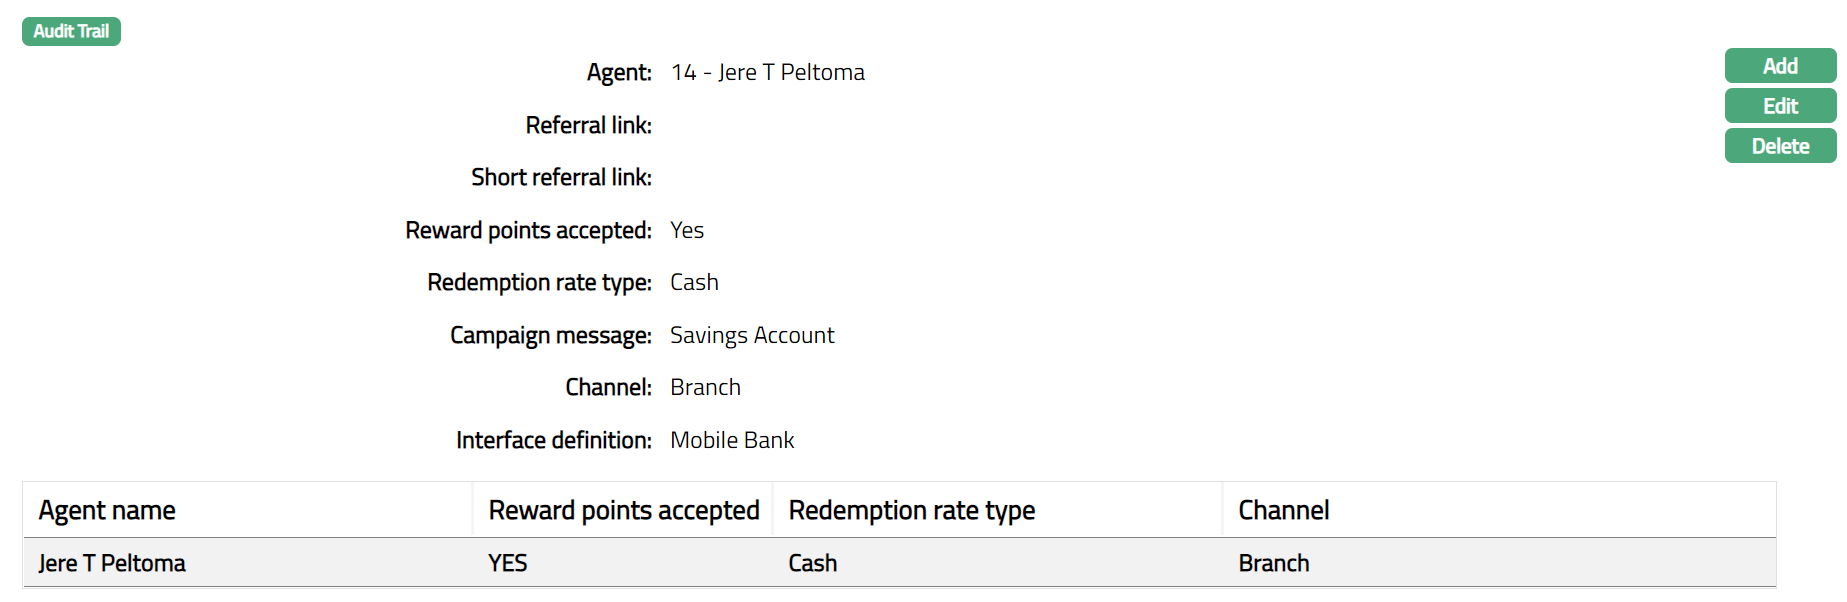 Functions: Add, Edit, Delete
To edit Agent,
1. Click Edit. Edit Agent page appears.
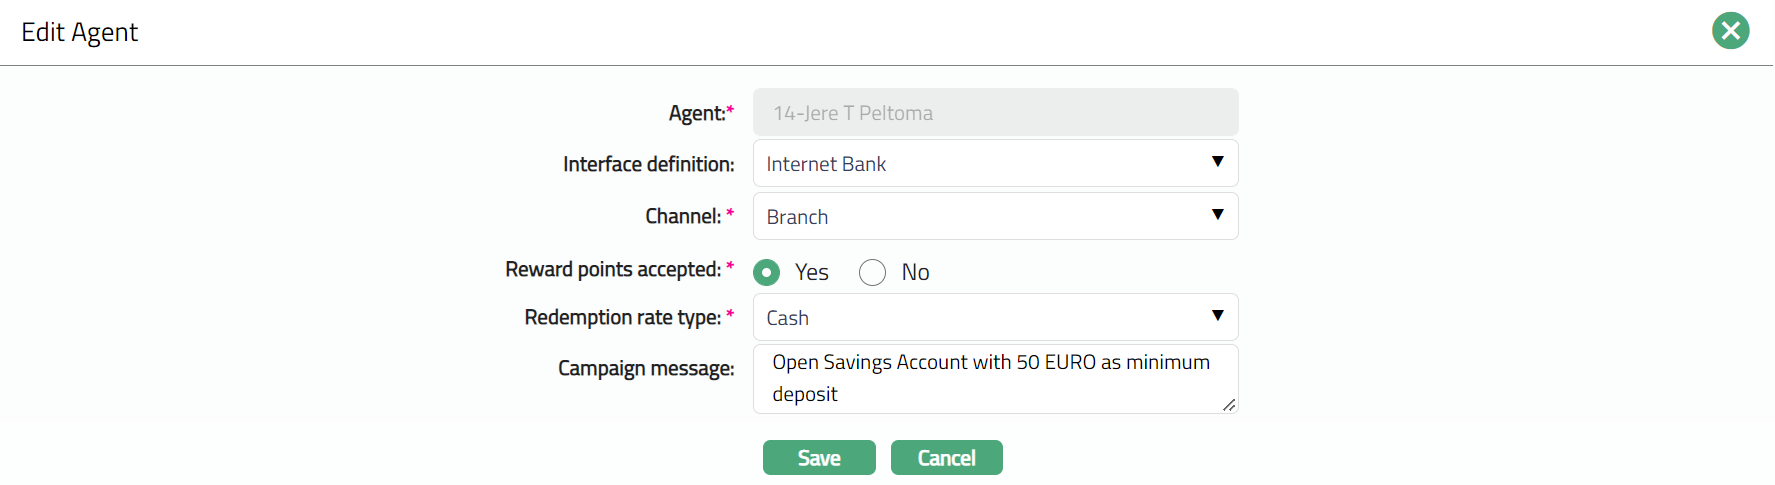
Note: Except Agent field, rest all other fields are editable.
2. Click Save. Agent tab appears with the edited details.
Function: Add, Edit, Delete.
Delete: You can delete Agent record saved in Aura by clicking Delete button. Aura will ask for confirmation, on approving the selected record will be deleted.
Custom Field
This option provides you the flexibility to define fields apart from those that are already available in the standard version of Aura. Thus, it enables you to customize additional data storage and use as required to suit your specific business needs.
Using the Custom Field tab, you can maintain the custom fields mapped to the Sales. Depending on the custom fields created and mapped to Organisation (using Admin → System Codes → Custom Fields), the fields will be displayed on this tab.
To edit Custom Field,
1. Access the Campaign Management page and click the Custom Field tab.

2. Click Edit. Edit Custom Field page appears.

3. Enter the details as required and click Save. The Custom Field page appears with the edited details.

Function: Edit