Related Transaction Setting
The Related Transaction Setting allows the system to automatically trigger and post related accounting entries based on pre-defined Journal Templates and Transaction Codes. By configuring this setting, you can reduce manual Journal creation, maintain consistency and ensure that related transactions are posted promptly and accurately.
This is especially useful for scenarios when loans are moved between separate accounting entities.
The following are the various tabs that appear on the New Related Transaction Setting page:
To add a New Related Transaction Setting,
1. Access General Ledger from menu, click Settings and then Related Transaction Setting page appears.
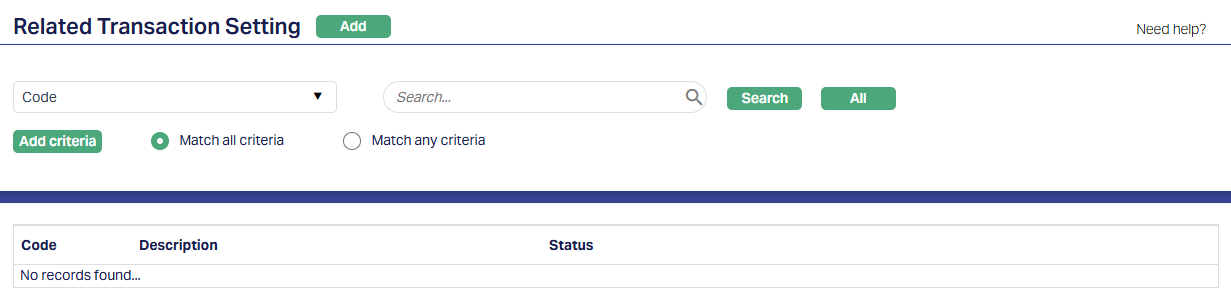
2. Click Add. New Related Transaction Setting → General (1/2) page will appear.
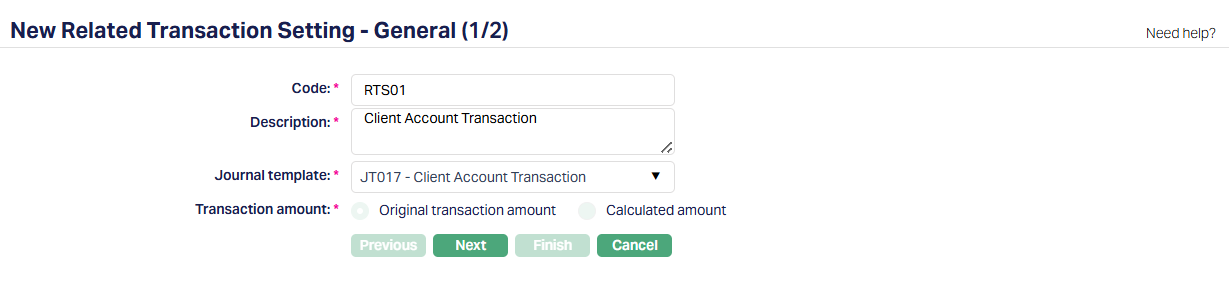
3. Enter code to be assigned to the New Related Transaction Setting. It must be unique and serves as a reference key for future modifications or deletions.
4. Enter Description i.e., descriptive name to be assigned to the New Related Transaction Setting.
5. You can select an existing and active Journal Template from the drop-down list. The related transaction accounting entry will be triggered automatically using the parameters in this Journal Template when the corresponding transaction code is used in any transaction.
6. The Transaction amount definition indicates the amount that will be posted in the related transaction accounting entry. The options are Original Transaction amount and Calculated amount:
Original Transaction amount - the related transaction will use the same amount as the original transaction.
Calculated amount - this will allow users to define a custom formula like a percentage or fixed value to calculate the amount for the related transaction.
*Note: This field currently has a default value of "Original Transaction Amount", which is pre-selected and cannot be modified.
7. Click Next. New Related Transaction Setting → Confirmation (2/2) page appears showing the details of all the inputs in the previous step.
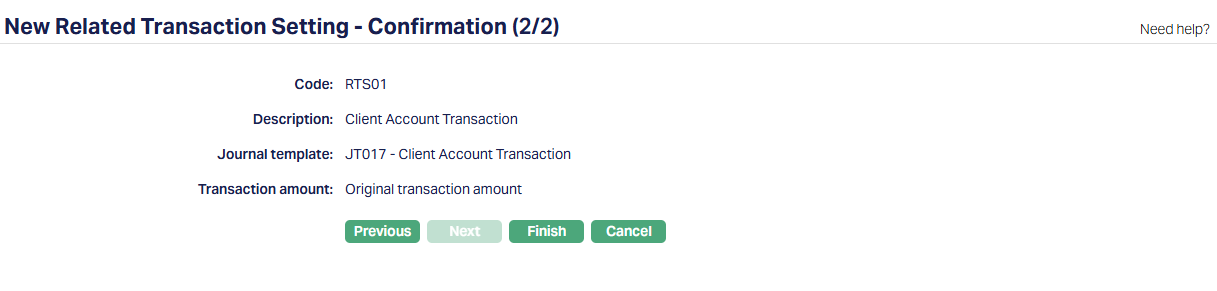
8. Click Finish. Related Transaction Setting page appears displaying the Profile Tab. The Status is Active.
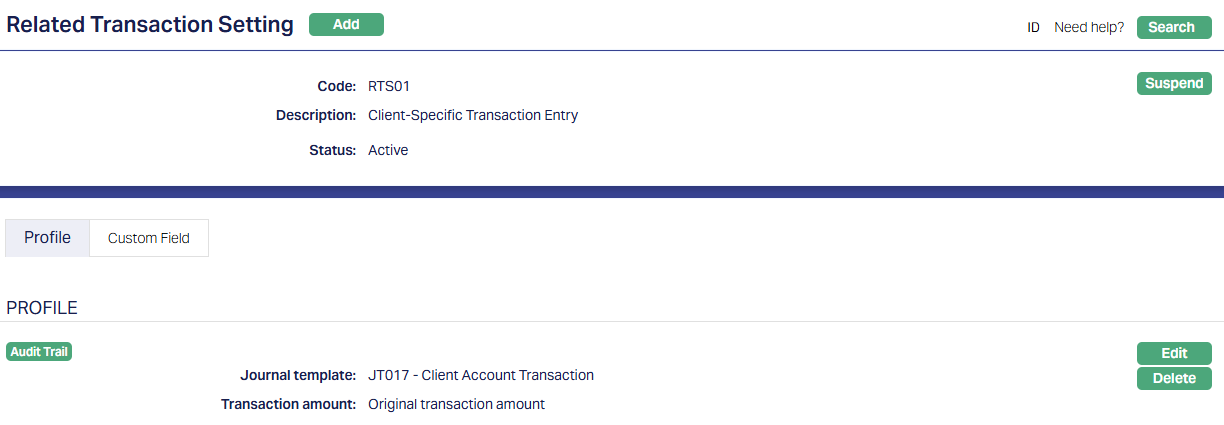
Functions: Add, Search, Suspend, Activate
Suspend: You can suspend a Related Transaction Setting by clicking on Suspend button. When you click on Suspend button, Aura will ask for confirmation. On confirmation, Aura will suspend the Related Transaction Setting and Activate button will appear in place of the Suspend button. The status of the Related Transaction Setting is set to Suspended. A suspended Related Transaction Setting cannot be used for mapping into a Transaction Code as long as the status is Suspended. Any existing mapping will continue unaffected.
Activate: If you want to Activate a suspended Related Transaction Setting then click on Activate button. Aura will ask for confirmation. On confirmation Aura will Activate the Related Transaction Setting and Suspend button will appear in place of Activate button. The status of the Related Transaction Setting is set to Active. Only if the status is Active, a Related Transaction Setting can be used for mapping into a Transaction Code.
Profile
Profile tab, which is the default screen in the Related Transaction Setting screen, shows the basic details of the Related Transaction Setting. Refer to New Related Transaction Setting → General (1/2) for details.
To edit,
1. Access Related Transaction Setting screen. Profile tab is displayed by default.

2. Click Edit button. Edit Profile page appears.
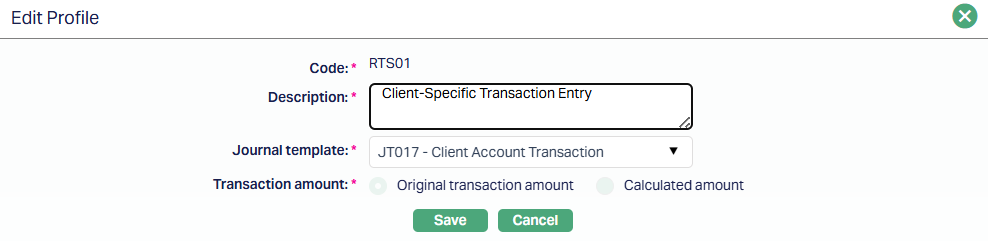
Note: All fields are editable except Code field. For details, refer to Add New Related Transaction Setting → General (1/2) above.
3. Click Save. Related Transaction Setting page appears with the edited details.
Functions: Edit, Delete.
Custom Field
This option provides you the flexibility to define fields apart from those that are already available in the standard version of Aura. Thus, it enables you to customize additional data storage and use as required to suit your specific business needs.
Using the Custom Field tab, you can maintain the custom fields mapped to the Related Transaction Setting. Depending on the custom fields created and mapped to Related Transaction Setting (using Admin → System Codes → Custom Fields), the fields will be displayed on this tab.
To edit Custom Field,
1. Access Related Transaction Setting and click on Custom Field tab.

2. Click Edit. Edit Custom Field page appears showing the Effective From category that has been mapped to Related Transaction Settings as shown below:

3. Select the Date when the Related Transaction Setting is Effective From.
4. Click Save. The details entered and added on the custom field appears.

Functions: Edit