User Roles
Roles are used for forming a logical group of users. Roles determine the access rights of a User for the various functionalities of Aura. You can also define the auto-approval rights for a Role.
Following are the tabs in the Role page.
To add New Role
From Admin menu, click Users and then Roles. Role Search page appears. The list of all the Roles maintained in Aura is displayed.
Click Add. New Role -- General (1/2) page appears.
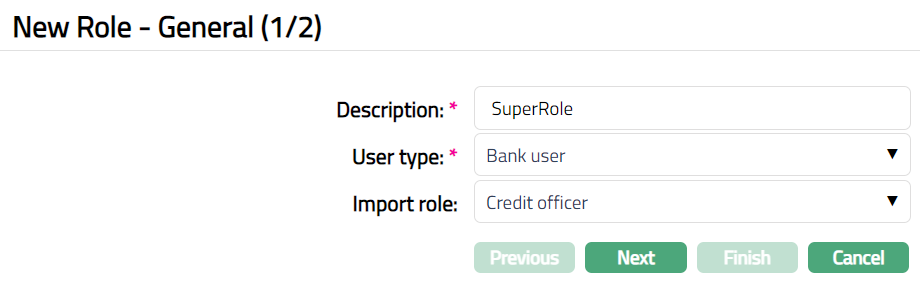
Enter Description for the Role.
Select User type from the options available under the dropdown already maintained in Aura.
If you have to create a role that is similar but varying in a minor degree to an existing role, you can use the Import role dropdown and select the role already maintained in Aura. All rights for the existing role will be imported into the new role. You can then edit the new role for the minor variations.
Click Next. New Role -- Confirmation (2/2) page appears.
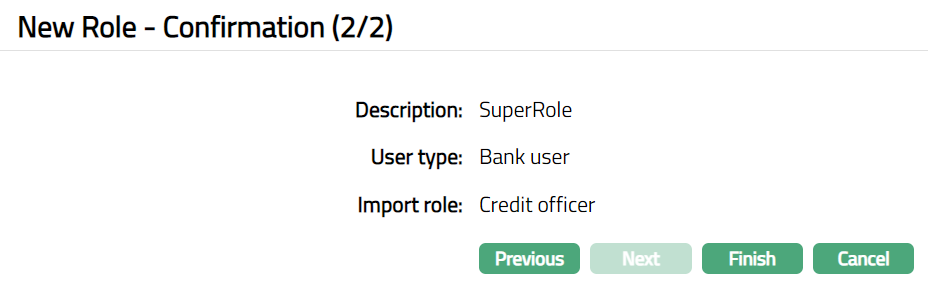
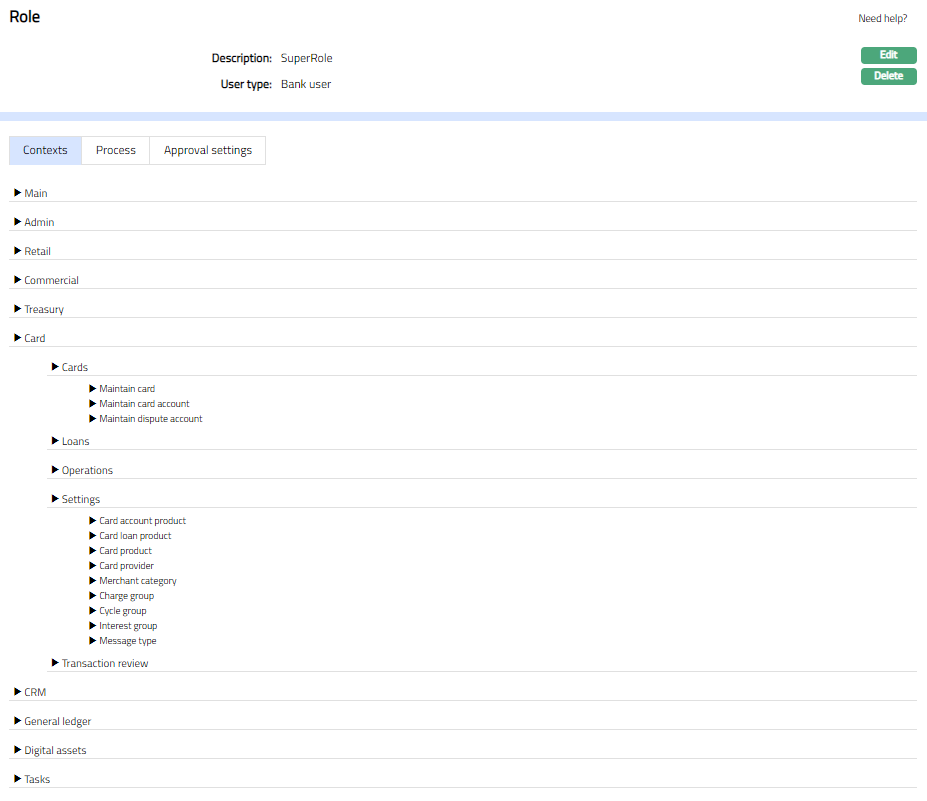
- Click Finish. Role page appears displaying the added Role.
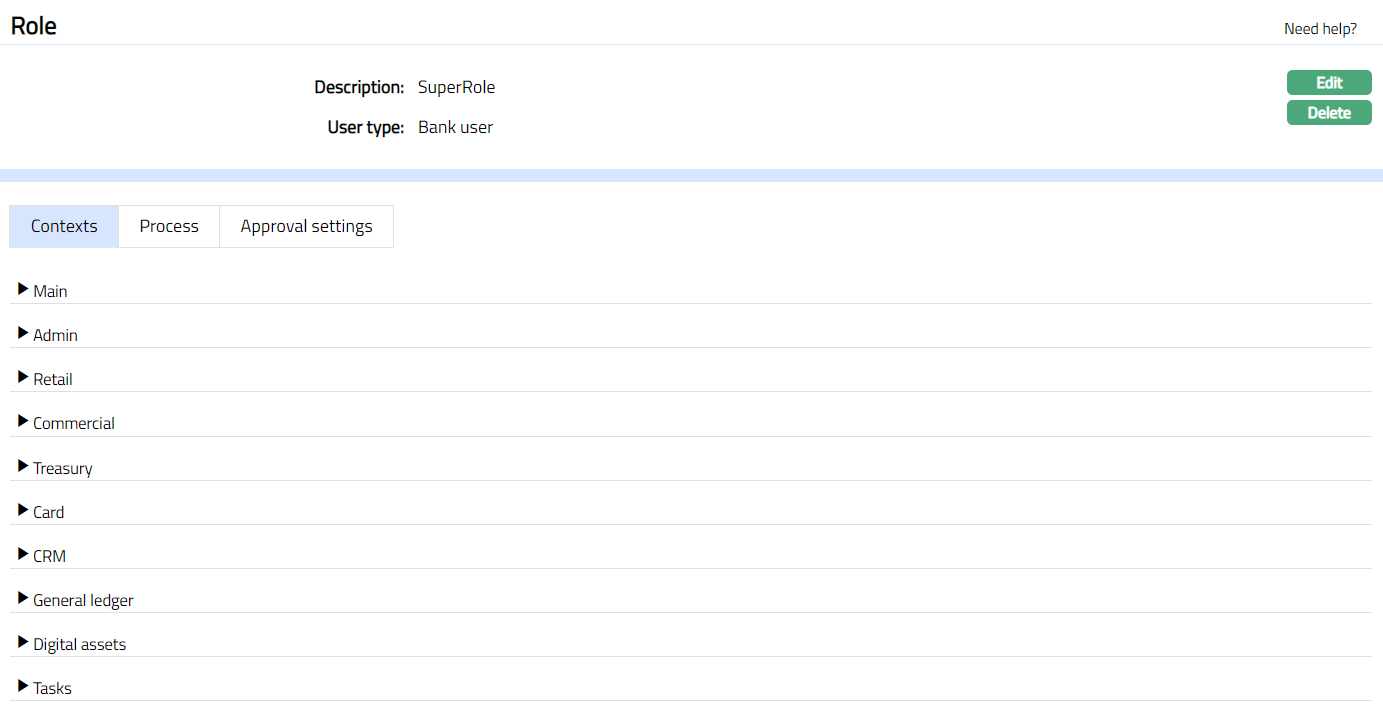
Functions: Edit, Delete.
- To define the rights for the Role, invoke the Role screen and click Role for which the rights are to be defined. The following screen appears displaying the various modules in Aura.
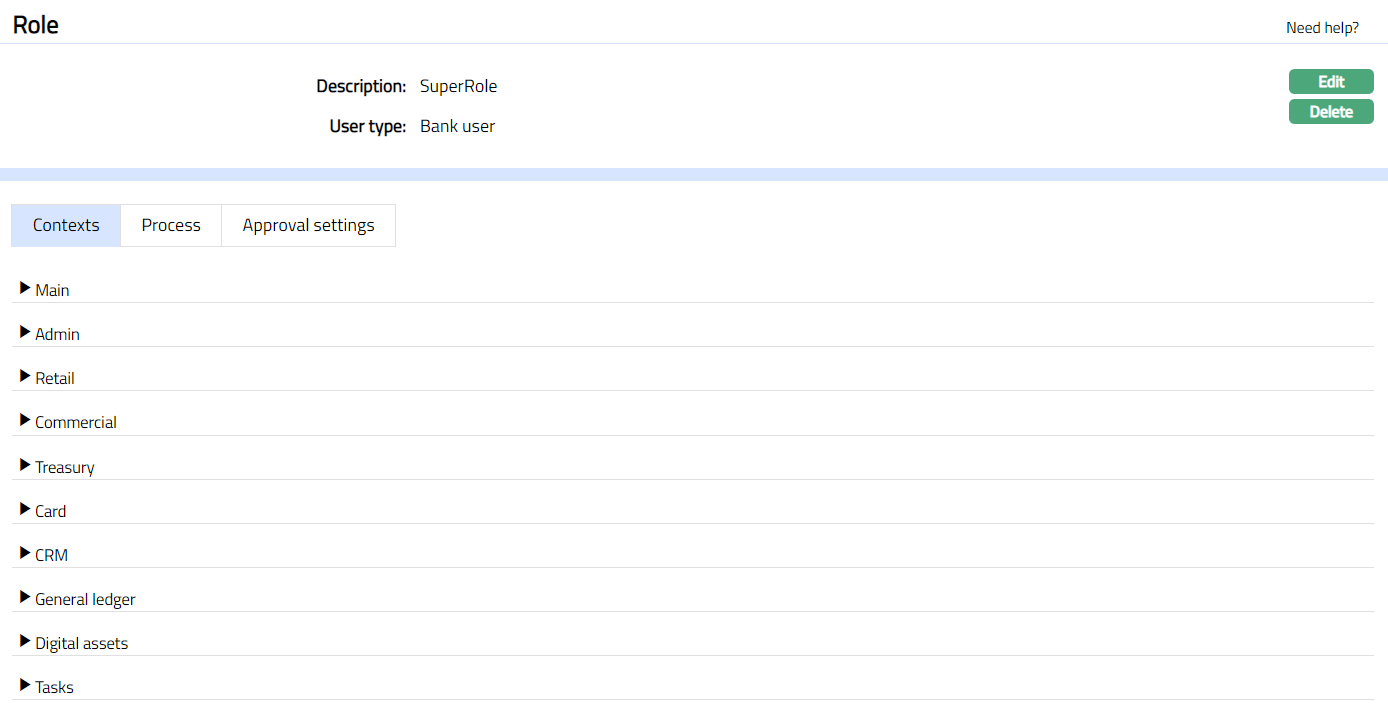
- Click the required module to see the following screen displaying the various Contexts (Functionalities) in Aura.
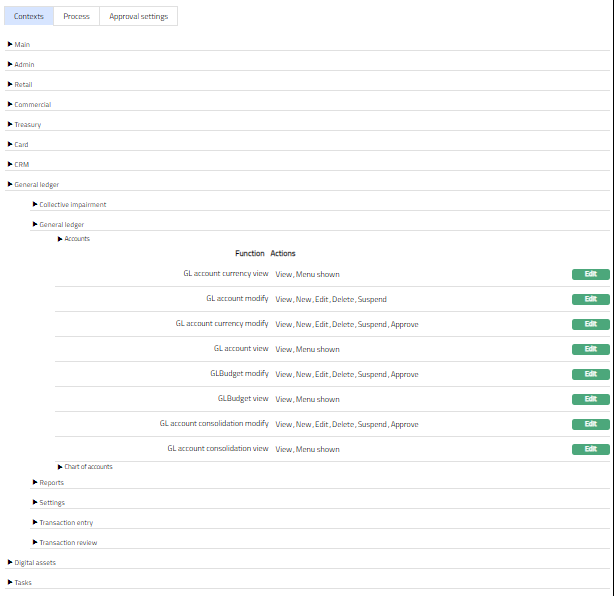
Contexts
Each of the Contexts (Functionalities) will have an associated set of Functions and each Function has a set of Actions (Rights). You can view and edit the set of Actions (Rights) for the required Context (Functionality).
- Click the required Context (Functionality) to see the set of functions and the various actions defined to it. You can View and Edit the set of Actions (Rights) for the required Context (Functionality).
- Click Edit button corresponding to the Function to select the Actions (Rights) for that function. The following screen appears showing the list of Actions available for the selected Function.
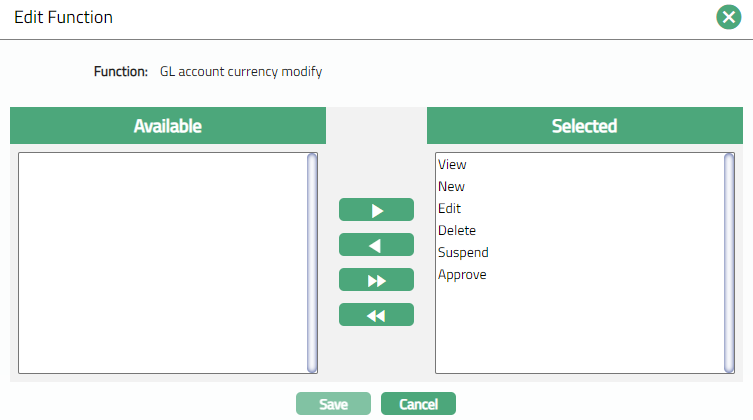
- Click on the required Action (Right) from Available list.
Click
 to add a right i.e. move one Action at a time from Available list to Selected list.
Click
 to add all rights i.e. move all the Actions under Available list to Selected list
Click
 to remove a right i.e. move one Action at a time from Selected list to Available list
Click
 to remove all rights i.e. move all Actions at a time from Selected list to Available list.
- Click Save to save the assigned Actions for the Role.
Once the Actions are defined, the Rights for every Function will be displayed under Action column right next to the respective Function.
Process
Process tab displays all the approved processes available in Aura. These approved Processes created in Process designer (PD) are mapped to Roles. The processes mapped to the specific Roles get defaulted under Process tab.
This tab helps you to define the access authority of the selected functionalities available in the process for the selected Role. Hence, all the users with this role will have feasibility to perform the selected functions in the process.
- Access Role page and click on Process tab. Processes that are approved are displayed here.

Columns available are:
Process Name denotes the name of the process deployed from PD
Version denotes the version number of the process.
Status denotes the status of the process.
Process type denotes the type of the process.
Deployed date denotes the date on which the process is deployed.
- Click the required Process to define the access authority of the selected functionalities available in the process for the selected Role.
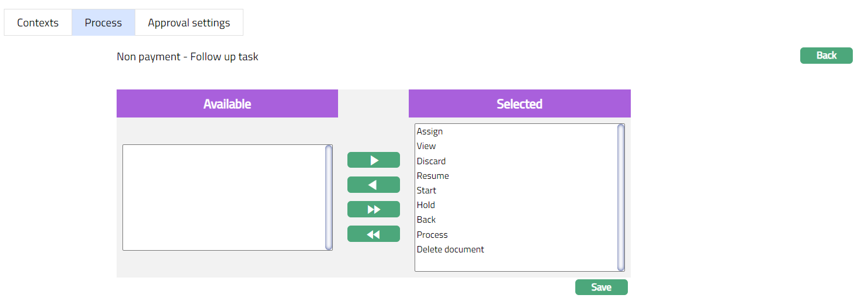
Click the required Action (Right) from Available list.
Click
to add a right i.e. move one Action at a time from Available list to Selected list.Click
to add all rights i.e. move all the Actions under Available list to Selected list.Click
to remove a right i.e. move one Action at a time from Selected list to Available list.Click
to remove all rights i.e. move all Actions at a time from Selected list to Available list.Click Save to save the assigned Actions for the Role.
Click Back radio button to go back to the Process tab.
Approval settings
Generally, a record created by User X can be approved by User Y who again should hold the authority for approval. i. e. the user Y must have already been assigned a role with the rights (authority) for approval. In case of Approval setting the record created by a user becomes auto approved once the record is created, as the user who created it is assigned a role with the rights (authority) for approval.
To assign approve rights for a Role.
- Select the required role and click Approval settings tab to see the Role page as shown below:
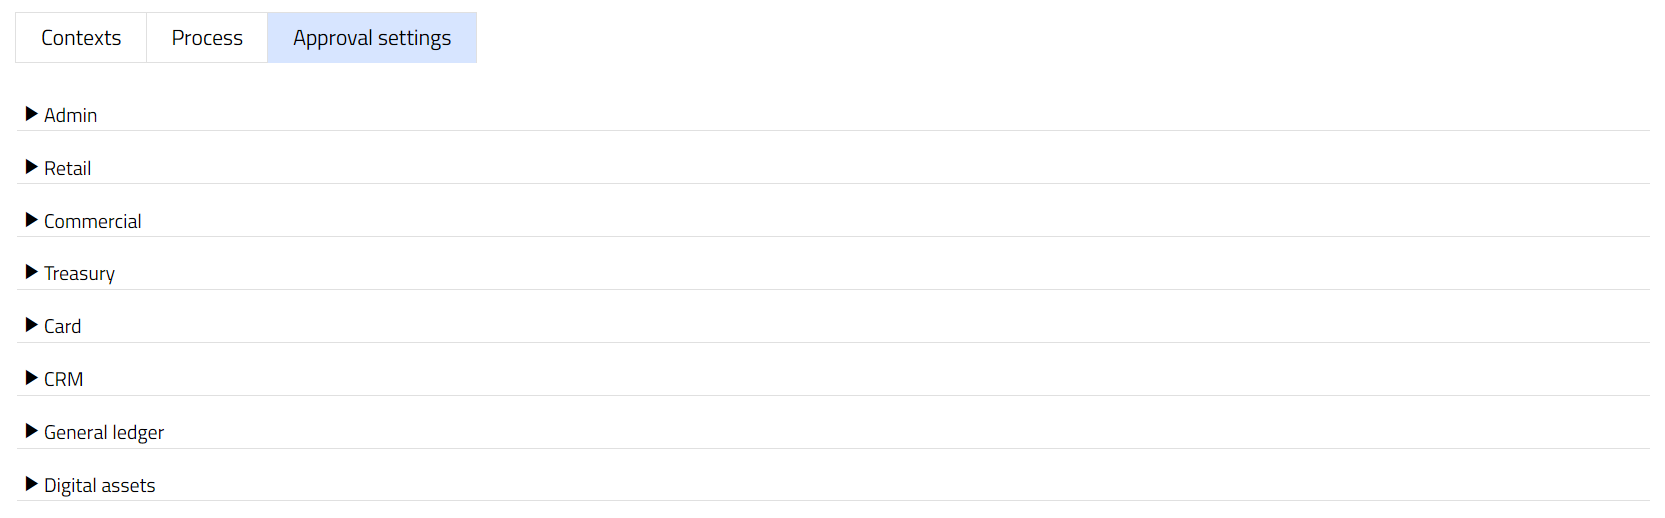
- For example, click Card and then Card product. The page displays the following details as shown below.

- Now click Edit button. Edit approval settings screen opens.

- Select the fields for which approval is allowed and click Save. New Approval Settings appear with the updated fields.
