Performance Targets
Performance target menu allows you to set and track the sales performance of the User. Based on the data maintained here, you can analyse the performance of an Agent, Agent User or Bank user and the sales performance of the target product.
The tab that appears in Performance Target Maintain page is
To Add a New Performance Target
- From CRM menu, click Sales and then Performance targets. The New Performance Target -- Profile (1/3) page appears.
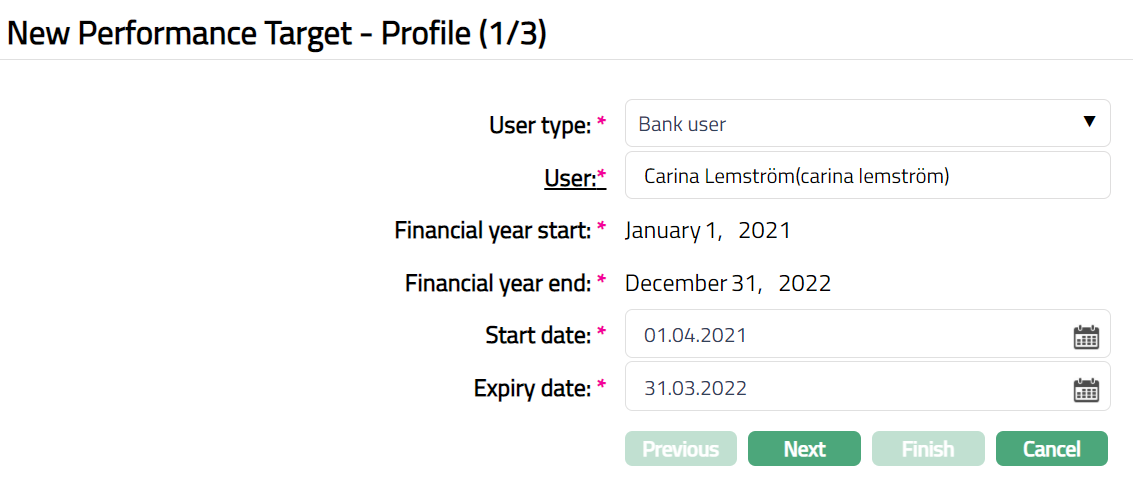
Select the User Type from the drop-down list of pre-shipped options. The available options are Agent, Agent User, Bank user.
Select the User for whom the performance target is set. Based on the User Type chosen above; the hyperlink appears.
If User Type is selected as Agent, Agent hyperlink appears. Click on the hyperlink, the Agent Search page appears with the list of all the Agents with Status as Activated and Record Status as Approved.
If User Type is selected as Agent user, then Agent user hyperlink appears. Click on the hyperlink, the Agent User Search page appears with the list of all the Agent Users with Status as Activated and Agent field linked to any Agent.
If User Type is selected as Bank user, then User hyperlink appears. Click on the hyperlink, the User Search page appears with the list of all the Bank users.
The Financial year start date by default gets populated from Entity, based on the current booking date. On creation of another record for the same user, this field will populate the date based on the previous financial year end record plus one. The date format will be displayed based on the date format maintained at the Entity.
The Financial year end date by default gets populated from Entity. The date format will be displayed based on the date format maintained at the Entity.
Example for financial year start and financial year end -- auto population.
Current booking Date: 15-02-2015
Financial year definition at the entity level
Financial year start: April 1
Financial year end: March 31
Assuming one record already present for the user "Carina" as follows:
User: Carina
Financial year start: April 1, 2014
Financial year end: March 31, 2015
Second record to be populated as below
User: Carina
Financial year start: April 1, 2015
Financial year end: March 31, 2016
Select the performance target Start date from the date picker. This should always be greater than or equal to the Financial Year Start
Select the Expiry date of the performance target from the date picker. This should always be greater than the Start Date; and should always be less than the Financial Year End. Note that the Target Period (Start Date to Expiry Date) should be within the same Financial Year; and cannot span across more than one Financial Year.
Click Next. The New Performance Target --Product (2/3) page appears.
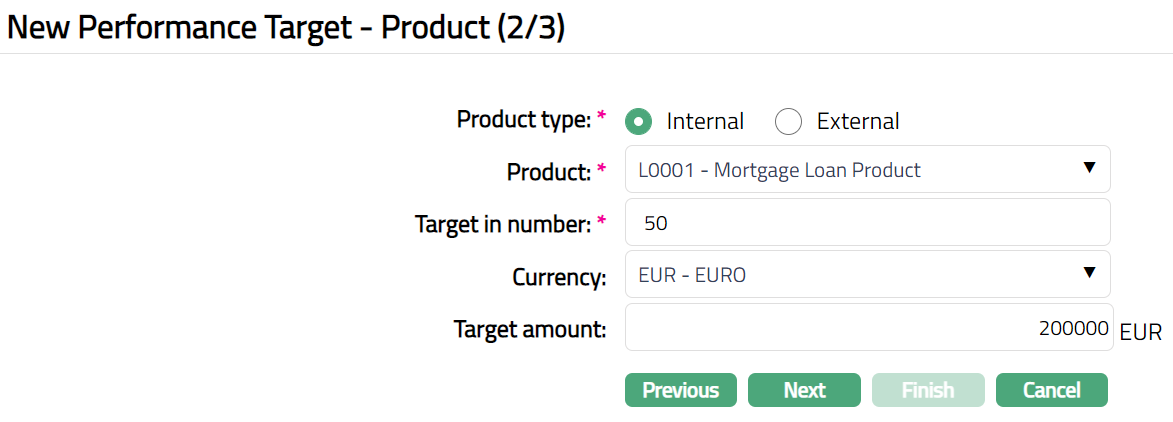
Select the Product type as applicable. The options are Internal Product and External Product.
Select the Product from the list of options. If Internal Product option is chosen in the above field, then the list will display all the available internal products maintained in the drop-down list. If External Product option is chosen in the above field, then the list will display all the external products maintained under Admin > Interface mapping > External Product mapping.
Specify the Target in terms of number.
Select the Currency for the target amount from the list maintained under Admin > Currency > Currency.
Specify the Target in terms of amount.
Click Next. The New Performance Target -- Confirmation (3/3) page appears.
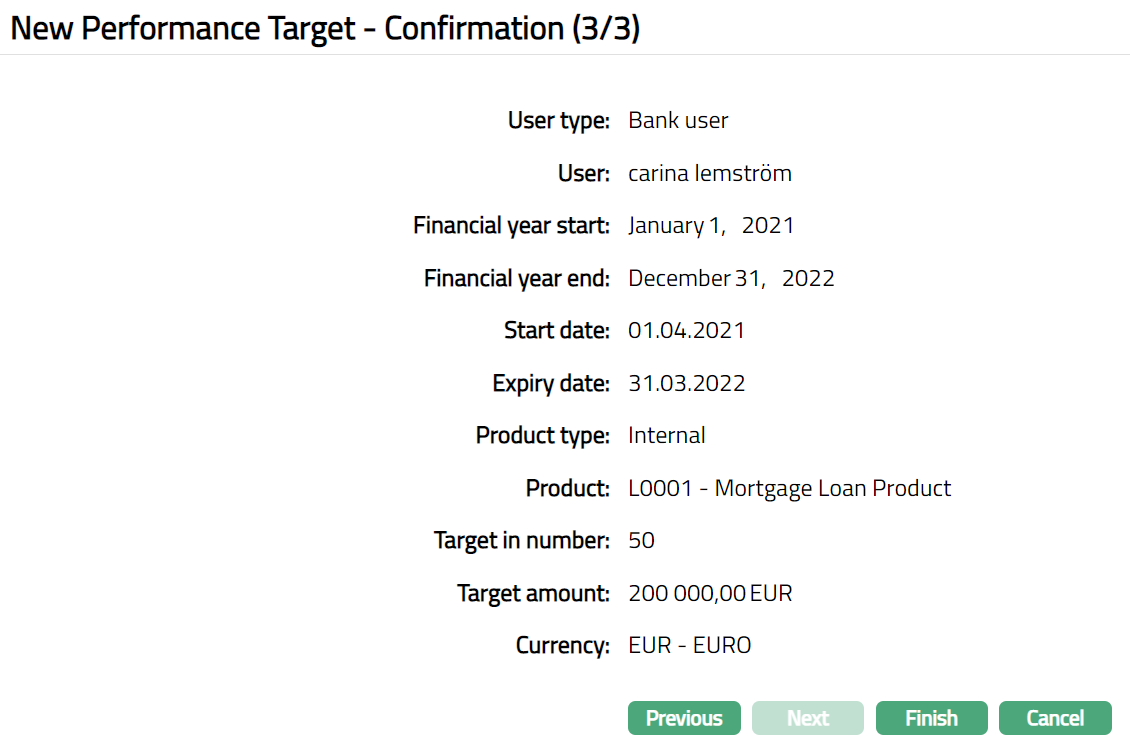
- Click Finish. The Performance Target Maintenance page appears displaying the Target period that you added for the Performance target.
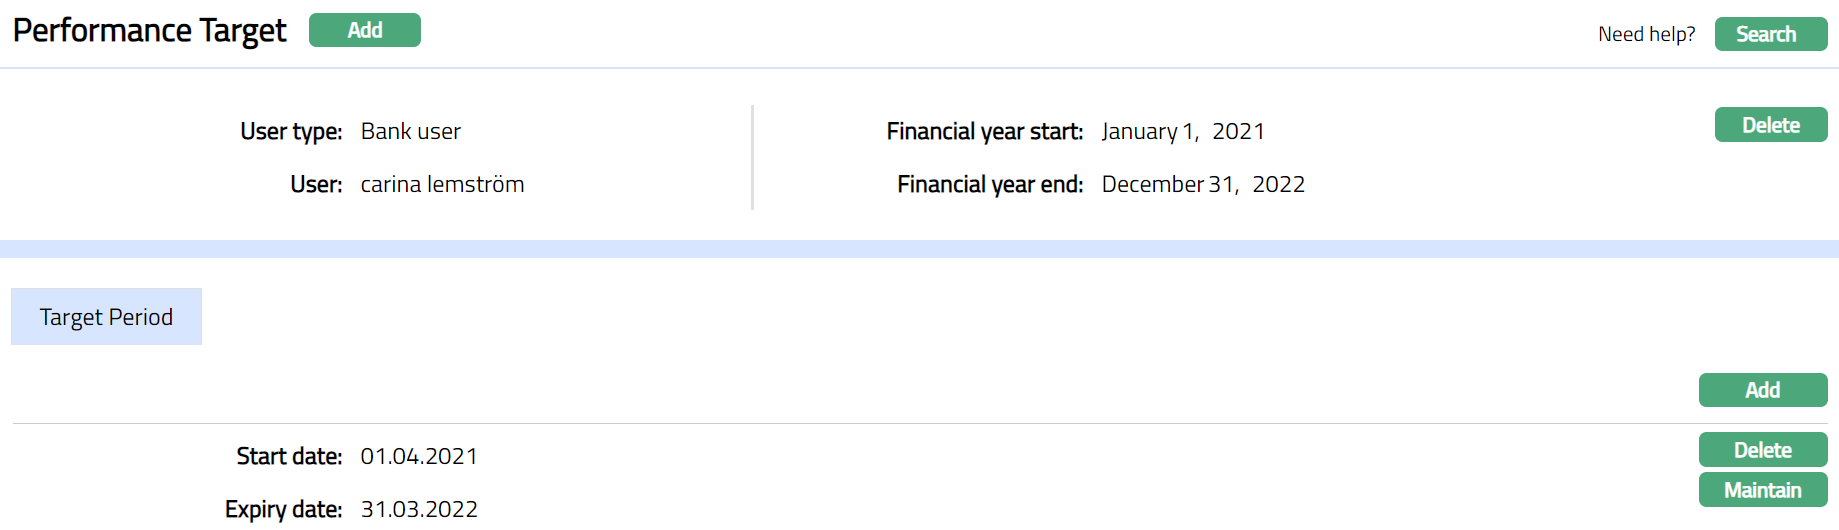
Functions: Add, Delete, Maintain
Delete: You can delete Performance Target record saved in Aura by a click on Delete button. Aura will ask for confirmation, on approving which the selected record will be deleted.
Target Period
The target period displays the start date and expiry date of the Performance target; and helps to maintain details of the target and achievement.

To Add a Performance Target period
- Click Add. The Add Performance Target Period page appears.
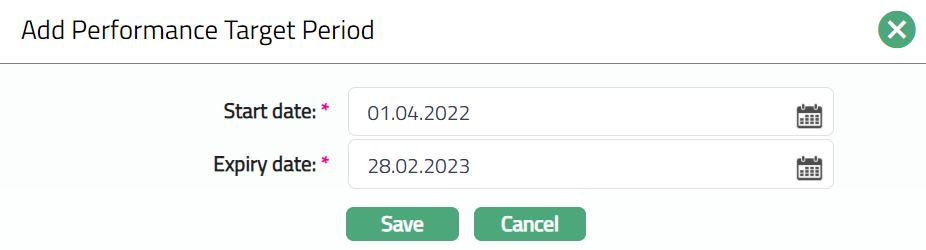
Enter the Start date from the date picker for the performance target period. If a Target Period was already maintained, this will be automatically populated as previous Target Period Expiry Date + 1
Enter the Expiry date from the date picker for the performance target period.
Click Save. The Performance Target page appears with the added details.

Functions: Add, Delete, Maintain
To maintain details of the target
- Click Maintain. The Performance Target page appears with Product tab.
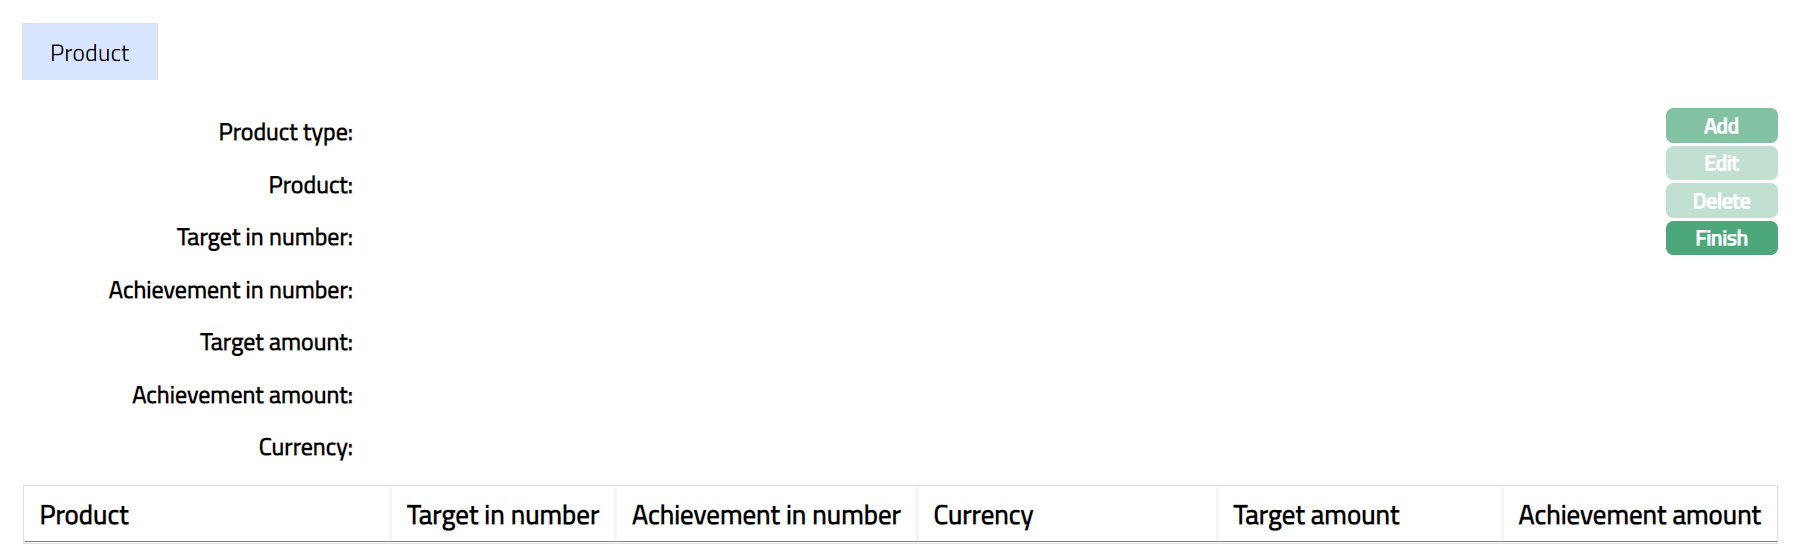
- Click Add. The Add Performance Target Product page appears.
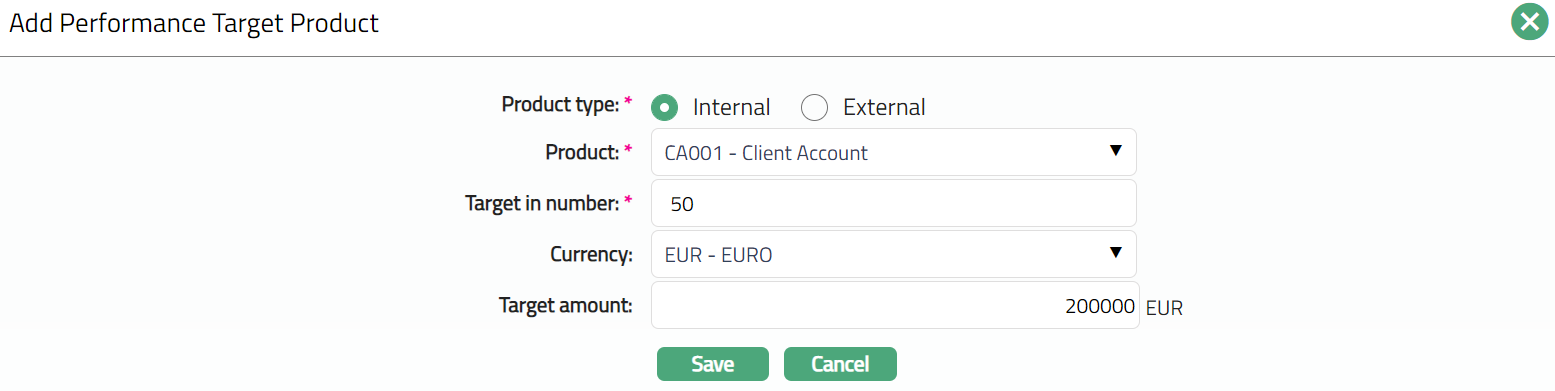
Select the Product type. The options are Internal product and External Product.
Select the Product from the list of options. If Internal Product option is chosen in the above field, then the list will display all the available internal products maintained in the drop-down list. If External Product option is chosen in the above field, then the list will display all the external products maintained under Admin > Interface mapping > External Product mapping.
Specify the Target in terms of number.
Select the Currency for the target amount from the list maintained under Admin > Currency > Currency.
Specify the Target in terms of amount.
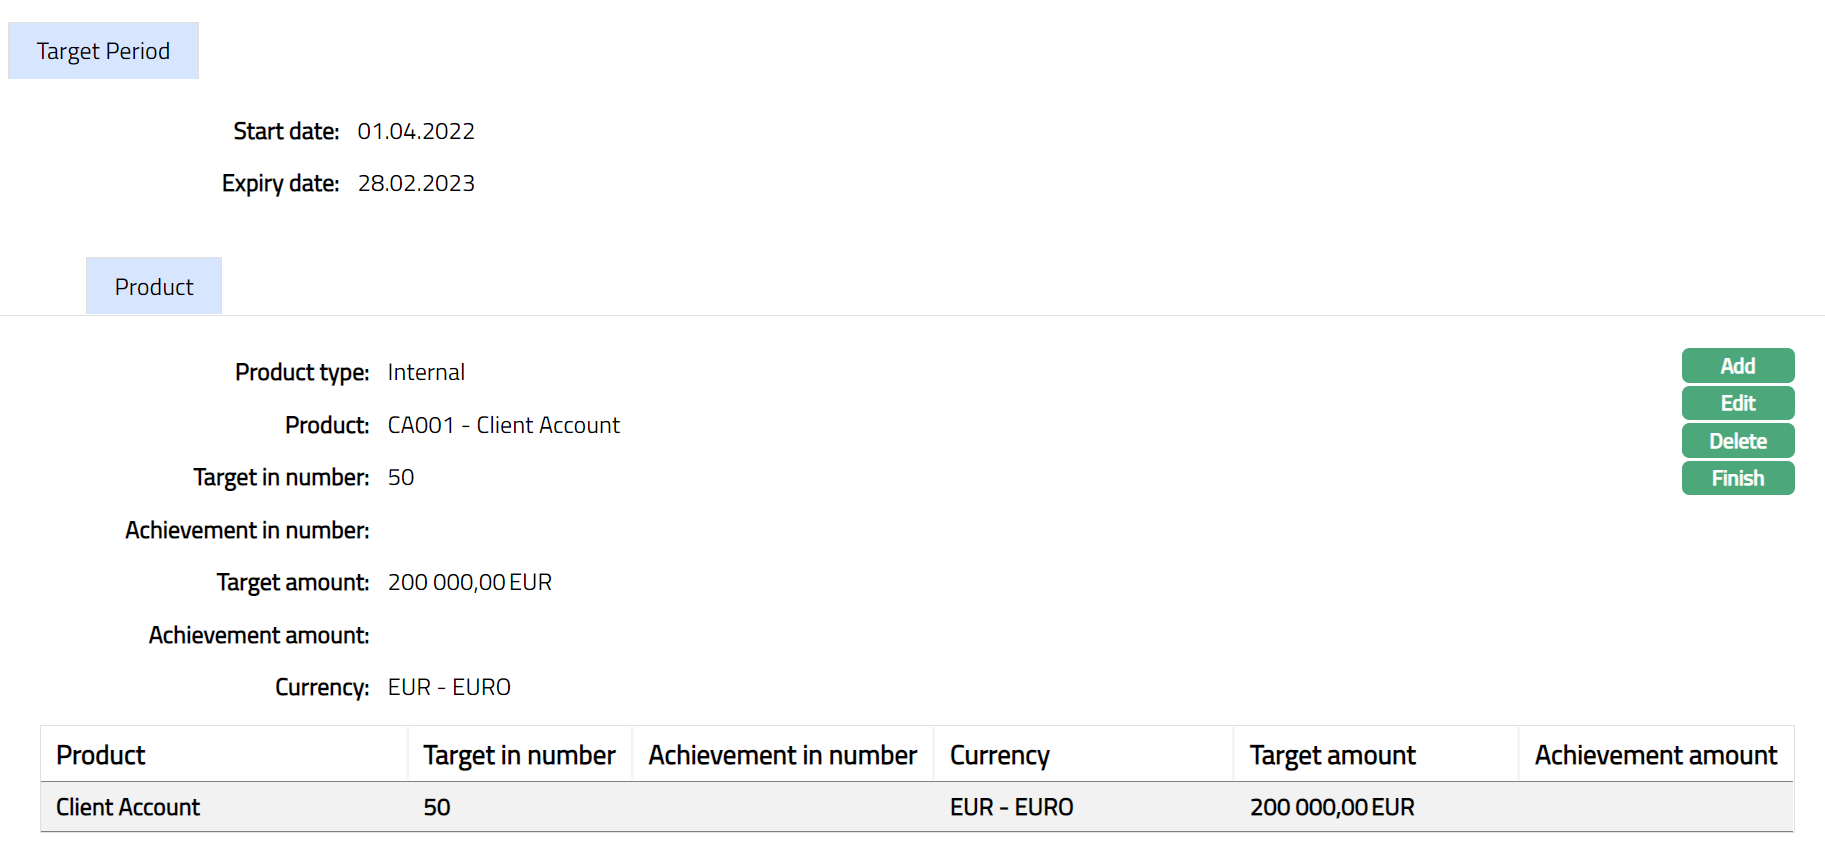
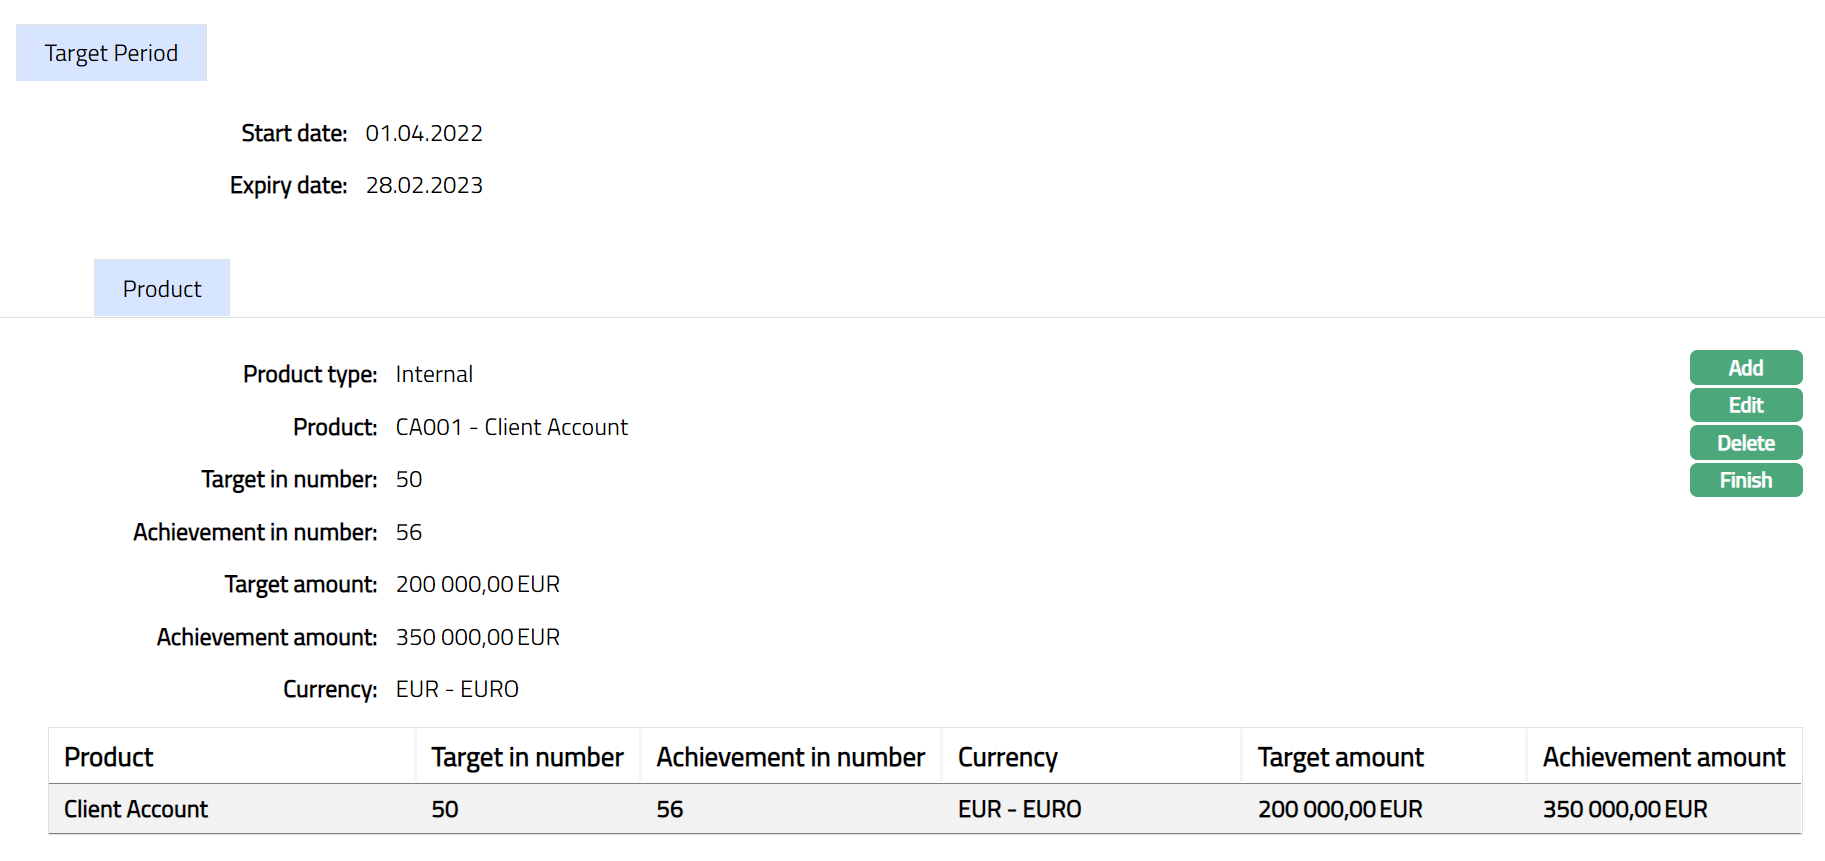
Click Save. The Target Period Product page appears with the added details.
Functions: Add, Edit, Delete, Finish
The additional fields are as follows:
Achievement in number: This field denotes the total achievement against the target Number assigned for the Target Period in the financial year. By default, this field will show as blank till you enter the achievement for that Target Period.
Achievement amount: This field denotes the total achievement against the target amount assigned for the Target Period in the financial year. By default, this field will show as blank till you enter the achievement for that Target Period.
To Edit the Product
Access the Performance Target page and Target Period tab.
Click Edit. The Edit Performance Target Product page appears.
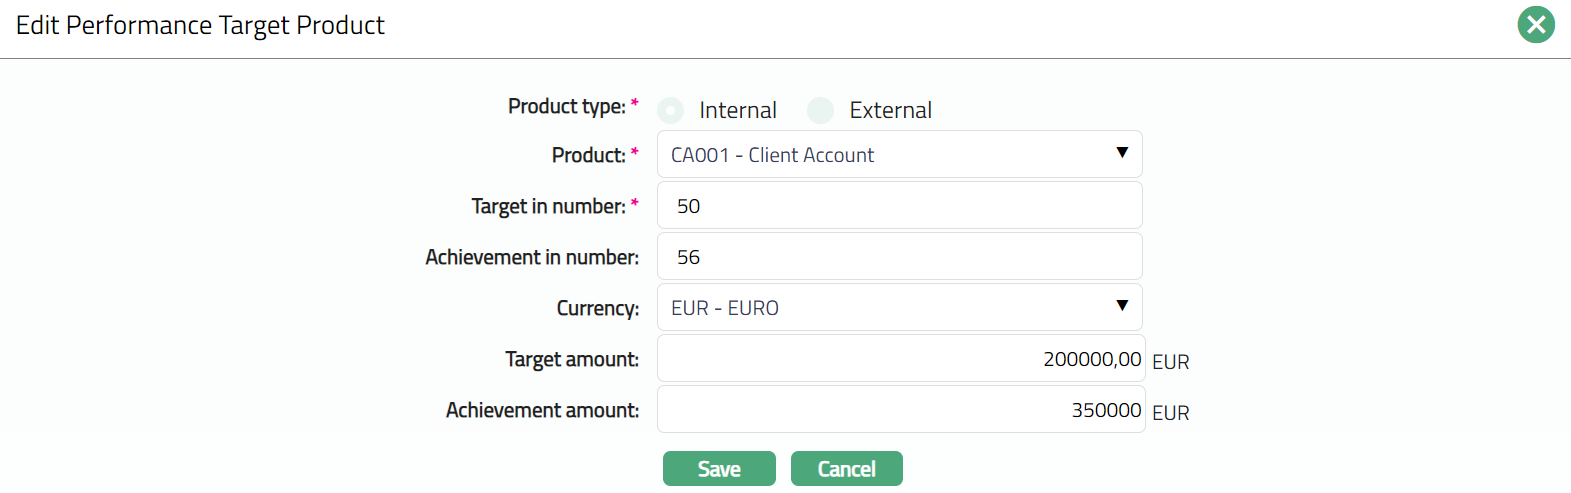
- Make the required changes and click on Save. The Target Period Product page appears showing the updated details.
Functions: Add, Edit Delete, Finish.
Finish: On click, the Product page closes, and the details of the Target period page are displayed.