Person
In Aura, all people are maintained as Person. All general information about the person as required in Aura are maintained using the Person option. Thus, the information is stored once and is used in various modules of Aura as needed.
The following are the various tabs that appear on the Person page.
To add New Person
- From CRM menu, click Person, and then Maintain. Person Search page appears.

- Click Add. New Person -- Maintain (1/5) page appears.
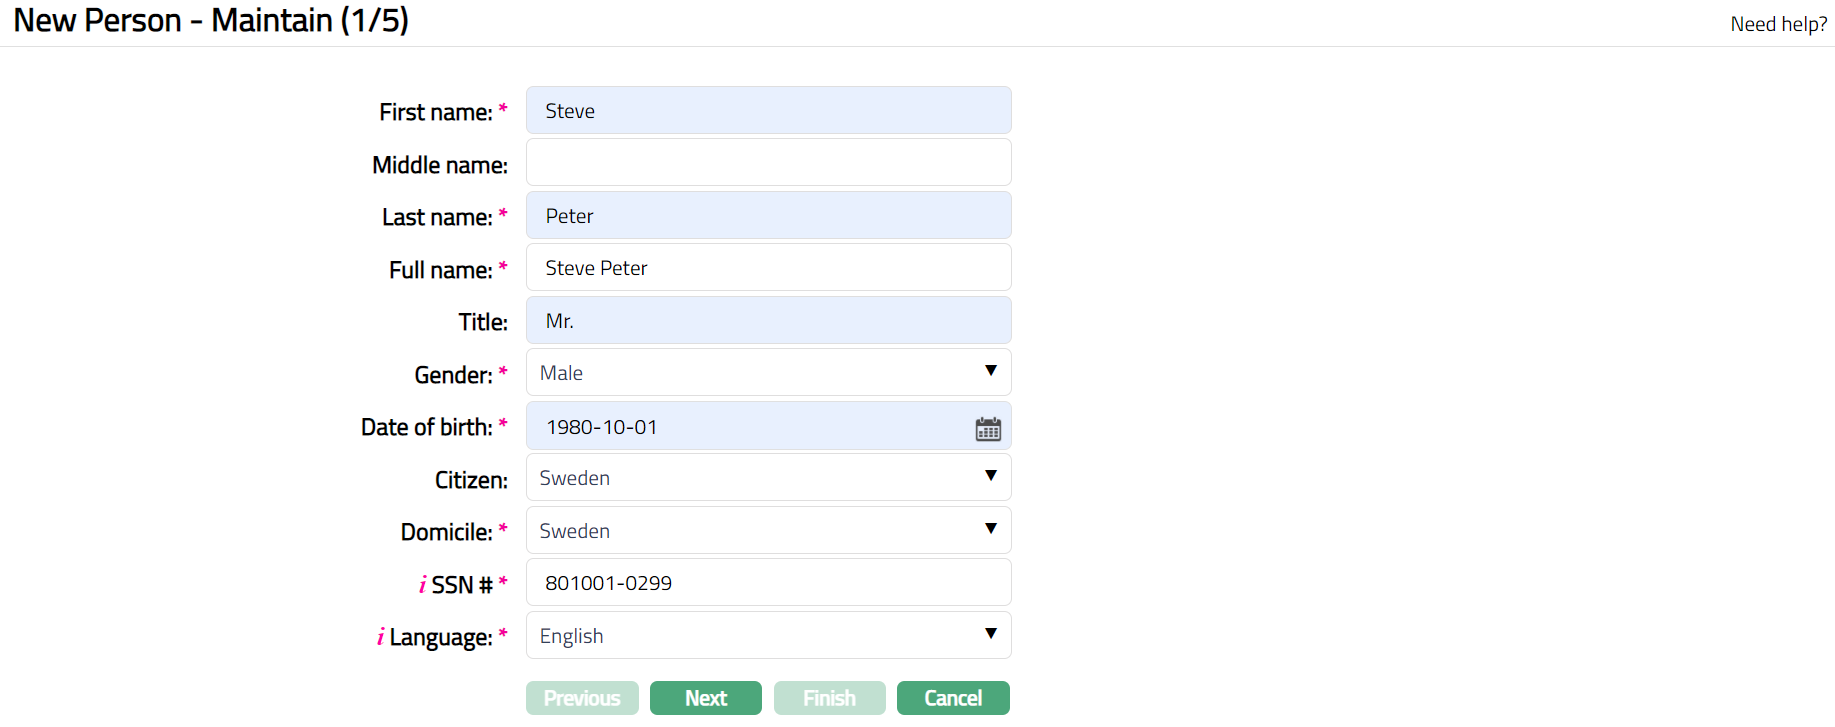
Enter First Name of the person.
Enter Middle Name of the person (If Applicable).
Enter Last Name of the person.
On entering the First Name and Last Name system derives Full Name of the person. You can however edit it as needed.
Enter Title of the person that is to be prefixed to the person's name.
Select Gender of the person from the drop-down list.
Input Date of birth of the person. You can either enter the date manually or select using the calendar. Aura will validate the date format using the format maintained under Entity maintenance > Regional > Date format.
Select Citizen i.e., country of Citizenship of the Person from the available drop-down list maintained under Admin > System codes > Generic definitions > Countries.
Select Domicile of the person i.e., country of residence from the drop-down list.
Note: The list of countries for Citizen and Domicile should have been maintained under Admin > System codes > Generic definitions > Countries.
- Enter SSN#. It is the person's Social Security Number i.e., a unique number provided by the person's residence country.
Note: The validation for SSN, if required, may be customized during implementation.
Select Language i.e., Language of the person from the available drop-down list maintained under Admin > System codes > Generic definitions > Languages.
Click Next. New Person -- Address (2/5) page appears.
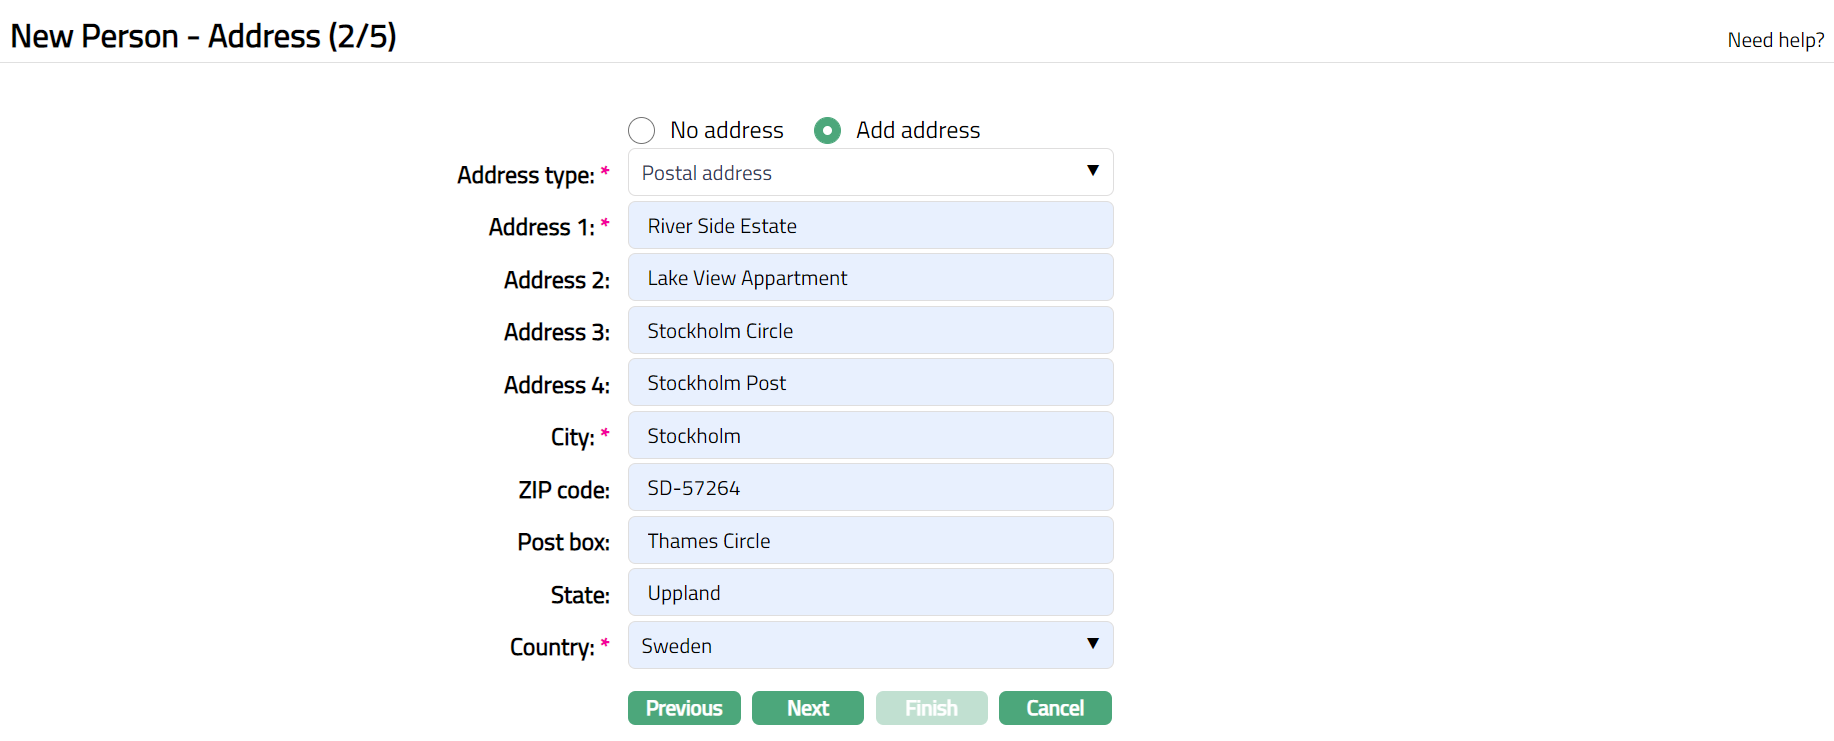
By default, no address is selected. If you do not want to record the address of the Person at this stage, then you can select this option.
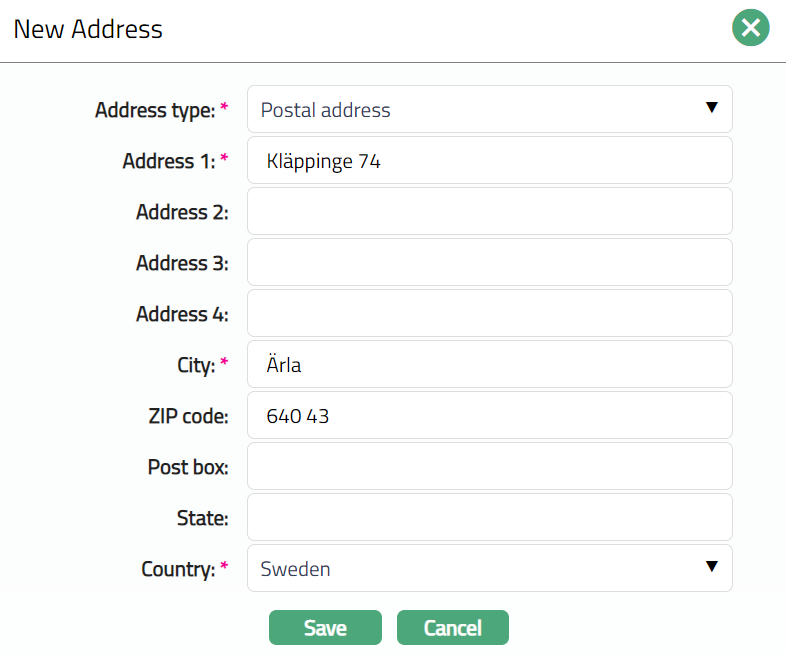
If you want to enter the address, then click on Add address and provide the required details.
Select Address type from the available drop-down list maintained under Admin > System Codes > Address details > Address types.
Enter Address 1, 2, 3 and 4 of the persons.
Enter City of the person.
Enter Zip code of the person.
Enter Post box of the person.
Enter State of the person.
Select Country from the available drop-down list maintained under Admin > System codes > Generic definitions > Countries.
Click Next. New Person -- Phone (3/5) page appears.
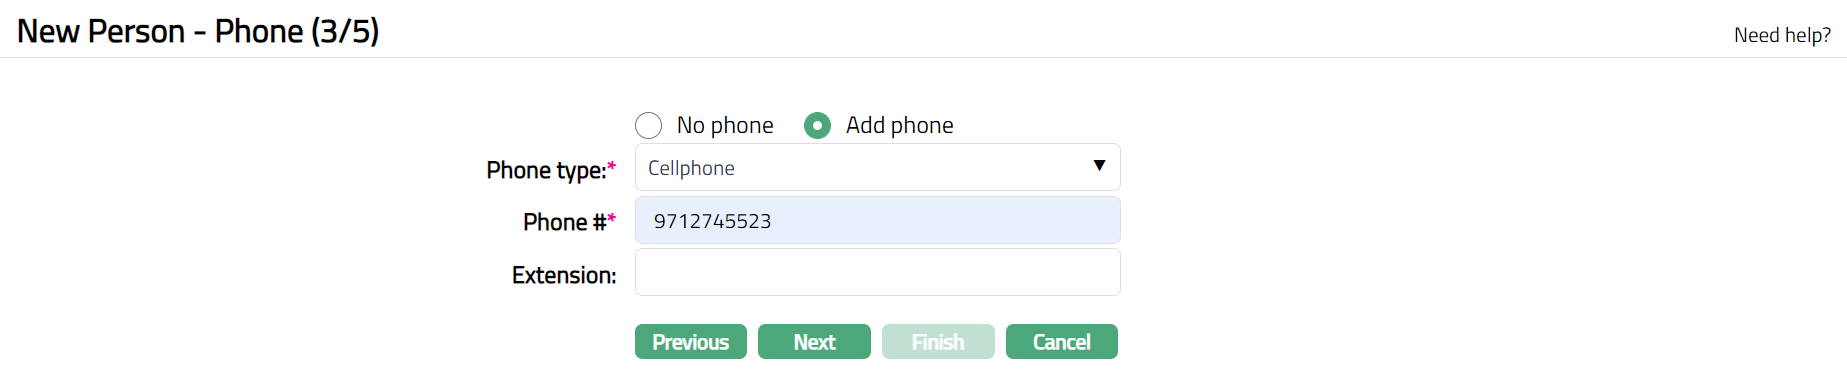
By default, no phone is selected. If you do not want to input the phone details at this stage, then you can select this option.
If you want to enter the phone details, then click Add phone and provide the required details.
Select Phone type from the available drop-down list maintained under Admin > System Codes > Address details > Phone types.
Enter Phone # of the person.
Enter Extension of the phone of the person.
Click Next. New Person -- E-mail (4/5) page appears.

By default, No E-mail is selected. If you do not want to enter the E-mail details of the person at this stage, then you can select this option.
If you want to enter the E-mail, then click Add E-mail and provide the required details.
Select E-mail type from the available drop-down list maintained under Admin > System Codes > Address details > E-mail types.
Enter E-mail address of the person.
Click Next. New Person -- Confirmation (5/5) page appears showing all the details that you entered for the person.
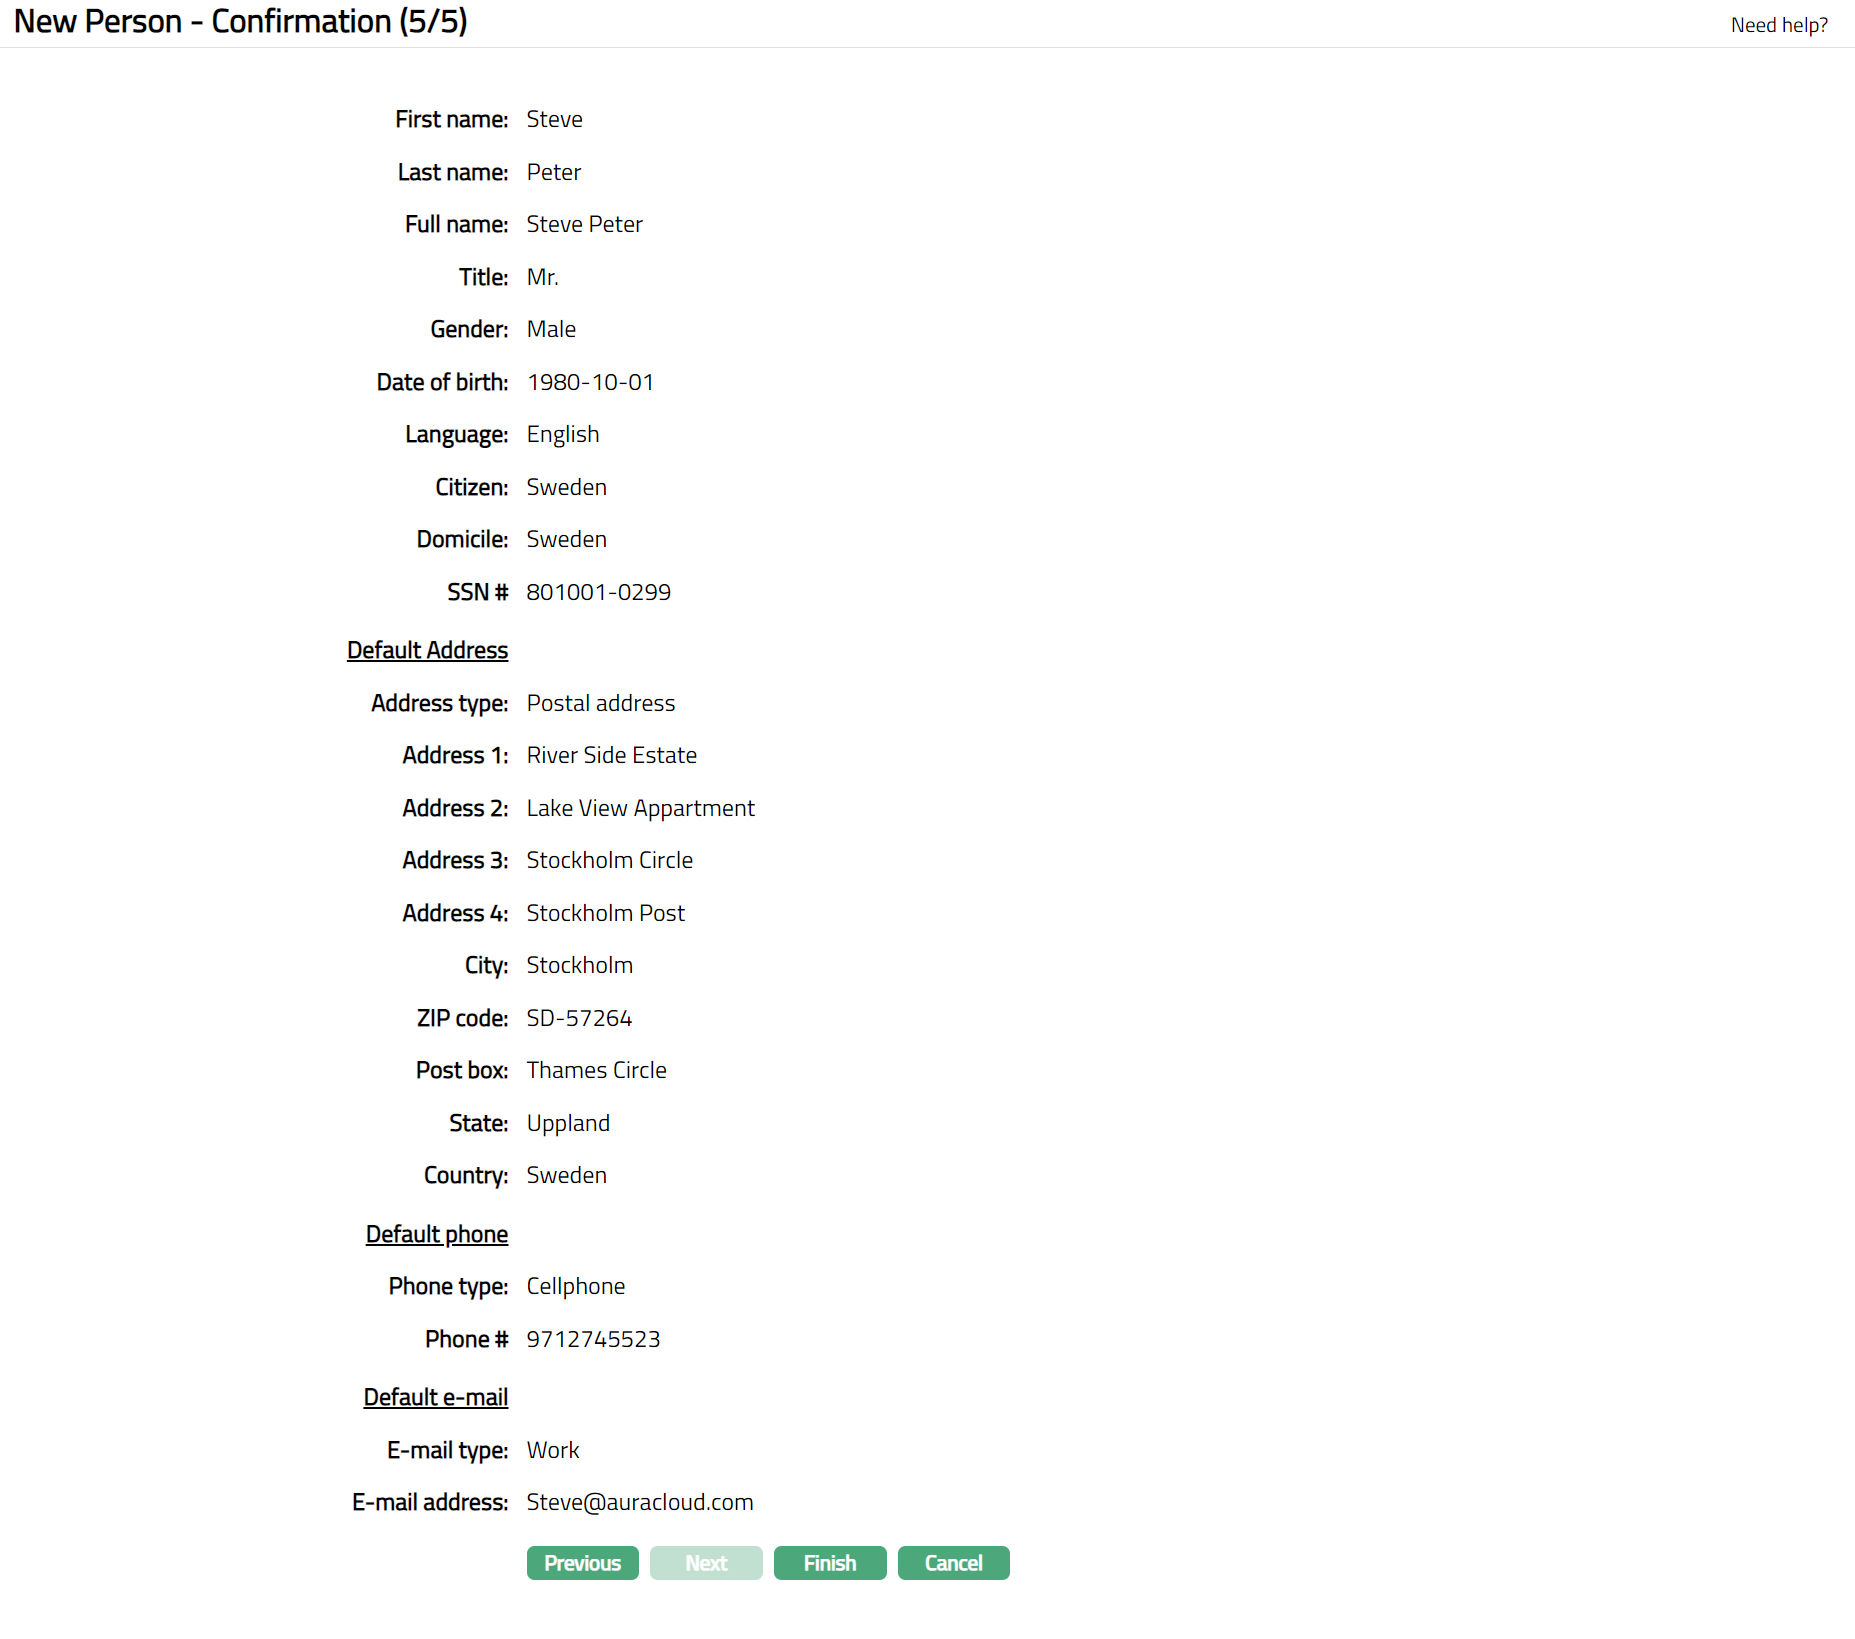
- Click Finish to complete the maintenance of new person. The new person details are added with a unique People # and you will see Person page displaying the Profile tab of the person record.
Functions: Add, Search
Note: If the custom field is mapped to Person under Admin > System Codes > Custom fields > Field mapping, then an additional screen will appear before the confirmation screen. The custom fields will be mandatory or non-mandatory based on the rules set at the Field mappings. For more detail on custom field functionality please refer Admin > System codes > Custom fields > Field mappings manual.
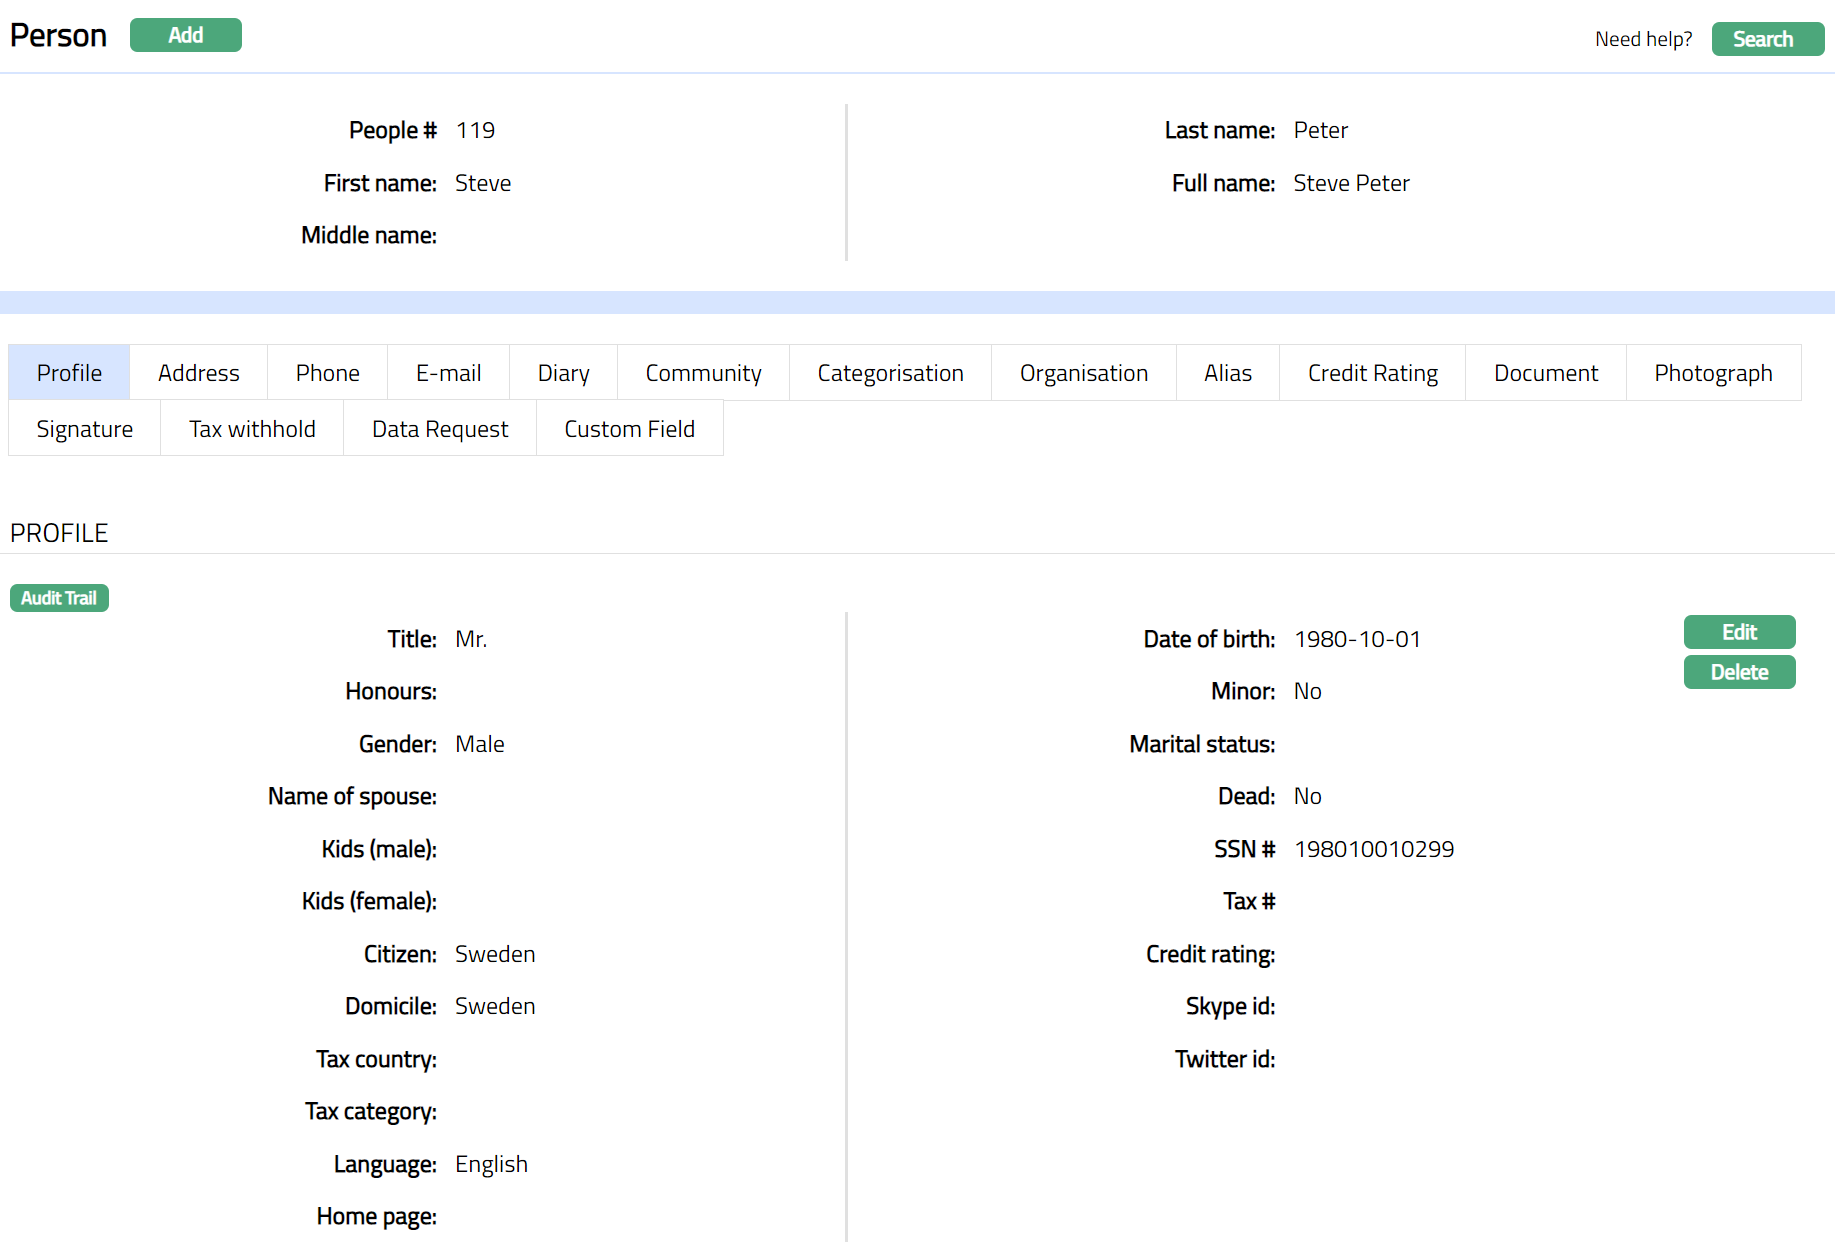
Profile
Profile tab, which is the default tab in the Person screen, shows the basic details of the person which were added in New Person -- General (1/5).
To edit Person
- Access Person page and click Profile tab. The page opens up as shown below.
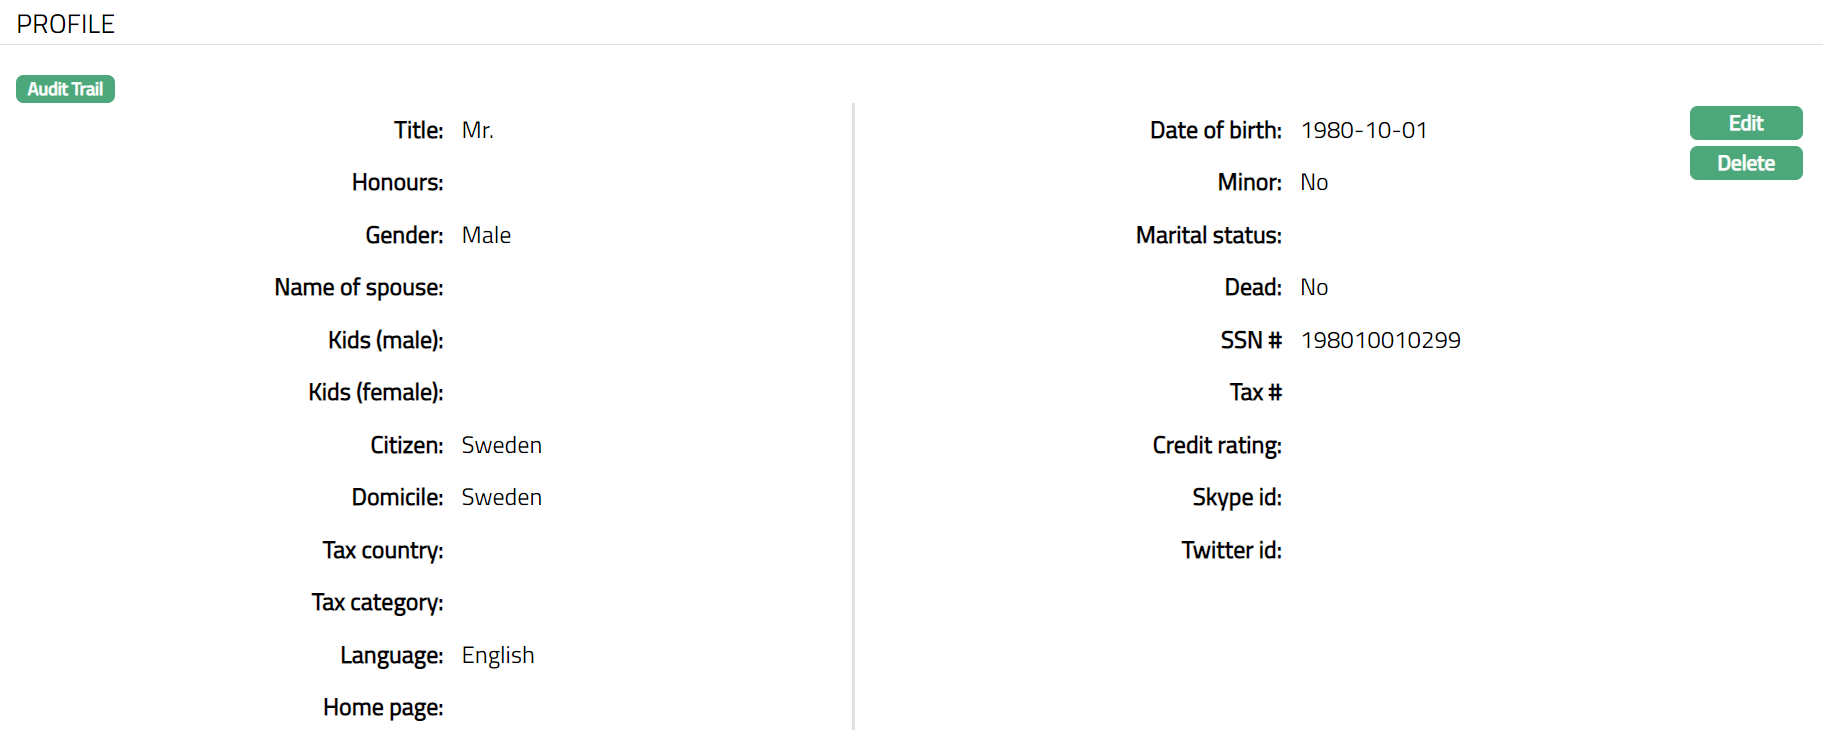
Note: The Minor Yes / No field is defaulted in the Person Maintenance screen with the Value Yes / No, based on the country you choose while creating the record. The Country details are created and maintained under Admin > System codes > Generic Definitions > Countries.
Based on mentioned Age of Majority at Country level and entered Date of birth while creating any Person record, system derives that person is a Major or Minor, based on that Minor field will have value as Yes or No.
- Click Edit. Edit Person page appears.
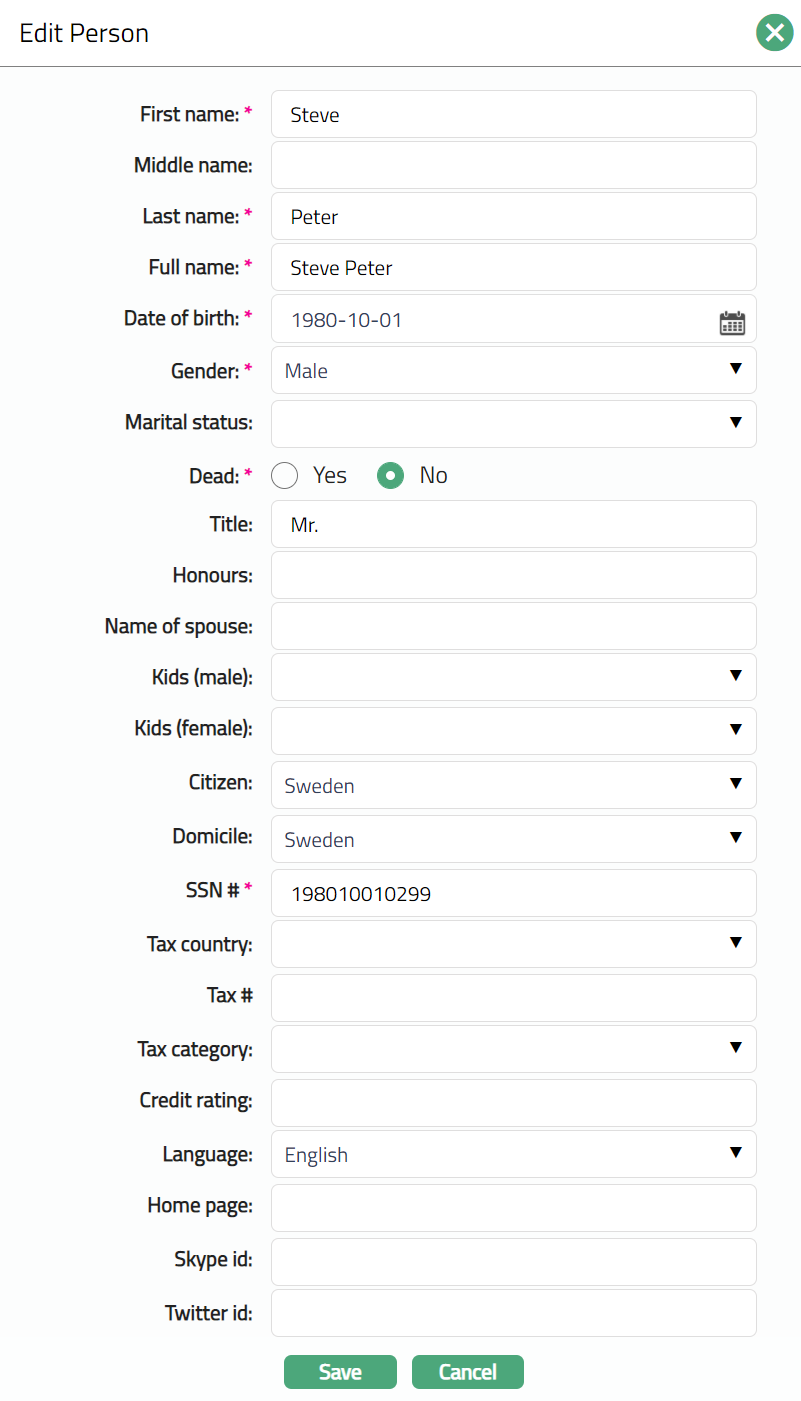
Note: All Fields in this page are editable. The following are the additional fields that you can view / edit in the Profile screen:
Select Marital status of the person.
Enter Honours bestowed on the person.
Enter Name of the Spouse of the person.
Select Kids (male) from the drop-down list of 1 to 9 to indicate the number of male kids that the person has.
Select Kids (female) from the drop-down list of 1 to 9 to indicate the number of female kids that the person has.
Select Tax country from the drop-down list countries maintained at Admin > System Code > Generic definition > Country. It is the country where the Person does employment / business and files tax to the government.
Enter Tax # of the person. It is the person's unique number provided by the tax authorities.
Select Tax category from the dropdown list maintained at Admin > System Codes > Categories > Tax category.
Enter Credit rating of the person. It is the credit worthiness of the person.
Enter Home page of the person. It is the web page of the person that is owned by him or used for communication.
Enter Skype id of the person.
Enter Twitter id of the person.
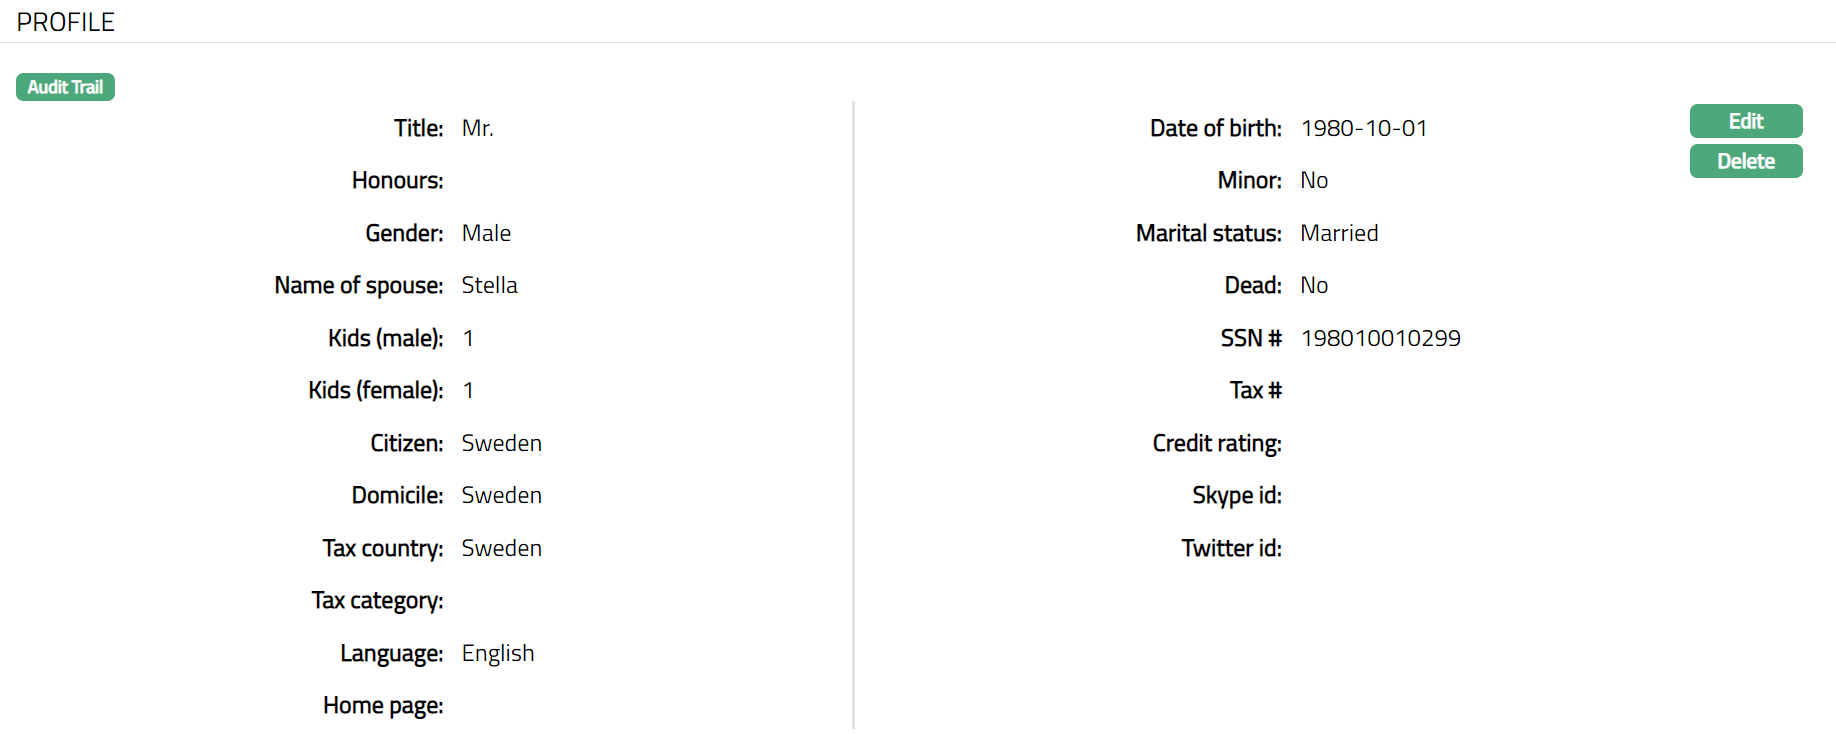
Make required changes and click Save. Profile tab appears with the updated details.
Functions: Edit, Delete
Delete: You can delete Person Maintain record saved in Aura by a click on Delete button. Aura will ask for confirmation, on approving which the selected record will be deleted. If the record is already in use, then you cannot delete the same.
Address
Address tab allows you to maintain the address of the person.
To add / view Address
Access Person page and click Address tab. The details are defaulted from New Person -- Address (2/5).
If you want to add a new address for the Person, then click on New. New Address page appears.
Note: Please refer to New Person -- Address (2/6) for the details regarding the fields.
- Click Save. Person page appears with the added details.
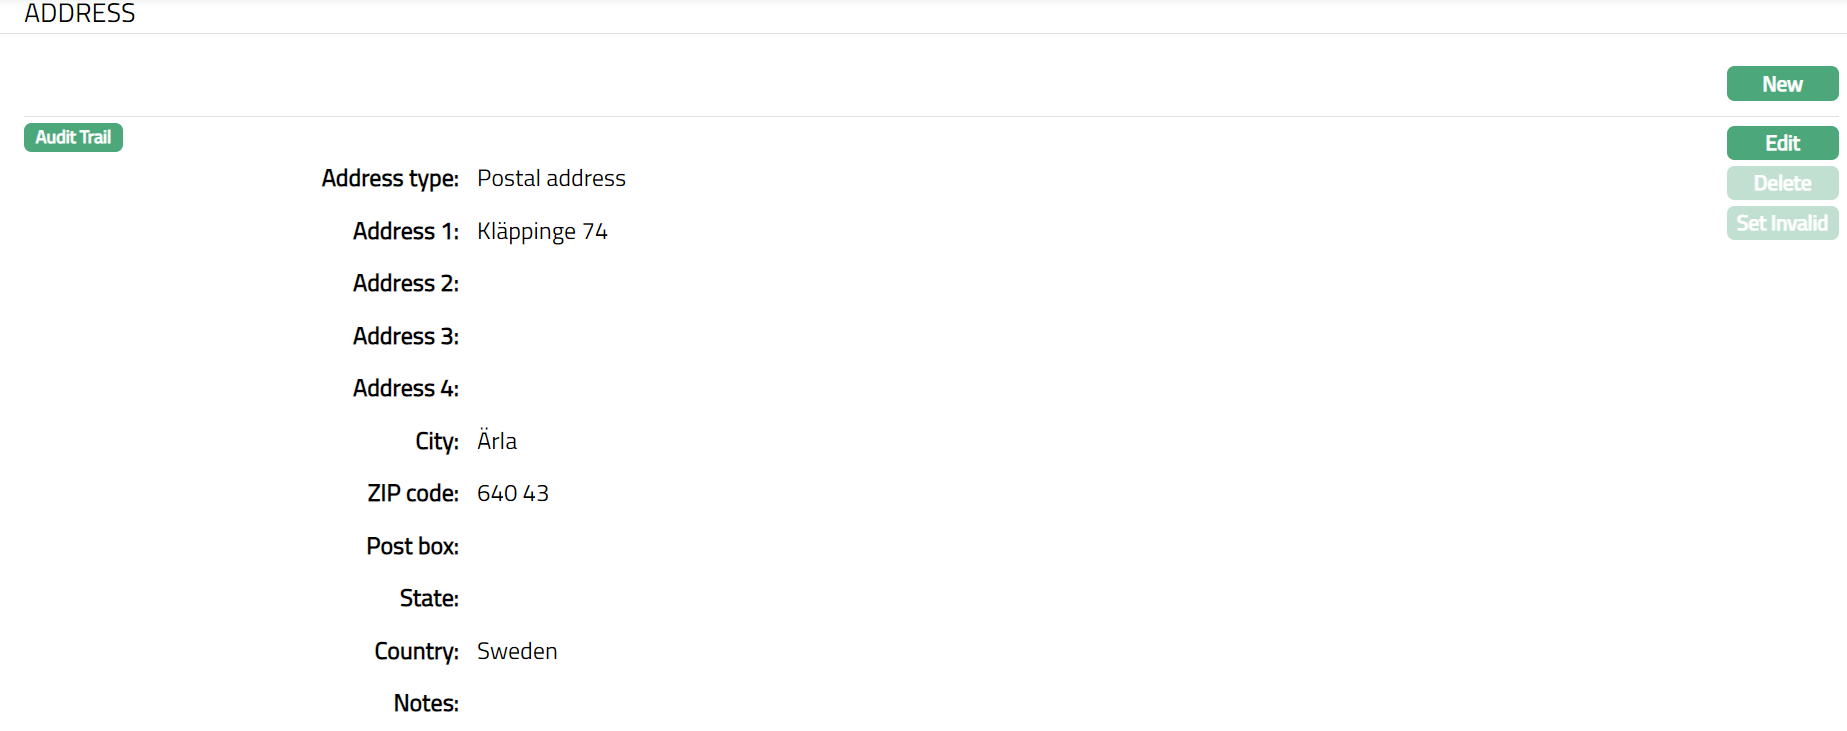 Functions: New, Edit, Delete, Set Invalid
Delete: You can delete an Address detail by clicking on Delete button. Aura will ask for confirmation, on approving which the selected Address details will be deleted.
Set Default: When you create multiple Address records, you can set one of them as the default Address using the Set Default function. When there is only one Address, the same is taken as the default Address.
Set Invalid: You can set an Address as invalid by a click on Set Invalid. This means that the particular address record is no longer valid. Aura will ask for confirmation. On confirmation, the Address is made invalid and Set Valid button appear in place of Set Invalid button.
Set Valid: If you want to set an invalid Address to valid, then click on Set valid button. Aura will ask for confirmation. On confirmation, the Aura will set the Address as Valid and Set Invalid button appear in place of Set valid button
To edit Address
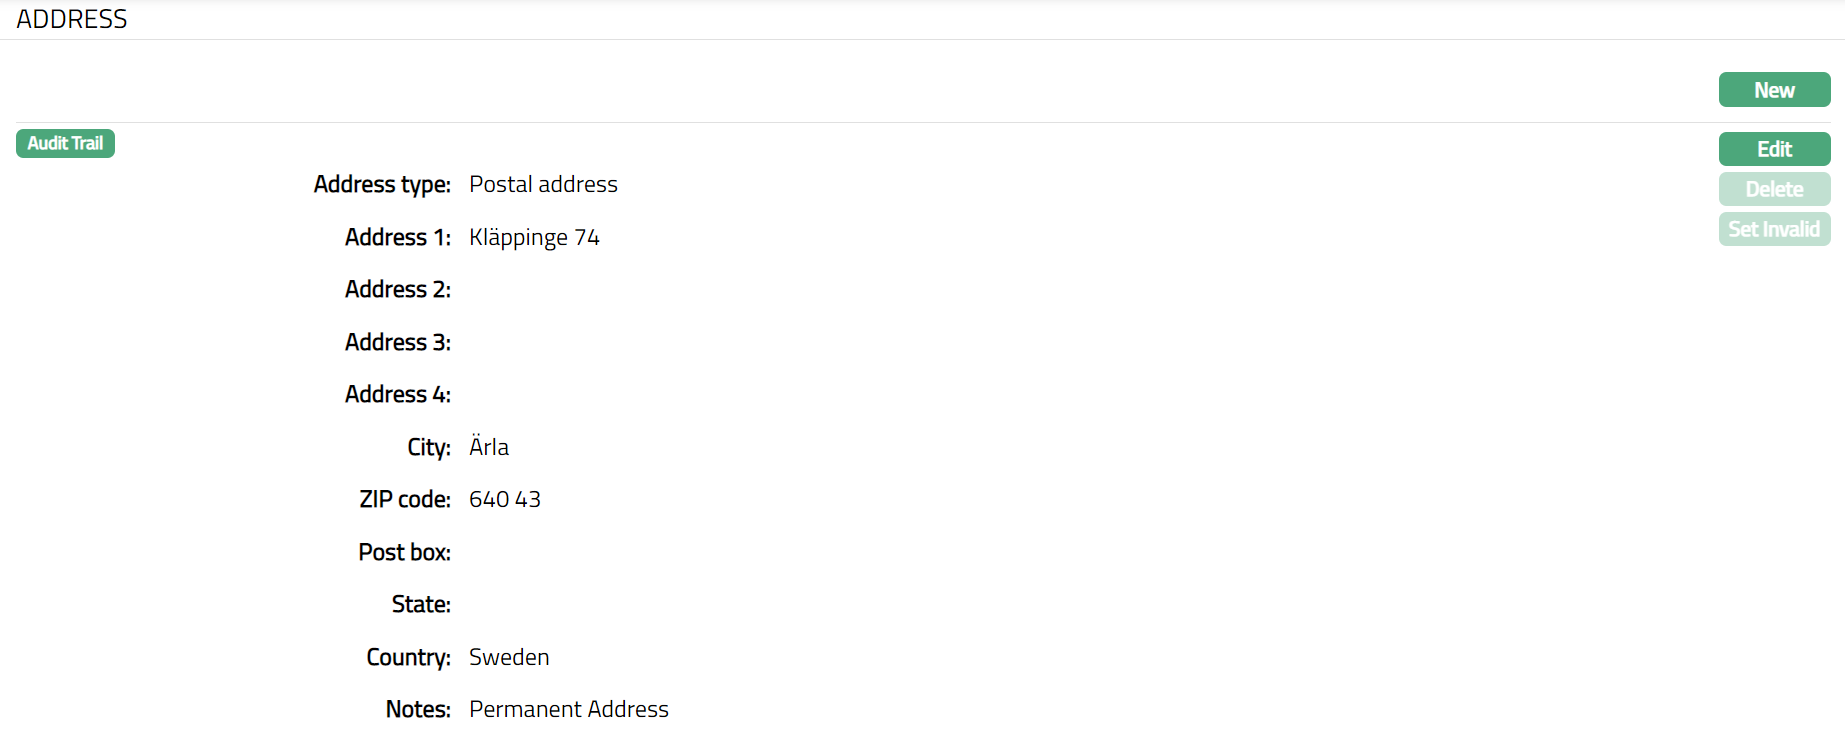
- Click Edit. Edit Address page appears.
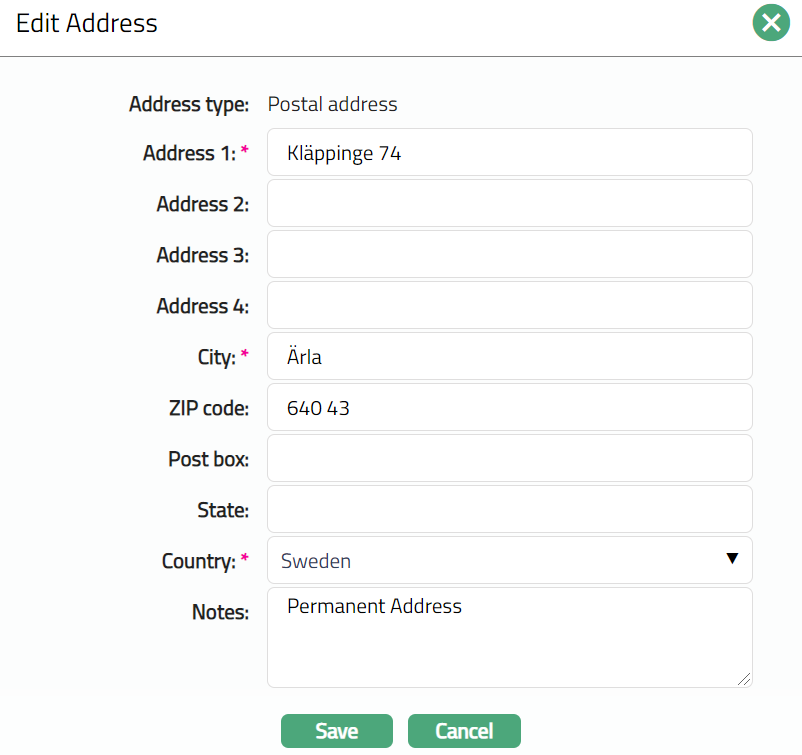
Note: All fields are editable, and the only additional field is Notes.
Enter Notes i.e., any remarks for the address.
Make required changes and click Save.
 Functions: New, Edit, Delete, Set Invalid
Phone
Phone tab allows you to maintain the phone details of the person.
To view/add phone details
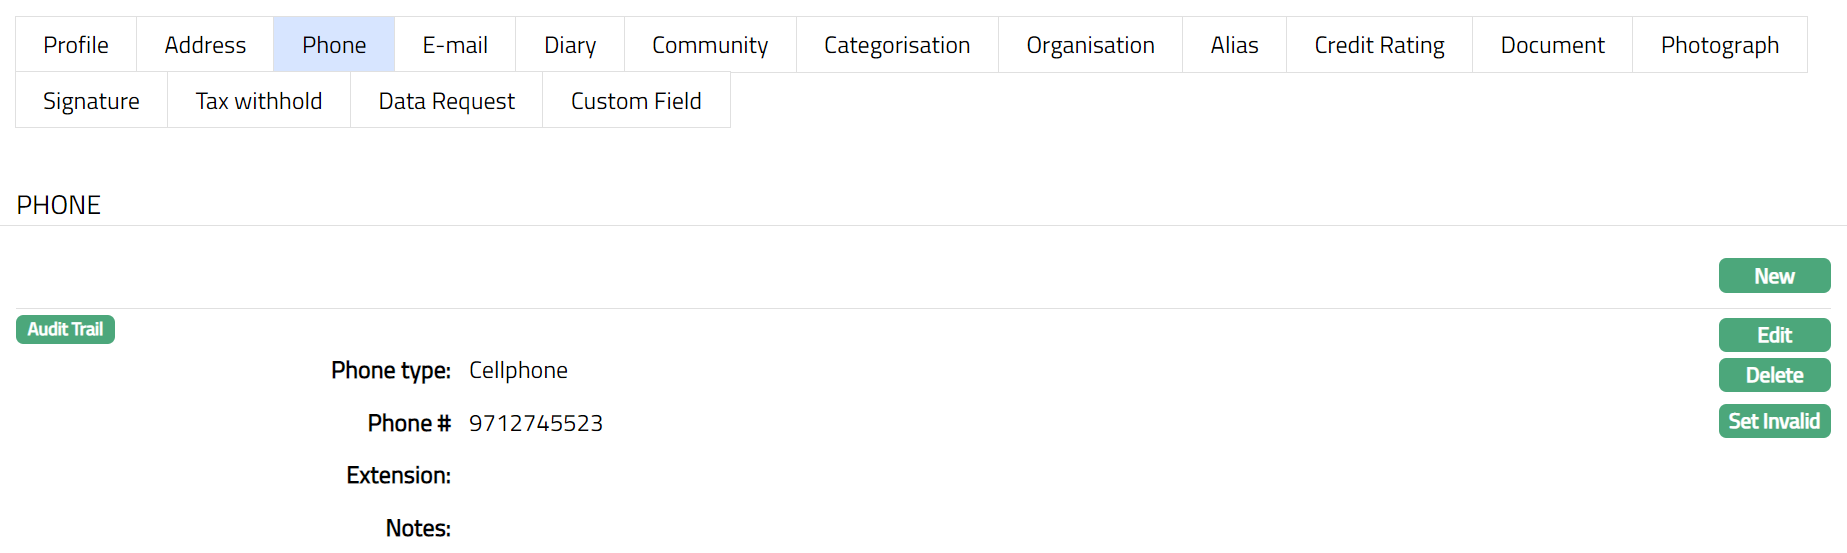
- Access Person page and click Phone tab. Phone details are defaulted from New Person -- Phone (3/5).
- If you want to add new phone details of a Person, then click New. New Phone page appears.
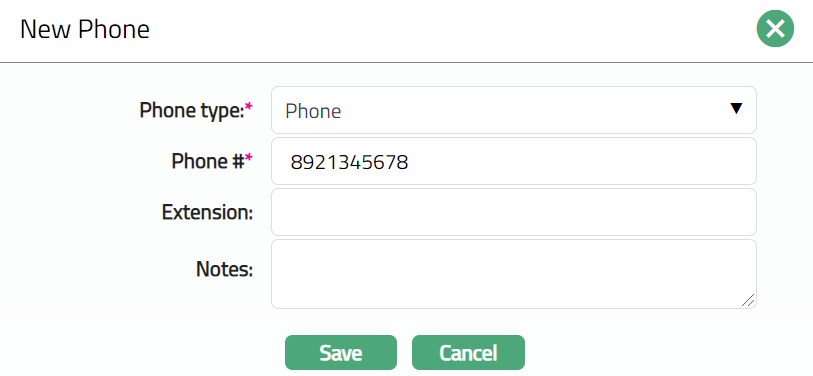
Note: Please refer to the New Person -- Phone (3/5) section for the details regarding the fields.
- Click Save. Person page appears with the added details.

Functions: New, Edit, Delete, Set Invalid, Set Valid, Set Default
Delete: You can delete a Phone detail by clicking on Delete button. Aura will ask for confirmation, on approving which the selected Phone details will be deleted.
Set Default: When you create multiple Phone records, you can set one of them as the default Address using the Set Default function. When there is only one Phone detail, the same is taken as the default Address.
Set Invalid: You can set a Phone detail as invalid by clicking on Set Invalid. This means that the particular phone detail is no longer valid. Aura will ask for confirmation. On confirmation, the Phone is made invalid and Set Valid button appears in place of Set Invalid button.
Set Valid: If you want to set an invalid Phone to valid, then click on Set valid button. Aura will ask for confirmation. On confirmation, the Aura will set the Phone as Valid and Set Invalid button appear in place of Set valid button
To edit Phone details
Access Person page and click Phone tab.
Click Edit. Edit Phone page appears.
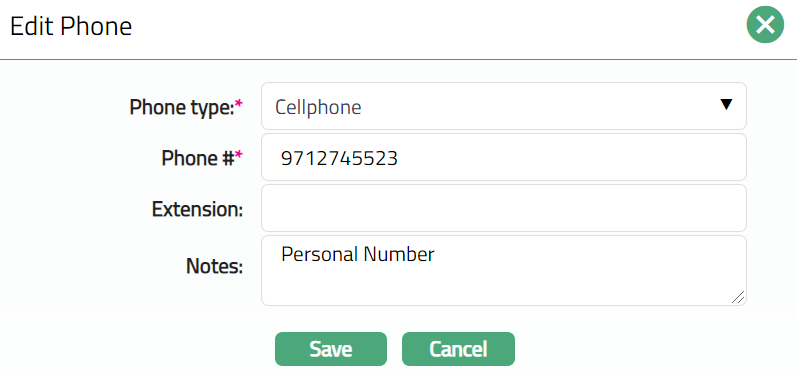
Note: All fields are editable, and the only additional field is Notes.
- Enter Notes i.e., any remarks for Phone.
Make required changes and click Save.
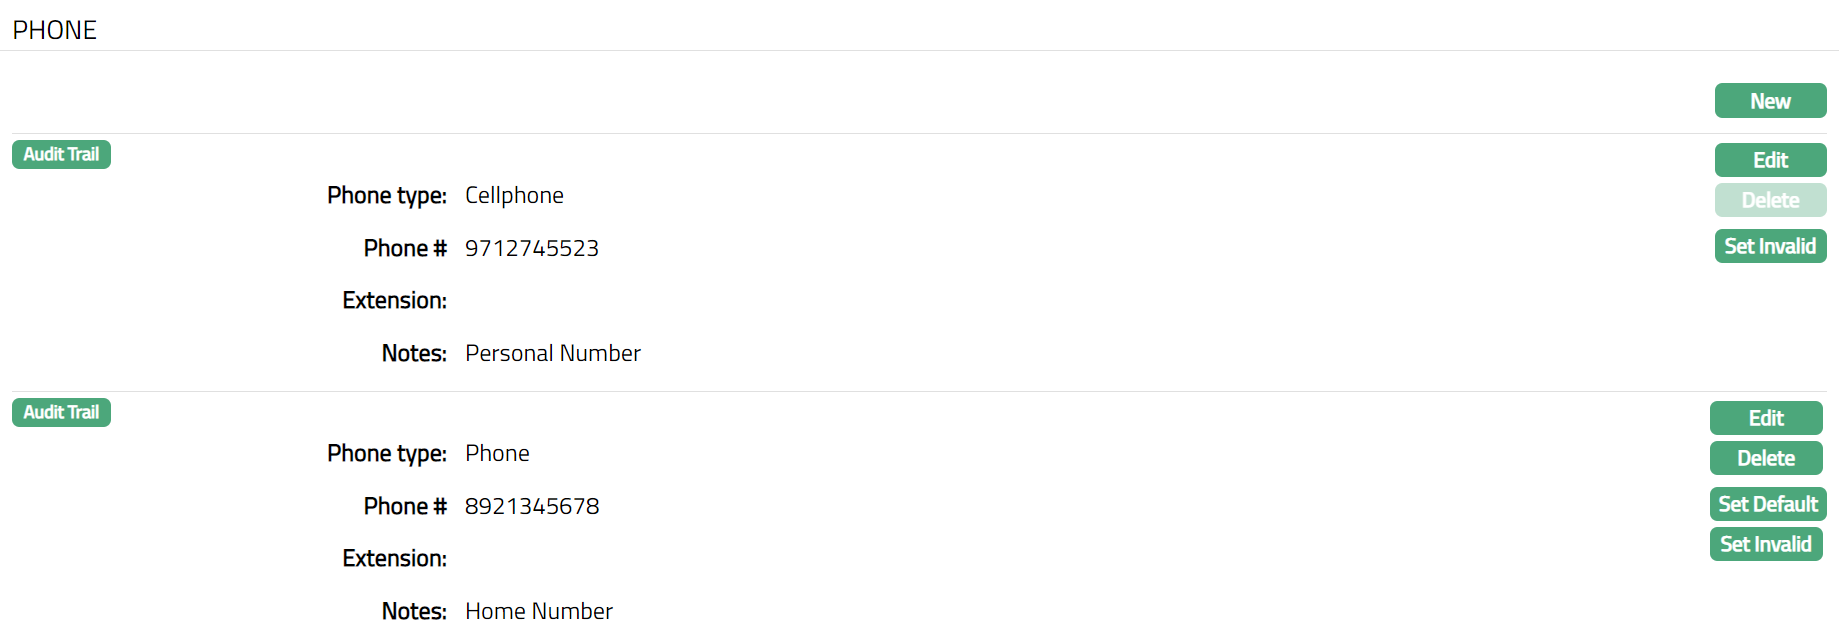 Functions: New, Edit, Delete, Set Invalid, Set Default
E-mail tab allows you to maintain the E-mail details of the person.
To view / add e-mail details of a Person
- Access Person page, and click E-mail tab. The details are defaulted from New Person -- Email (4/5)

- If you want to add a new Email for the Person, then click New. New E-mail Address page appears.
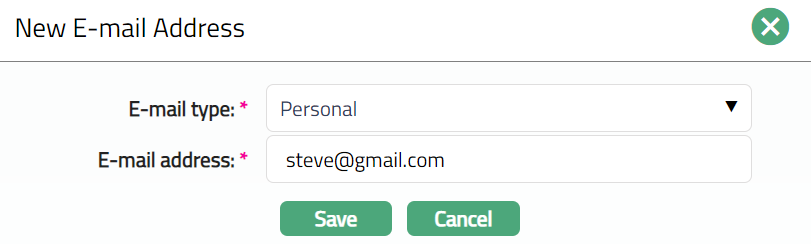
Note: For detailed explanation of the fields, refer to the New Person --E-mail (4/5).
- Click Save. Person page appears with the added details.
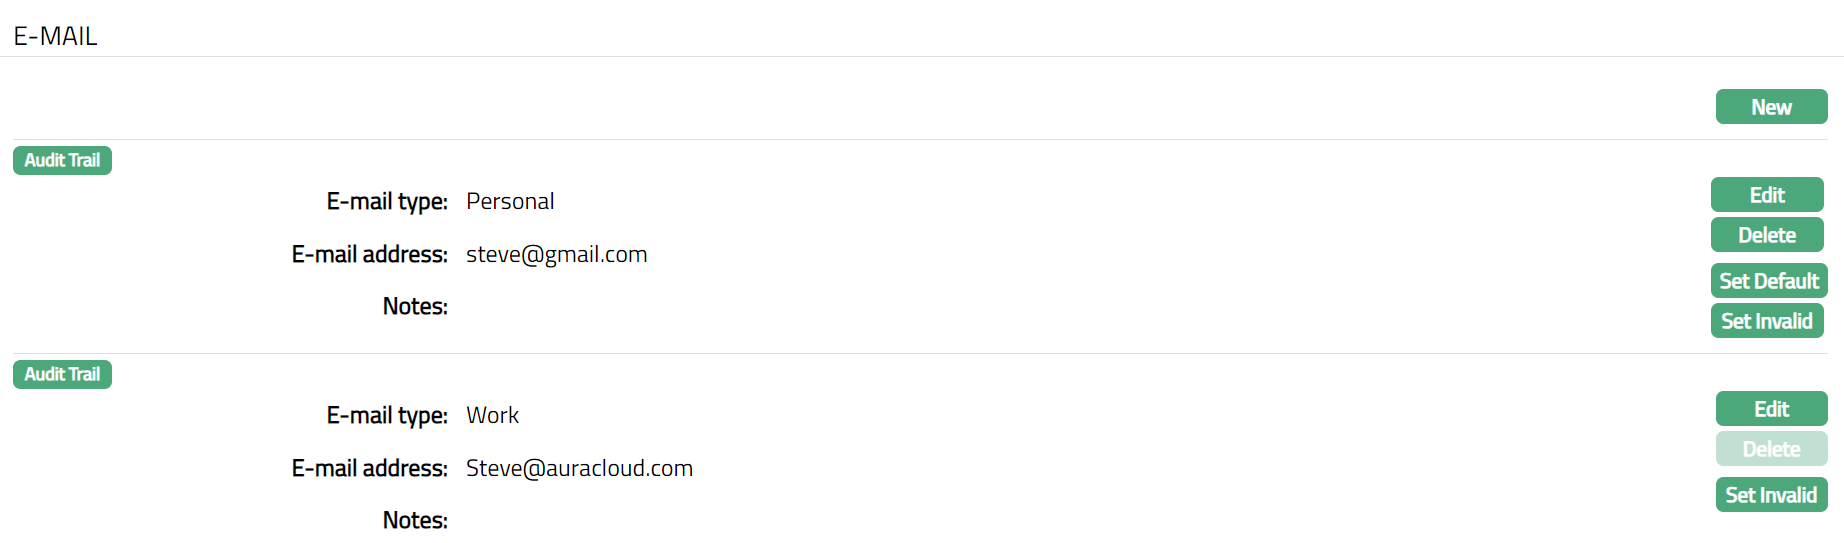
Functions: New, Edit, Delete, Set Default, Set Invalid
Delete: You can delete an E-mail record by clicking on Delete button. Aura will ask for confirmation, on approving which the selected E-mail record will be deleted.
Set Default: When you create multiple E-mail records, you can set one of them as the default e-mail using the Set Default function. When there is only one e-mail record, the same is taken as the default Address.
Set Invalid: You can set e-mail detail as invalid by a click on Set Invalid. This means that the particular e-mail detail is no longer valid. Aura will ask for confirmation. On confirmation, the e-mail is made invalid and Set Valid button appear in place of Set Invalid button.
Set Valid: If you want to set an invalid e-mail to valid, then click on Set valid button. Aura will ask for confirmation. On confirmation, the Aura will set the e-mail as Valid and Set Invalid button appear in place of Set valid button
To edit E-mail details
- Click Edit. Edit E-mail Address page appears.

Note: All fields are editable, and the only additional field is Notes.
Enter Notes i.e., any remarks for the E-mail.
Make required changes and click Save. E-Mail page appears with the edited details.
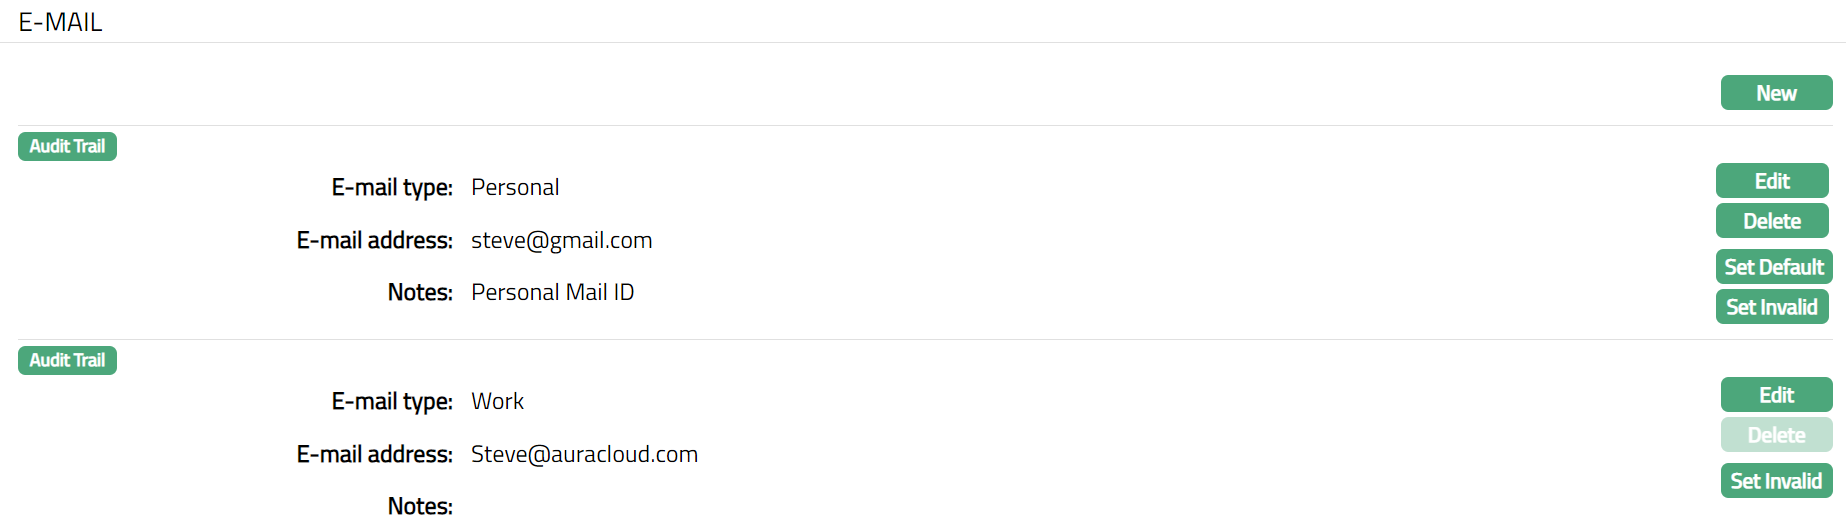 Functions: New, Edit, Delete, Set Default, Set Invalid
Diary
Diary tab allows you to maintain the diary entries for the person.
To add Diary
- Access Person page and click Diary tab.

- Click New button. New Diary page appears.
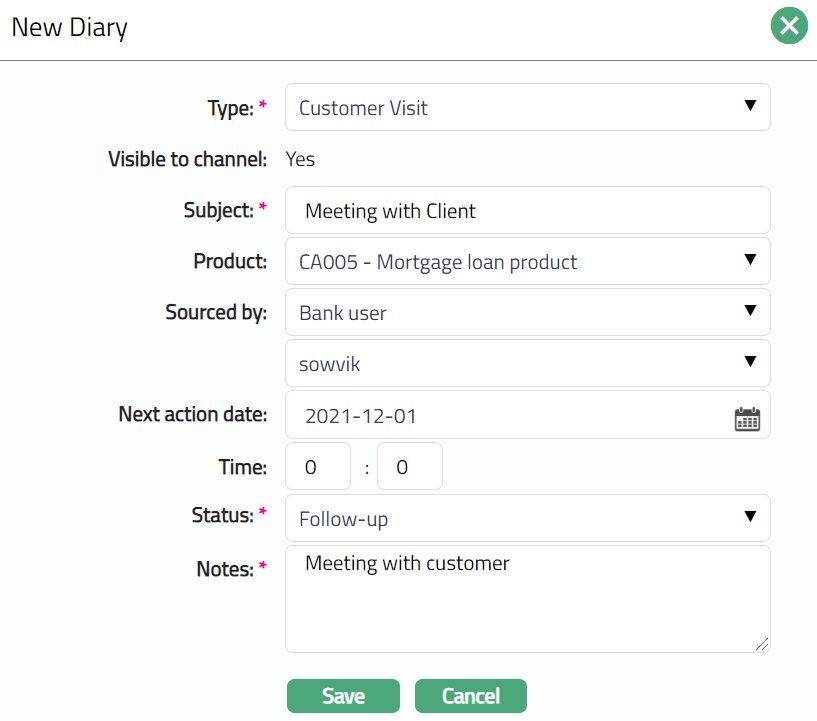
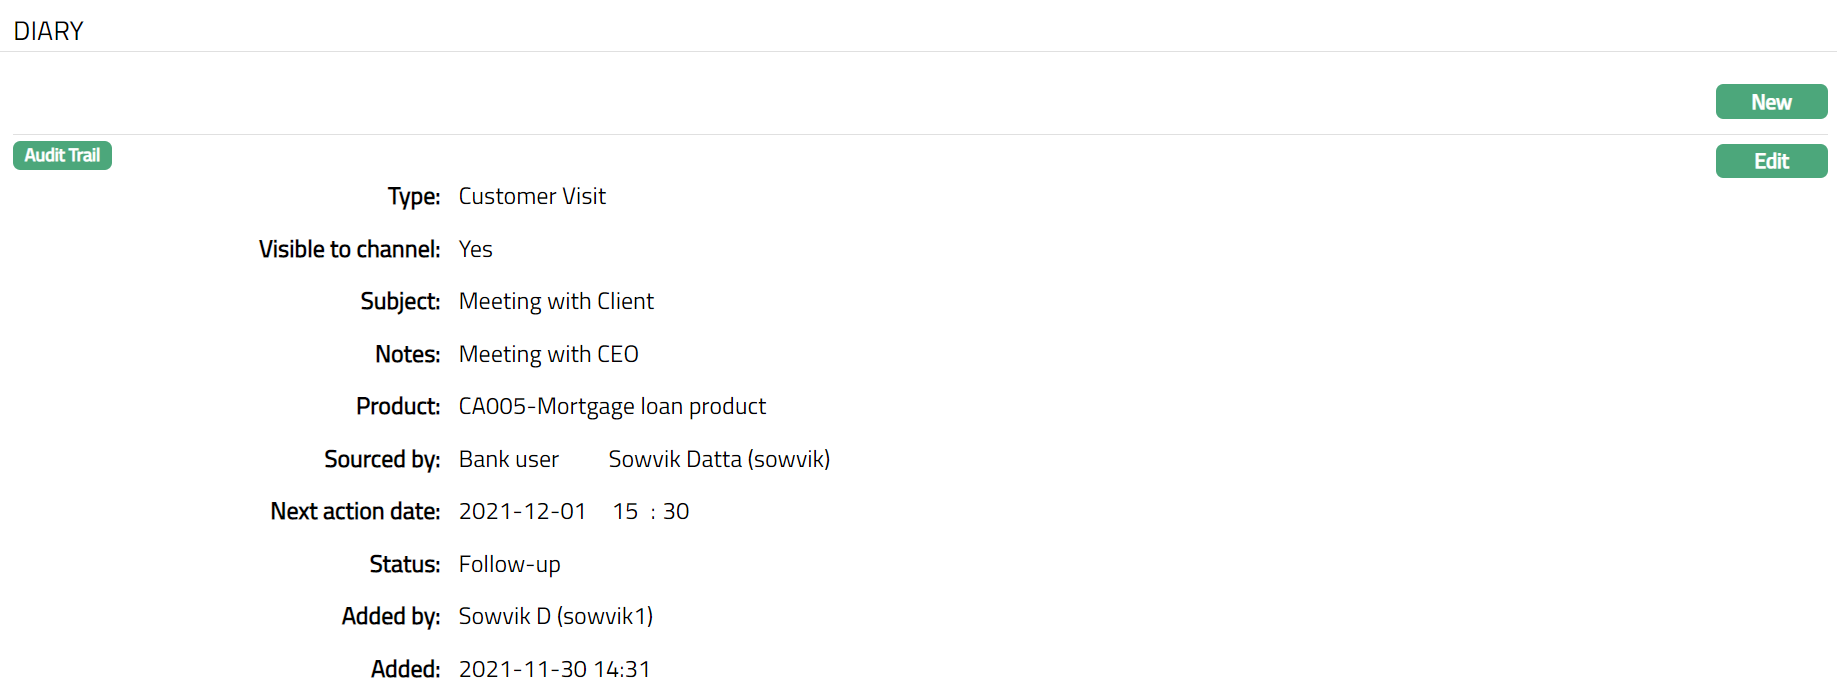
Select Type of diary from the available drop-down list maintained under Admin > System codes > Documents > Diary types.
Based on Diary Type maintained, Visible to Channel will automatically be shown as Yes or No. If Yes then the details will be visible in any external channel that the Bank uses, like Internet Bank or Customer Portal, etc. If No, then the details will not be visible in such external channels.
Enter Subject for diary. It is used to enter the suitable [title](javascript:TextPopup(this)) for the diary record.
Select Product from the drop-down list. These values appear from the list of Products maintained under Retail > Settings > Products
Select Sourced by from the drop-down list. Available options are Agent, Agent User, Bank User, Channel User.
Based on the value selected for Sourced By, the list of users matching the User Type will be displayed here. Select the required user.
Enter or select using the calendar icon, Next Action date, if required
Enter Time for action, if required.
Select Status from the pre-shipped list. Available options are: Open, Not Interested, Follow-up, Closed.
Enter contents for the diary under Notes field. It is used to record the general details of the discussion so that the same may be recalled later.
Click Save to retain the changes made.

Functions: New, Edit.
The additional fields are as follows:
Added by denotes the person who created the record.
Added field denotes the date on which the record was added.
To edit Diary
- Click Edit. Edit Diary page appears.

Note: Except Visible to Channel field rest all other fields are editable.
Enter Notes i.e., any remarks in Diary.
Make required changes and click Save. Diary Page appears with the edited details.
Functions: New, Edit, Delete
Community
The Community tab allows you to maintain the community of the person.
To add Community
- Access Person page and click Community tab

- Click New button. New Community page appears.
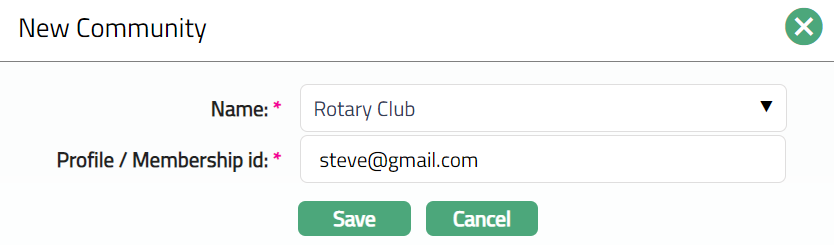
Select Name of community of the person from the available drop-down list of Community maintained under Admin > System codes > Generic definitions > Community.
Enter Profile/Membership id of the person in that Community.
Click Save. Community page appears with the added details.

Functions: New, Edit, Delete
Delete: You can delete a community record by clicking on Delete button. Aura will ask for confirmation, on approving which the selected Community record will be deleted
To edit Community records,
- Click Edit. Edit Community page appears.
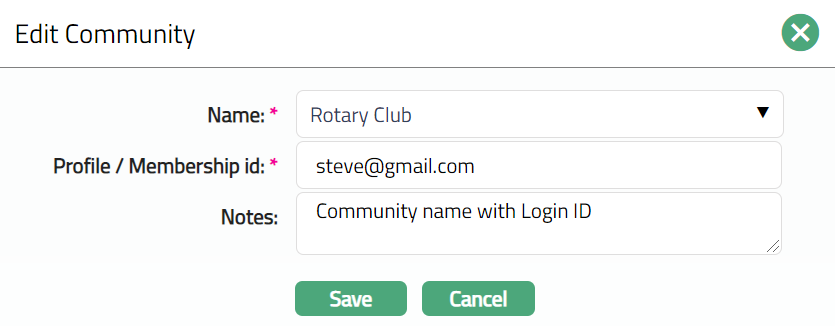
Note: The additional fields that you can view / edit in the screen are explained below:
Enter Notes i.e. any remarks for the Community details.
Make required changes and click Save. Community page appears with the edited details.

Functions: New, Edit, Delete
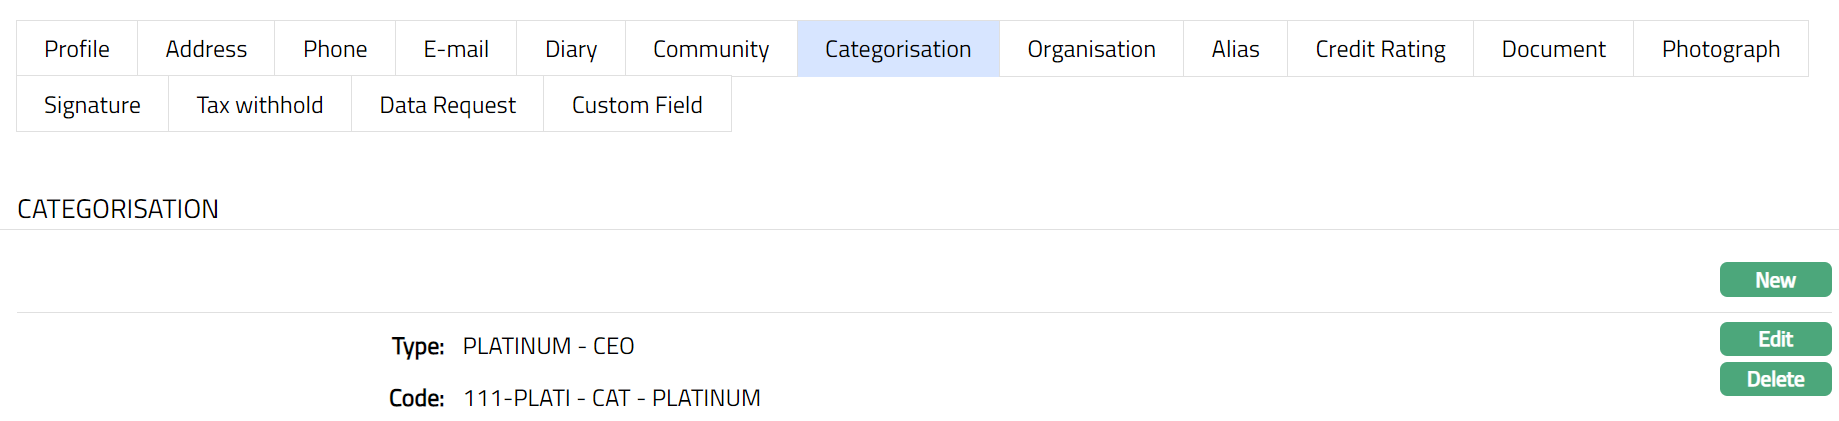
Categorisation
Categorisation tab allows you to maintain categories to which the person is linked.
To add Category
- Access Person page and click Categorisation tab.

- Click New button. New Category page appears.
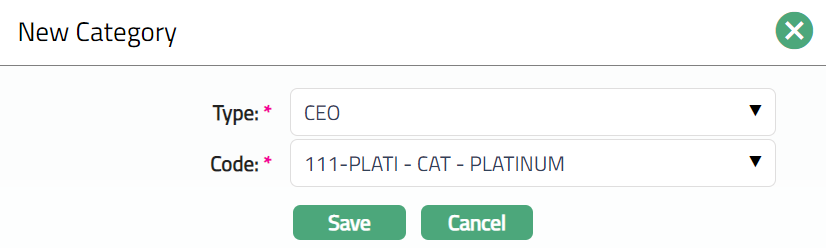
Select Category Type from the available drop-down list maintained under Admin > System codes > Categories > Category types as applicable for Person.
Select Code from the drop-down list maintained under Admin > System codes > Categories > Category types. Aura will display all the codes maintained under the selected category type.
Click Save. Categorisation page appears with the added details.

Functions: New, Edit, Delete
Delete: You can delete Category record saved in Aura by a click on Delete button. Aura will ask for confirmation, on approving which the selected record will be deleted.
To edit Categorisation
- Click Edit. Edit Category page appears.
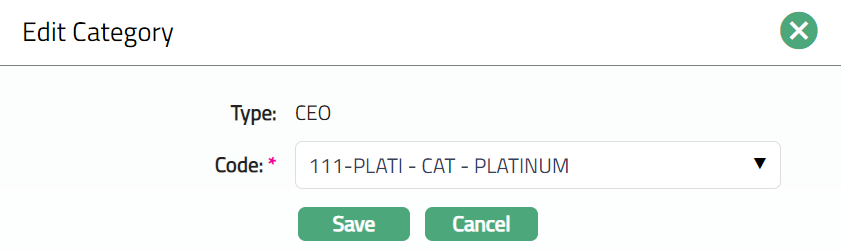
Note: Only Code field is editable.
- Make required changes and click Save. Categorisation page appears with the edited details.
Functions: New, Edit, Delete
Organisation
Organisation tab allows you to create and maintain the organisations to which the person is linked. You can link the person to an existing Organisation or to a New Organisation.
To link the person to a New Organisation
- Access Person page and click Organisation tab

- Click New button. New Organisation page appears.
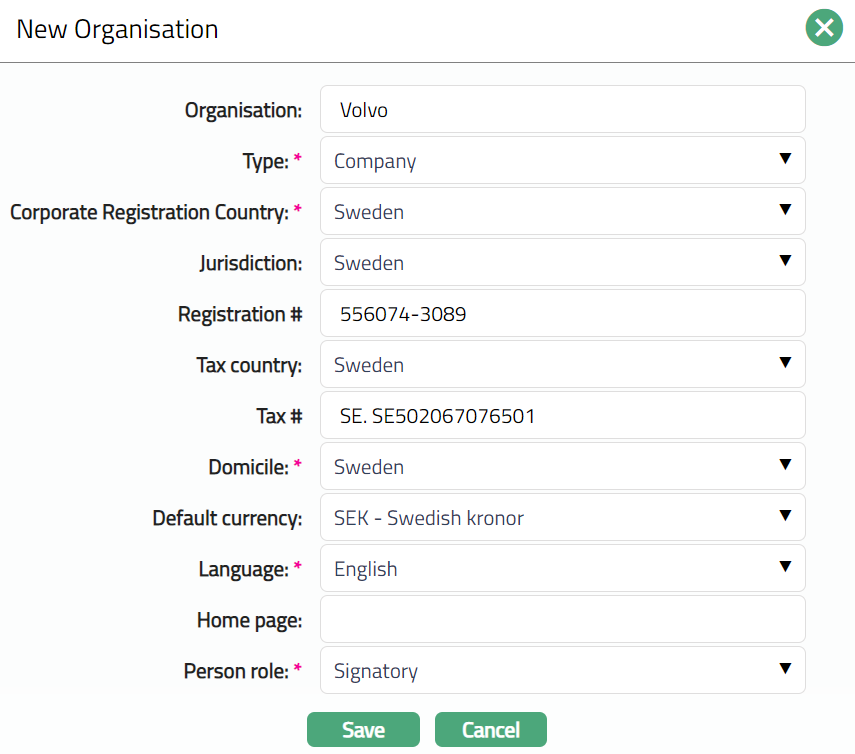
Enter name of the Organisation.
Select Type of organisation from the available drop-down list of Organisation Types maintained under Admin > Generic Definition > Organisation Type.
Select Corporate Registration country from the available drop-down list of countries maintained under Admin > Generic definition > Countries
Select country of Jurisdiction of the organisation from the available drop-down list of countries maintained under Admin > Generic definition > Countries
Enter Registration # of the organisation.
Select Tax country of the organisation from the available drop-down list maintained under Admin > Generic definition > Countries. It is the country where the Organization files its tax returns.
Enter Tax # of the organisation.
Select Domicile from the available drop-down list of countries maintained under Admin > Generic definition > Countries
Select Default Currency used by the organisation from the available drop-down list. maintained under Admin > System codes > Currencies > Currencies.
Select Language used for communicating in the organisation from the available drop-down list of languages maintained under Language Maintenance.
Enter Home page of the organisation. It is the Web page of the organisation.
Select role of the person in the organisation using Person role available drop-down list of roles maintained under Admin > System codes > Generic definitions > Person role. Aura will not allow you to maintain the same role for the same organization for a person.
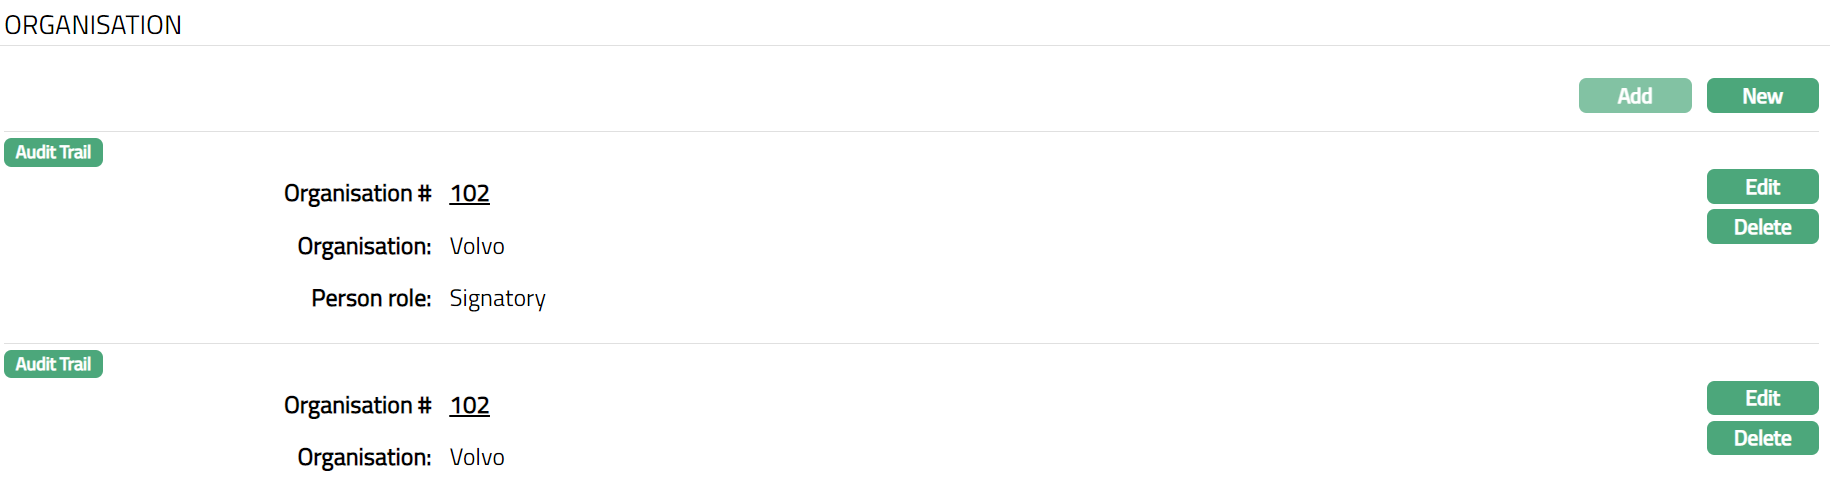
Click Save. Person page appears displaying the added details.
 Functions: Add, New, Edit, Delete
To link the person to an existing organisation
Access Person page and click on Organisation tab.
Click Add button. Add Organisation search window appears.
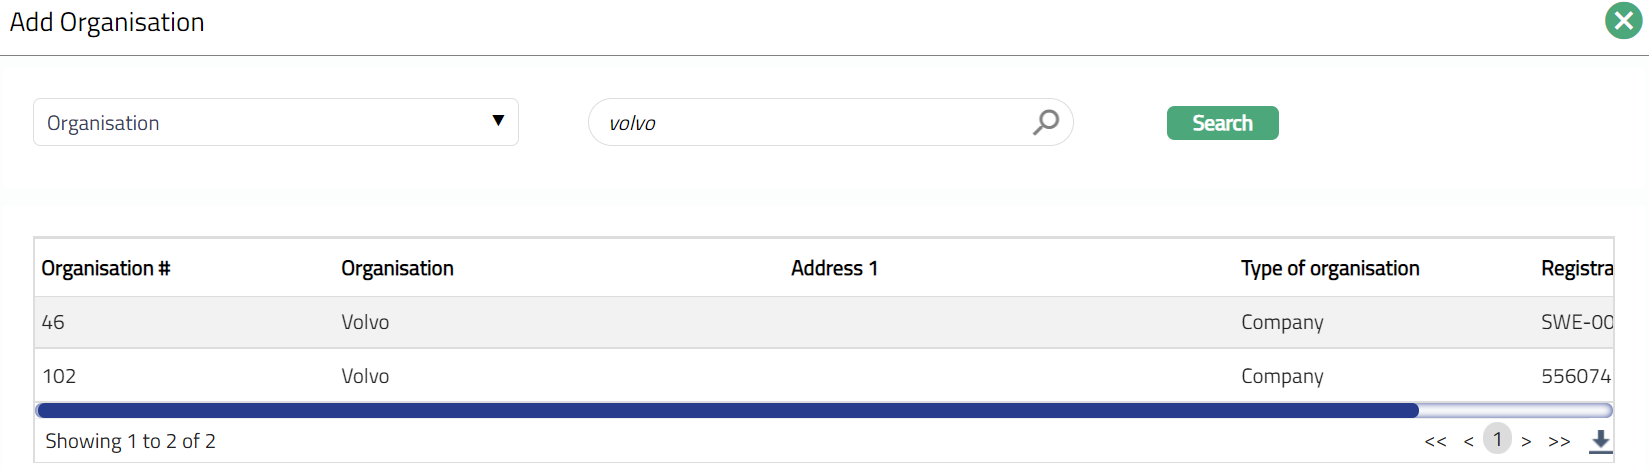
- Select desired organisation. Person page appears displaying the added organisation.
Functions: Add, New, Edit, Delete
To edit linked organisation
Access Person page, and click Organisation tab.
Click Edit. Edit Organisation page appears.
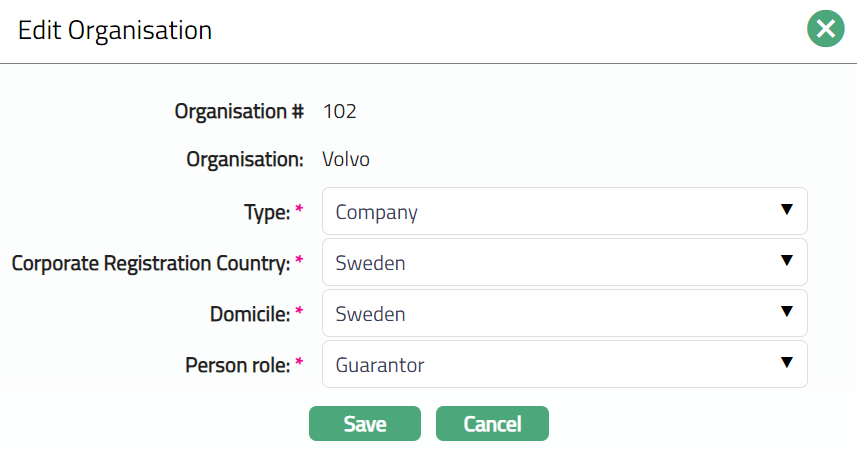
Select role of the person in the organisation using the Person role from the available drop-down list maintained under Admin>System codes>Generic definitions>Person role. Aura will not allow you to maintain the same role for the same organization for a person.
Click Save to retain the changes made.
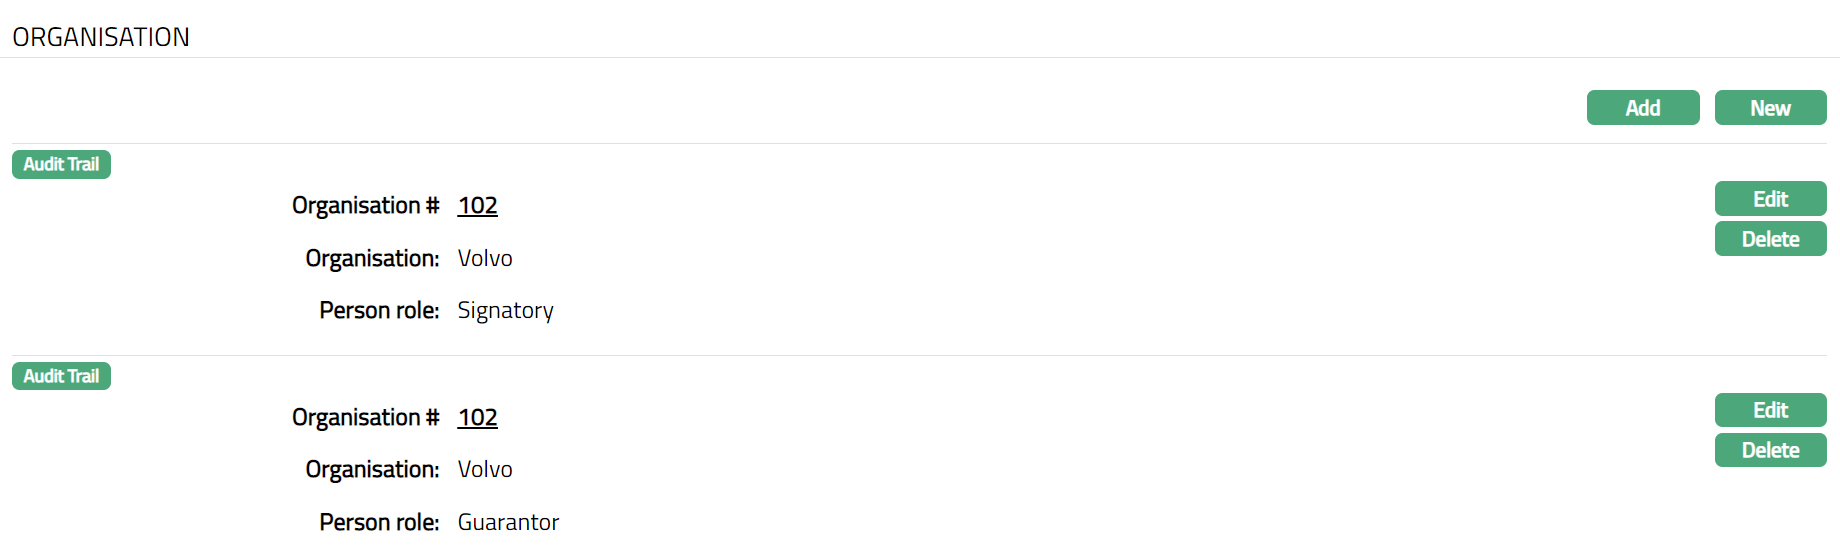
Functions: Add, New, Edit, Delete
Delete: You can delete Organisation record saved in Aura by a click on Delete button. Aura will ask for confirmation, on approving which the selected record will be deleted
Alias
Alias tab allows you to create the alias / other names of the person.
To add a new alias
- Access Person page and click Alias tab

- Click New button. New Alias page appears.
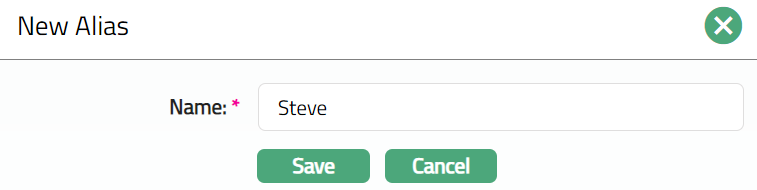
Enter alias Name of the person.
Click Save. Person page appears displaying the added details.
 Functions: New, Edit, Delete
To Edit Alias
Access Person page, and click Alias tab.
Click Edit. Edit Alias page appears.
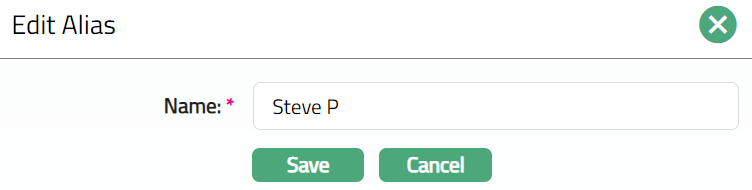
- Change Name as required and click on Save. Alias page appears with the updated details.

Functions: New, Edit, Delete
Delete: You can delete Alias record saved in Aura by a click on Delete button. Aura will ask for confirmation, on approving which selected record will be deleted.
CREDIT RATING
Credit Rating is an analysis of the credit risks associated with a financial instrument or a financial entity. These ratings are based on various detailed analysis which are published by various credit rating agencies. In general, this Credit Rating happens externally by credit rating agencies.
Credit Rating tab allows you to upload Credit Rating details related to the person based on the analysed report provided by an external Credit rating Agency.
To add Credit Rating
- Access Person page and click Credit Rating tab.

- Click Add button. New Credit Rating page appears.

Note: Mandaory fields are Credit Rating Agency & Rating.
Select name of Credit rating agency from the available drop-down list maintained under Admin > System Codes > Credit Rating Agency
Enter Rating based on the rating received by you from the External Credit Rating Agency.
Enter Probability of default.
Enter Credit score.
Enter Payment Index.
Enter Payment notes.
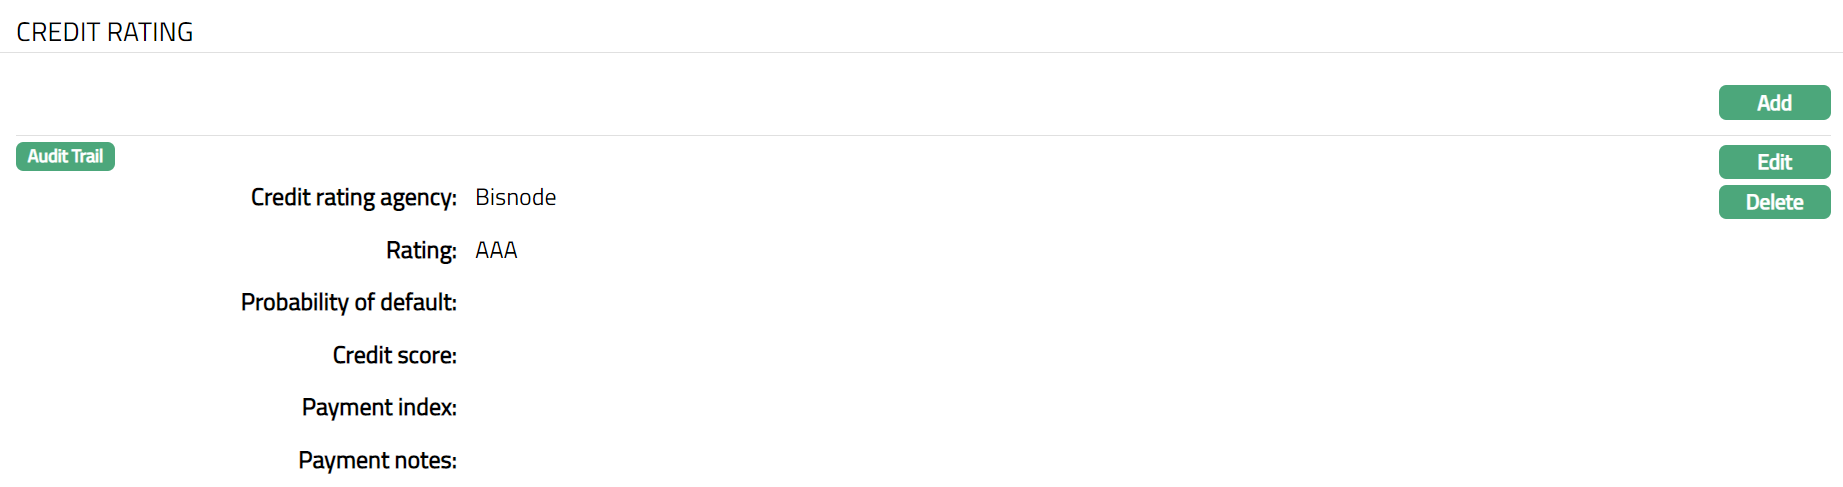
Click Save. Credit Rating page appears displaying the added details.
Functions: Add, Edit, Delete
To Edit Credit Rating:
Access Person page, and click Credit Rating tab.
Click Edit. Edit Credit Rating page appears.
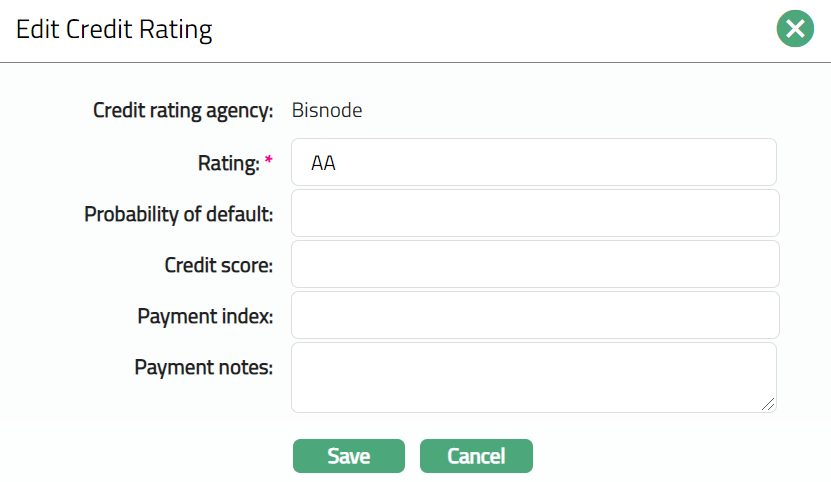
Note: All fields are editable except Credit Rating Agency.
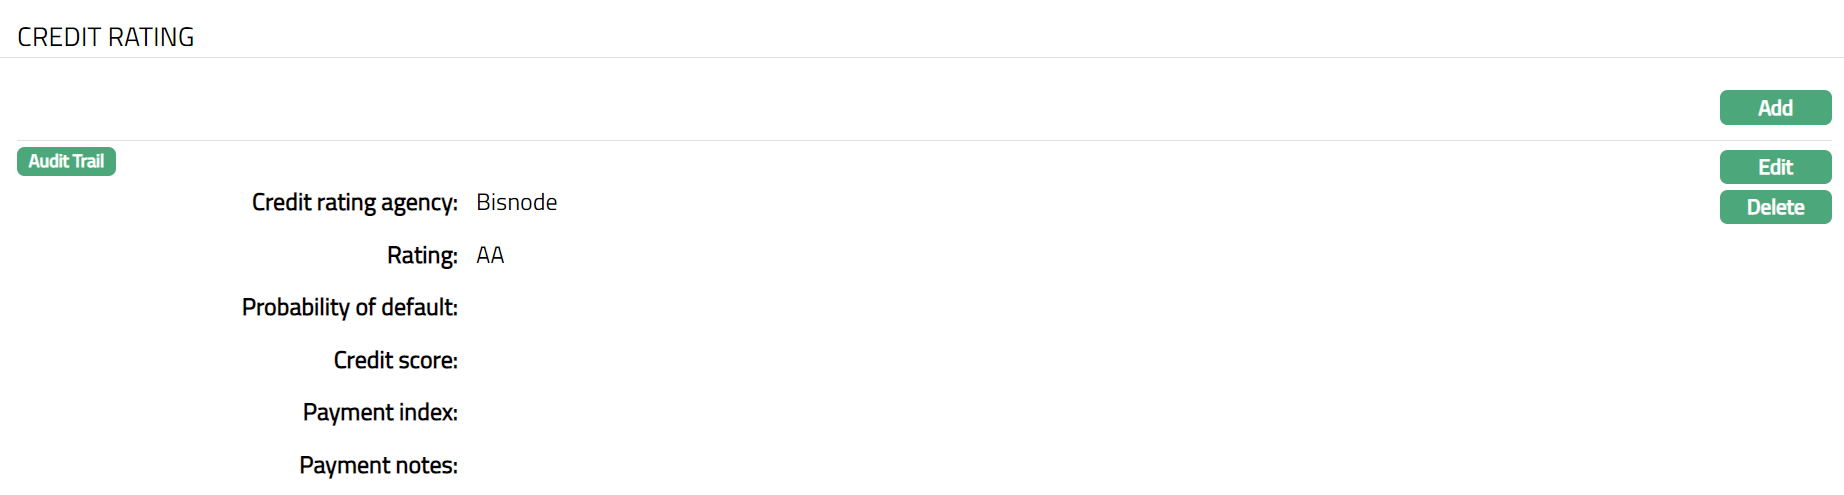
- Make required changes and click Save. Credit Rating page appears with the updated details.
Delete: You can delete Credit Rating record saved in Aura by a click on Delete button. Aura will ask for confirmation, on approving which record will be deleted.
Documents
The Document tab allows you to upload documents related to the person. These can be in the form of scanned images or files on your computer. You can categorise the documents as per Document Type and store with a document reference number.
To add New Document
- Access Person page and click Documents tab.

- Click New button. New Document page appears.
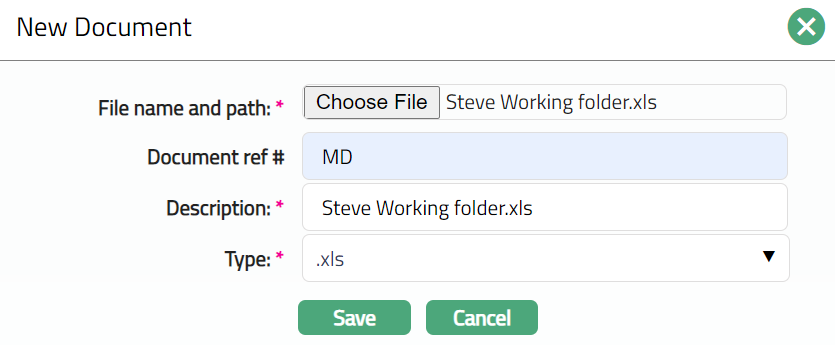
Click Choose File button to select File name and path of the document.
Enter Document ref number for the document. This document reference number is used in Branch view>Documents.
Based on the file selected Description field will be derived. If required, you can change the description.
Select Type of the Document uploaded from the available drop-down list maintained under Admin>System Codes>Documents>Document types. Once entered, this cannot be edited.
Click Save. Document page appears displaying the added details.

Functions: New, Edit, Delete
The Additional fields are:
Added: This is the field which display the date and time when the Document is added.
Added By: This is the field which display the name of the person who added the Document.
To Edit Document record,
Access Person page, and click Document tab.
Click Edit. Edit Document page appears.
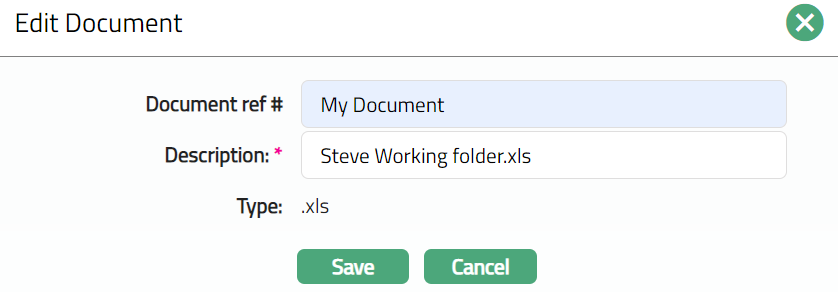
Note: Only the Document Reference # & Description are editable.
- Make required changes and click Save. Document page appears with the updated details.
 Functions: New, Edit, Delete
Delete: You can delete Document record saved in Aura by a click on Delete button. Aura will ask for confirmation, on approving which the selected record will be deleted.
Photograph
Photograph tab allows you to upload photograph related to the person and store with photograph reference number. These can be in the form of .pdf/.jpg/.jpeg etc.,
To add New Photograph
- Access Person page and click on Photograph tab.

- Click New button. New Photograph page appears.
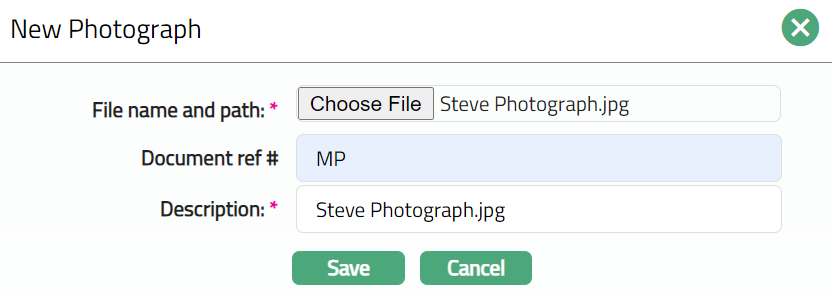
Click Choose File button to select File name and path of the photograph. Files with only the following extension in the file name will be allowed to be uploaded: .jpg,.gif,. jepg, .png, .tif, .bmp"
Enter Document ref number for the photograph.
Based on the file selected Description field will be derived. If required, you can change the description.
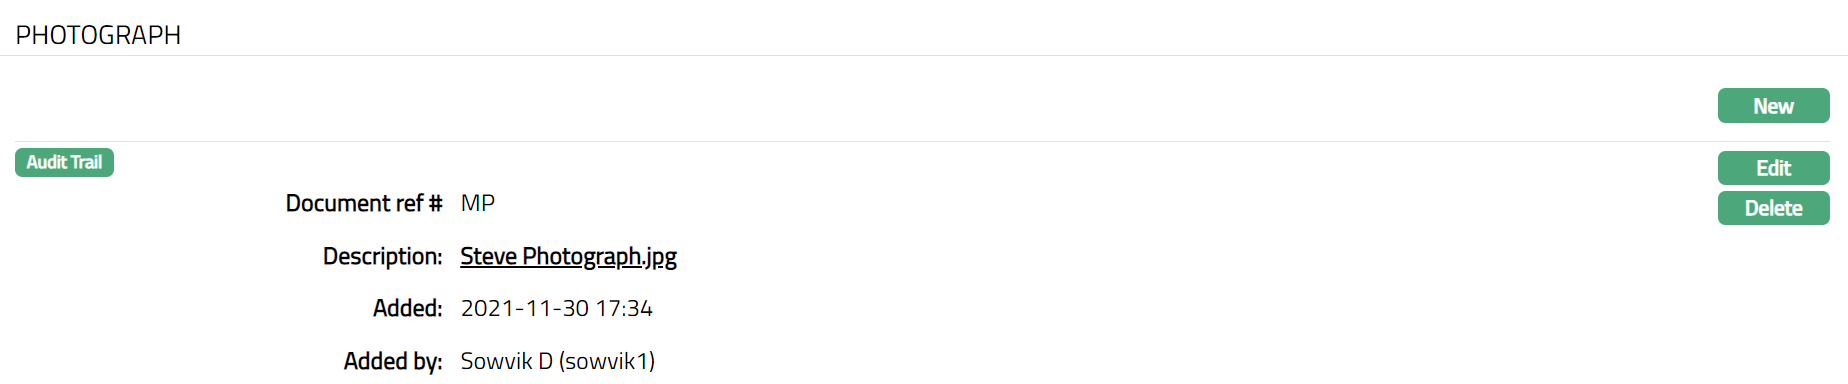
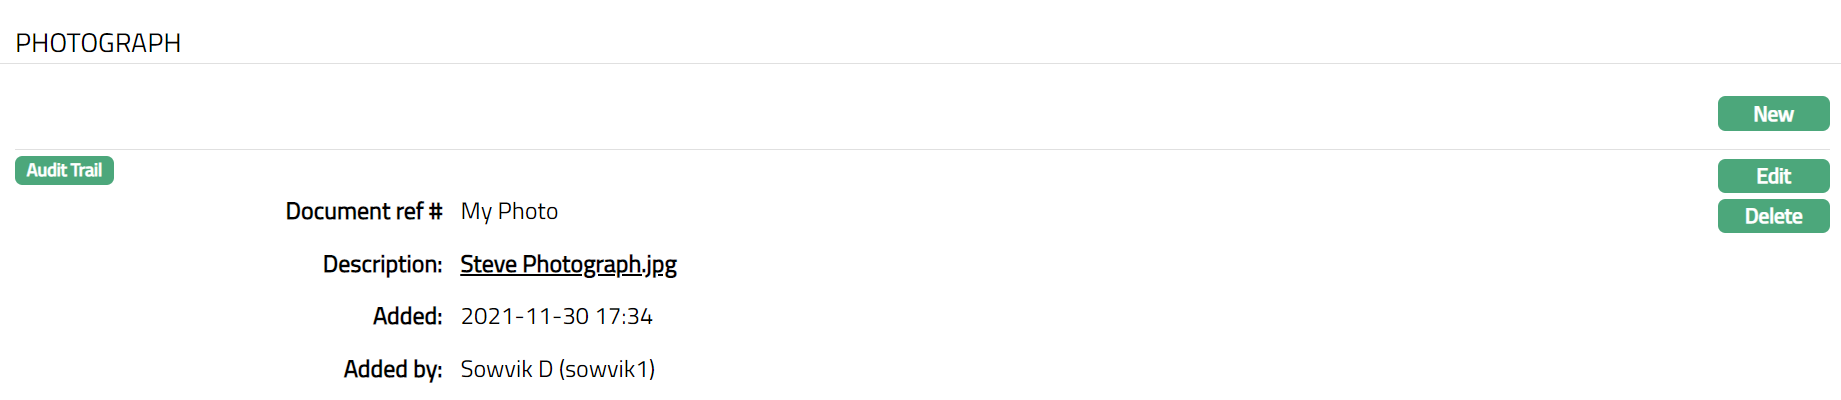
Click Save. Photograph page appears displaying the added details.
Functions: New, Edit, Delete
The Additional fields are:
Added: This is the field which display the date and time when the Photograph is added.
Added By: This is the field which display the name of the person who added the Photograph.
To Edit Photograph record
Access Person page, and click Photograph tab.
Click Edit. Edit Photograph page appears.
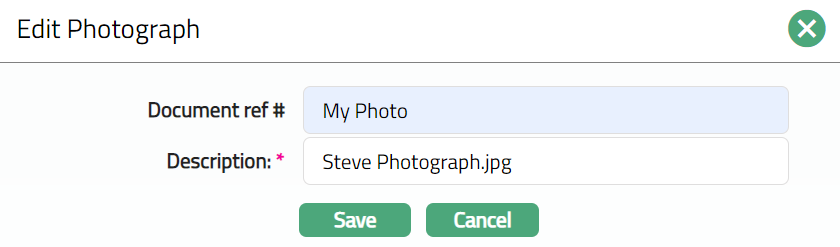
Note: Only Document ref # and Description fields can be edited.
- Make required changes and click Save. Photograph page appears with the updated details.
Functions: New, Edit, Delete
Delete: You can delete a Photograph record saved in Aura by a click on Delete button. Aura will ask for confirmation, on approving which the selected record will be deleted.
Signature
Signature tab allows you to upload the image of the person's signature. These can be in the form of .jpg/.jpeg etc. and stored with a reference number.
To add New Signature
- Access Person page and click Signature tab.

- Click New button. New Signature page appears.
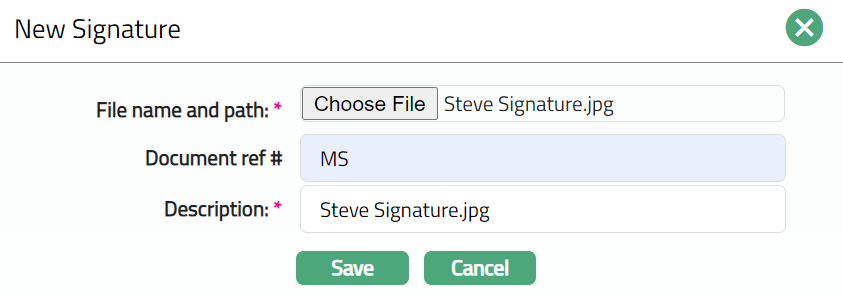
Click Choose File button to select the File name and path of the signature. Files with only the following extension in the file name will be allowed to be uploaded: .jpg, .gif,. jepg, .png, .tif, .bmp"
Enter Document ref number for the signature.
Based on the file selected Description field will be derived. If required, you can change the description.
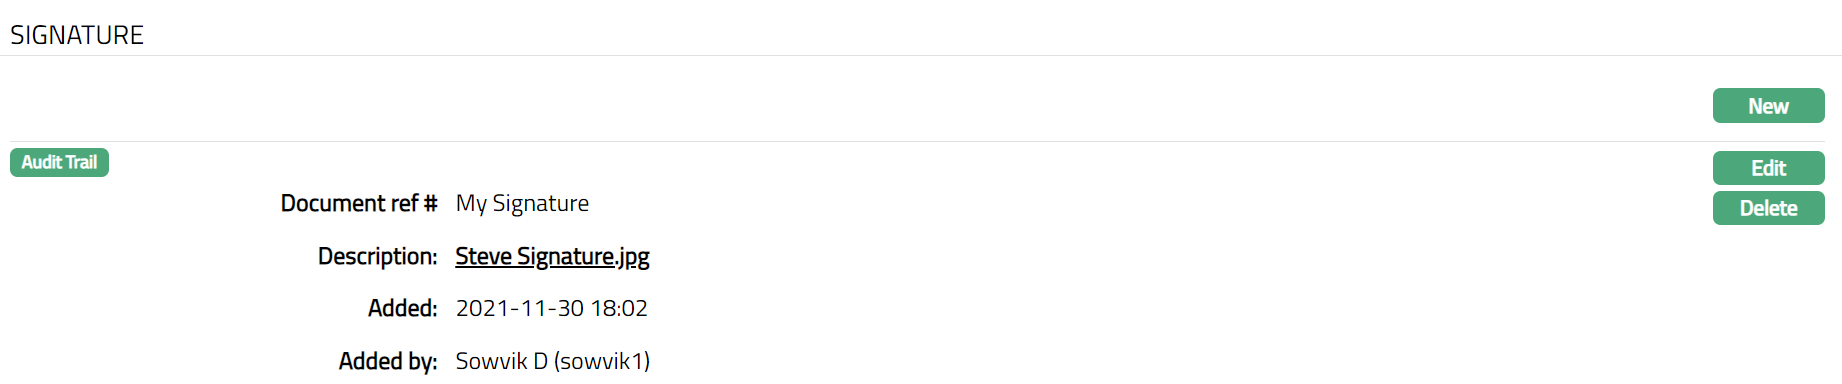
Click Save. Signature page appears displaying the added details.
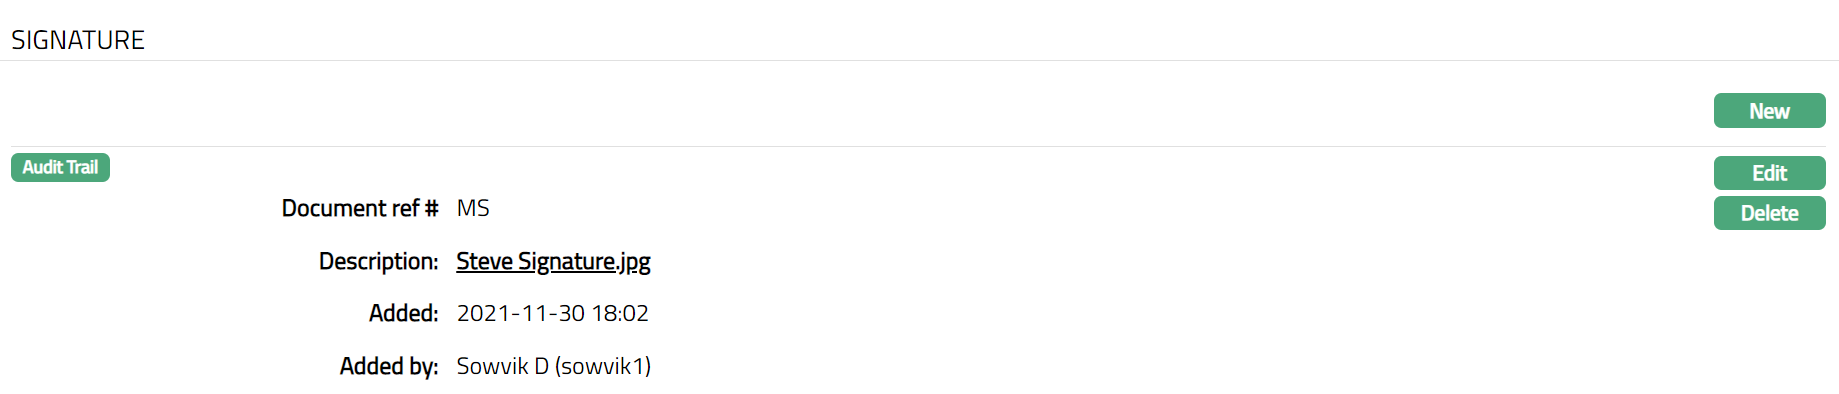
Functions: New, Edit, Delete
The Additional fields are:
Added: This is the field which display the date and time when the Signature is added.
Added By:This is the field which display the name of the person who added the Signature.
To edit Signature record,
Access Person page, and click Signature tab.
Click Edit. Edit Signature page appears.
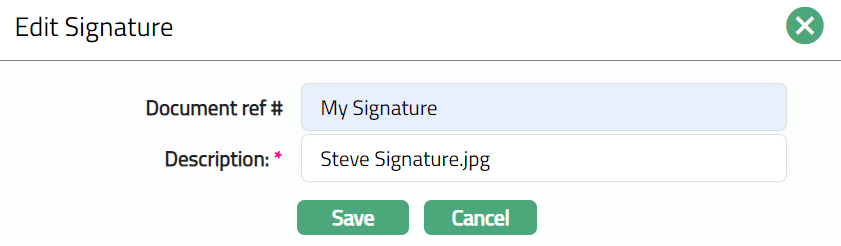
Only Document ref # and Description fields can be edited.
Make required changes and click Save. The Signature page appears with the updated details.
Functions: New, Edit, Delete
Tax Withhold
Tax withhold tab is used to store details related to the amount of tax which must be withheld on interest on deposits according to the tax laws of that Country. Here view the gross interest earned and tax amount per currency for current and previous financial years (based on current booking date) currency wise. This will also show you the Tax Country and Tax Category of the Person.
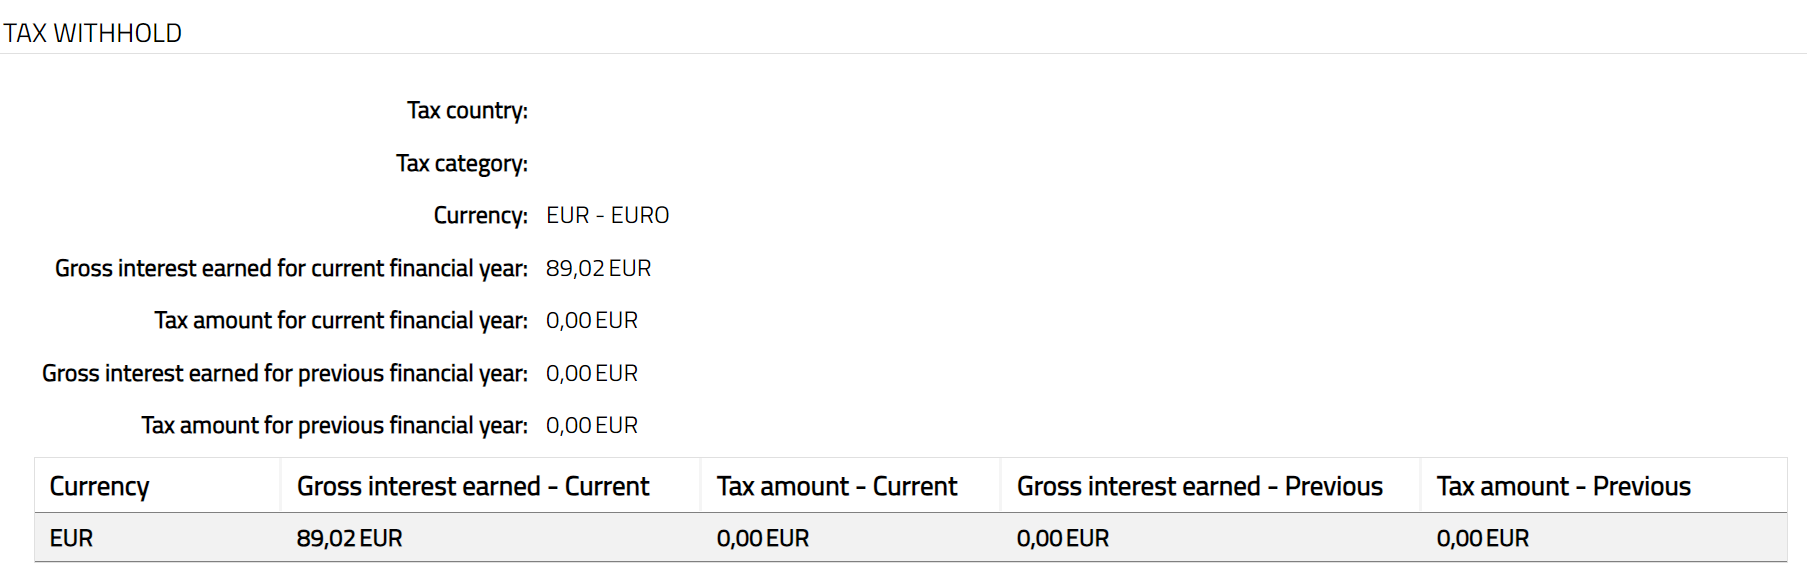
The fields available are
Tax country denotes the country where the Person does employment / business and files tax to the government.
Tax category denotes the category to which the tax scheme belongs. It is populated from Admin > System code > Tax category > Maintain.
Currency denotes the currency in which customer may hold some account and can earn interest in that currency.
Gross interest earned for current financial year denotes the gross interest earned currency wise for the current financial year updated till current booking date.
Tax amount for current financial year denotes the tax amount deducted currency wise for customer account for current financial year updated till current booking date.
Gross interest earned for the previous financial year denotes the gross interest earned currency wise for the previous financial year updated till the end of previous financial year.
Tax amount for previous financial year denotes the tax amount deducted currency wise for an account for previous financial year updated till end of previous financial year.
Note:
Based on the unique combination of Country, Currency, Tax category and Tax scheme effective date, Aura will pick the band and tax percentage for tax calculation. If more than one records are maintained for a Tax Scheme for a same Combination with different Effective From Date, then Aura will pick the latest Effective From Date combination <= current business date and should calculate tax.
If Tax category is defined at Person / organisation level but combination has not been maintained at tax scheme level for the same Tax Category, then system should take any tax category combination for calculating tax.
Based on Tax accrued interest flag maintained at Tax scheme level, the accrued interest on the accounts held by the current Person / Organisation will be considered for tax calculation and will be calculated only at the end of financial year.
For tax calculation
So, in the case of interest liquidation, the execution is always on the account where liquidation is applicable.
In the case of interest accrual, interest bearing accounts should be picked one after the other.
In the case of joint client type, tax liability is calculated based on the percentage of ownership and hence interest amount. i.e. if the account has three beneficial owners with equal ownership and if there is a liquidation of 3000INR. Each of them is liable to pay tax only on 1000INR provided applicable band has a rate > 0.
Data Request
Data Request tab allows you to record the details of request for data stored in your systems (say, under General Data Protection Regulation, i.e., GDPR) when it is raised by a Person. You can mention the Data request date and the Report generation date based on the request of the related person.
To add Data Request
- Access Person page and click Data Request tab.
- Click Add button. Add Data Request page appears.
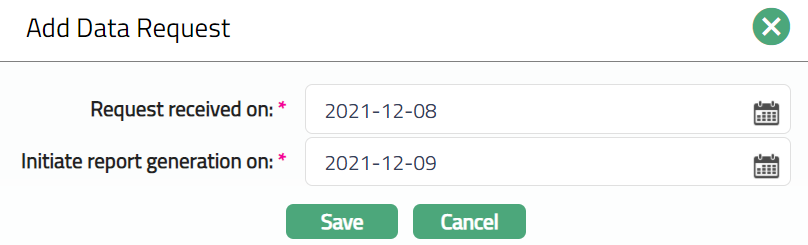
Enter Request received on date.
Enter date on which you would like to generate the report in Initiate report generation on.
Note: For the above dates, you can use the calendar icon or type in the date
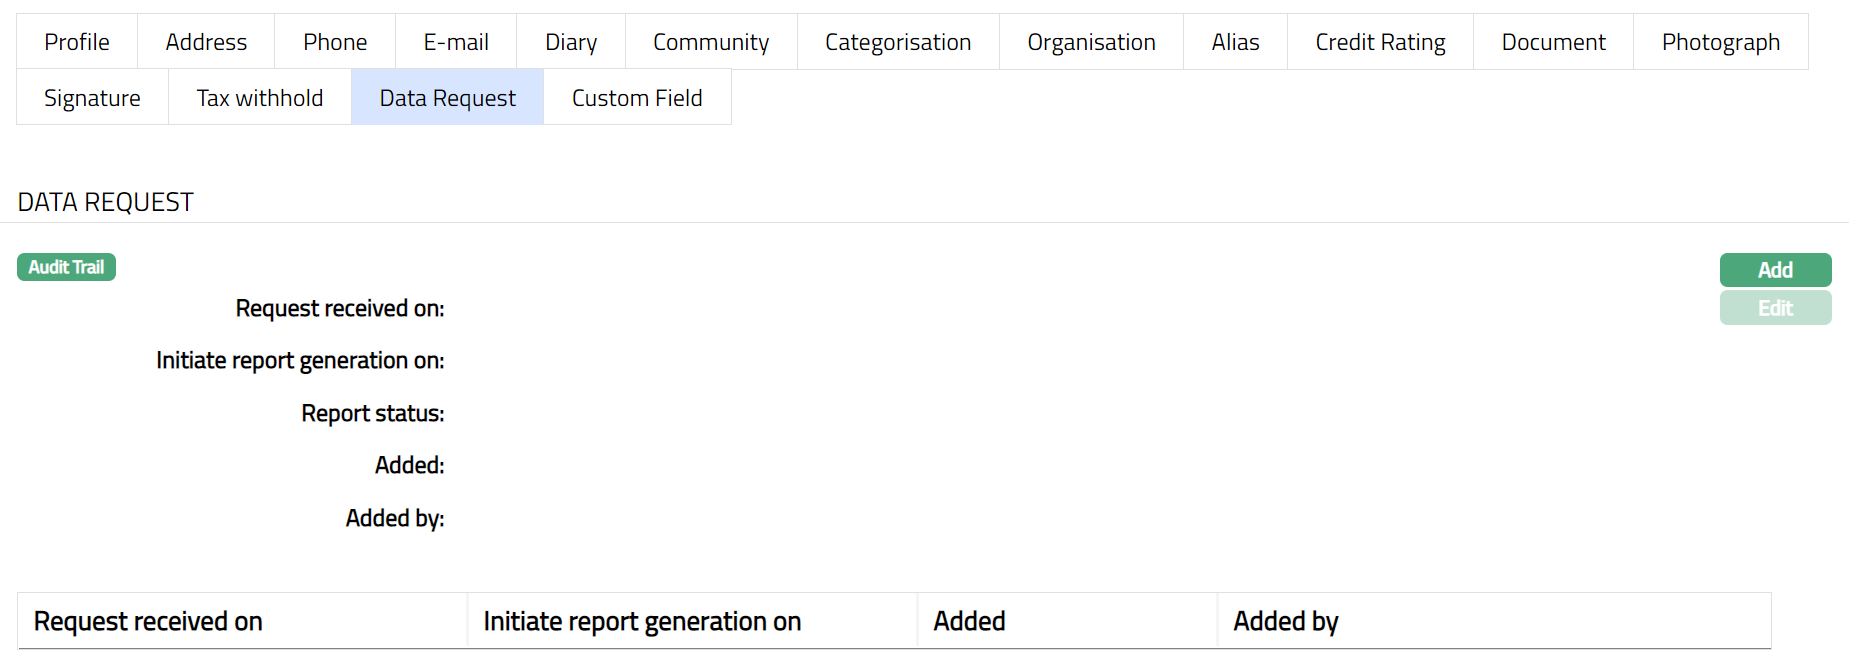
- Click Save. Data Request page appears as follows:
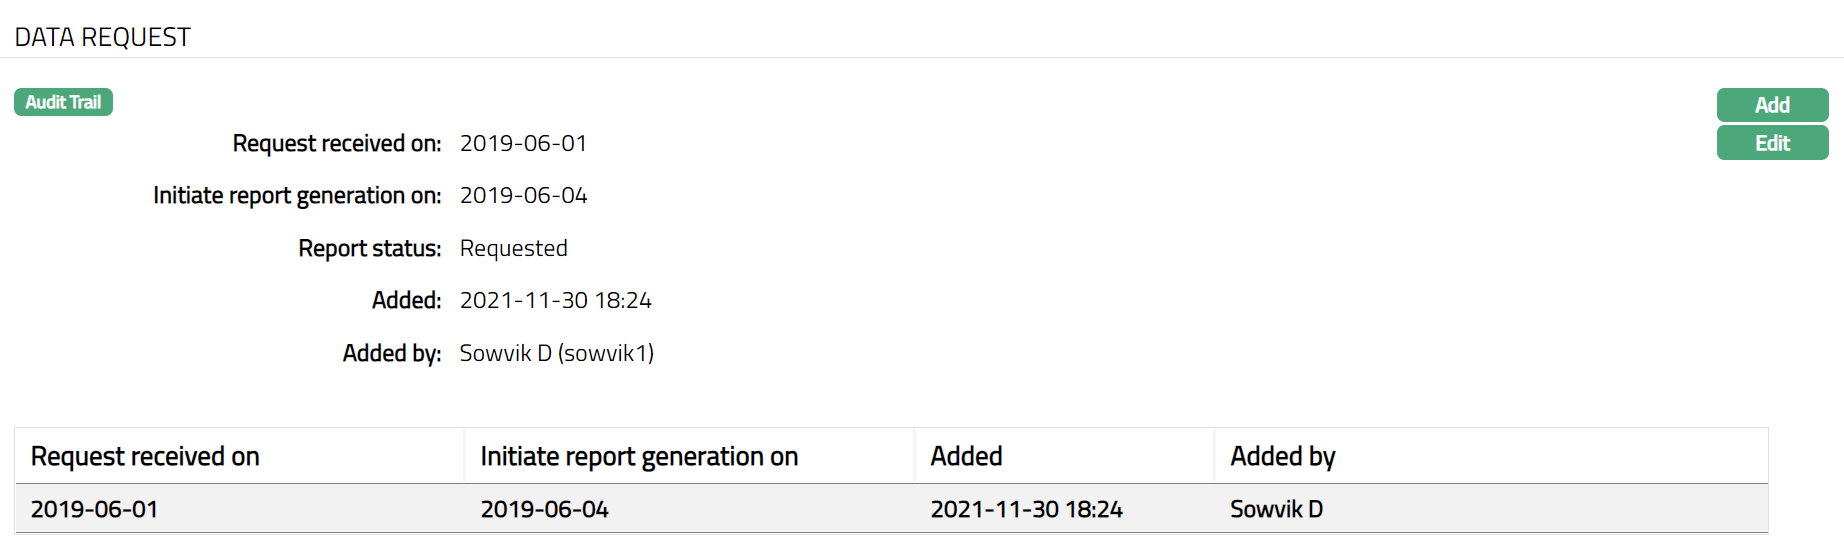
Functions: Add, Edit
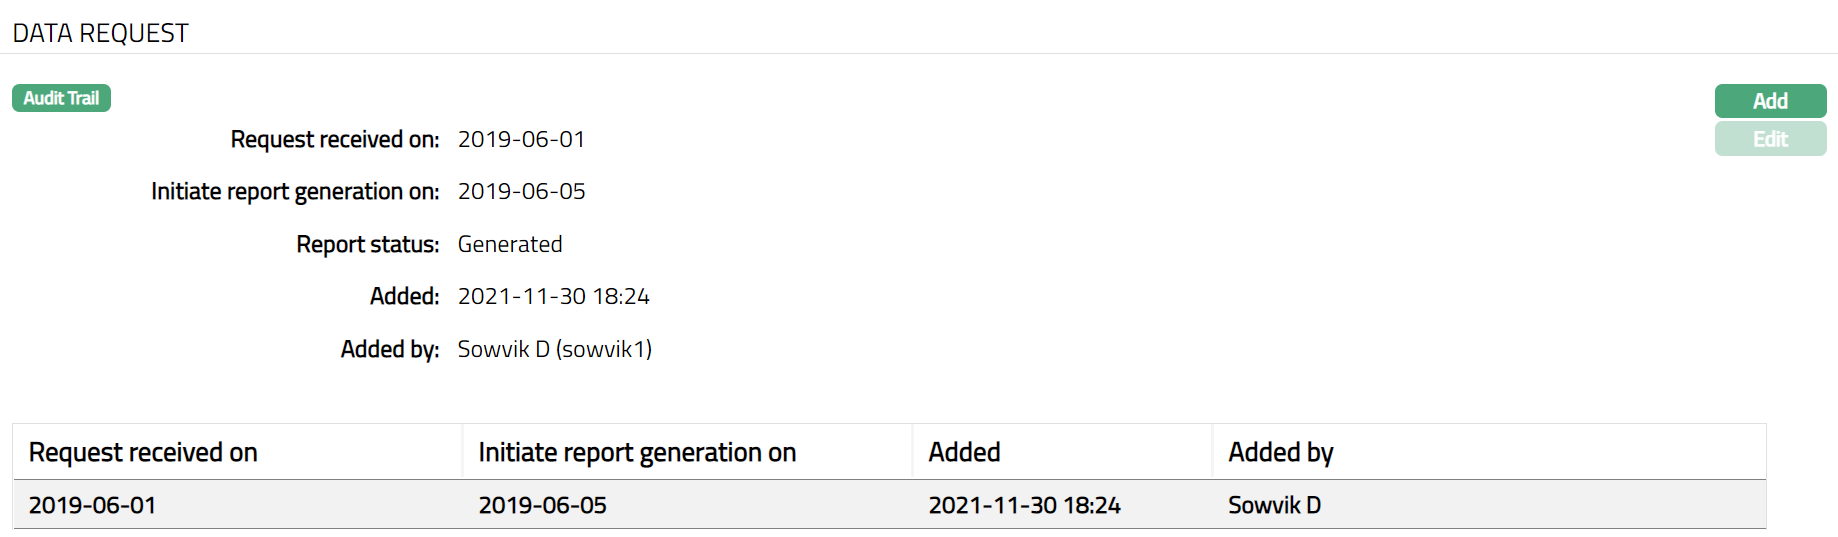
- Once saved the system will automatically generate the Report based on the frequency set. Report status will be changed from Requested to Generated.

Note: If you want to change the details of the Request, you can do so when the Report Status is Requested; once the report gets generated, edit is disabled.
The following are the additional details that are displayed:
Report Status indicates the status of the Report. On Save, the Status will be Requested. Once the Report is generated, it will be Generated
Added field denotes the date on which the record was added
Added by denotes the person who created the record
To edit Data Request
- Click Edit button. Edit Data Request page appears.

Note: You can edit only Initiate Report Generation On
Do the required change and click Save. Data Request page appears with the edited details. Note: Once Saved the Report Status changes to Initiated.
Once saved the system will automatically generate the Report based on the frequency set. The Report status will be changed from Requested to Generated.
The generated file can be viewed by user in Document Tab. The Generated file format will be in .pdf
Make required changes and click Save. Data Request page appears with the edited details.
Functions: Add, Edit
Custom Field
This option provides you the flexibility to define fields apart from those that are already available in the standard version of Aura. Thus, it enables you to customize additional data storage and use as required to suit your specific business needs.
Using the Custom Field tab, you can maintain the custom fields mapped to the Person. Depending on the custom fields created and mapped to User module (using Admin > System Codes > Custom Fields), the fields will be displayed on this tab.
In the following illustration, one custom field, Miscellaneous have been mapped to the Person, as shown below
To edit Custom Field
- Access Person page and click Custom Field tab.

- Click Edit. Edit Custom Field page opens up.

Enter Miscellaneous for the new User created.
Click Save. Custom Field page appears with the edited details.

Functions: Edit.