Safe Deposit Locker - Maintain
This option allows you to maintain the locker. Here you are allowed to define the locker number and the key number for a type of locker. The locker maintenance done here on approval will be available for allocation of locker to a client. The details of locker allocation agreement and the details of the locker operation summary will be recorded here.
The following are the various tabs that appear on Safe Deposit Locker page.
To add new Safe Deposit Locker record
- From Retail menu, click Safe Deposit Locker and then Maintain. Safe Deposit Locker Search page appears.

- Click Add. New Safe Deposit Locker Maintain -- Details (1/2) page appears.
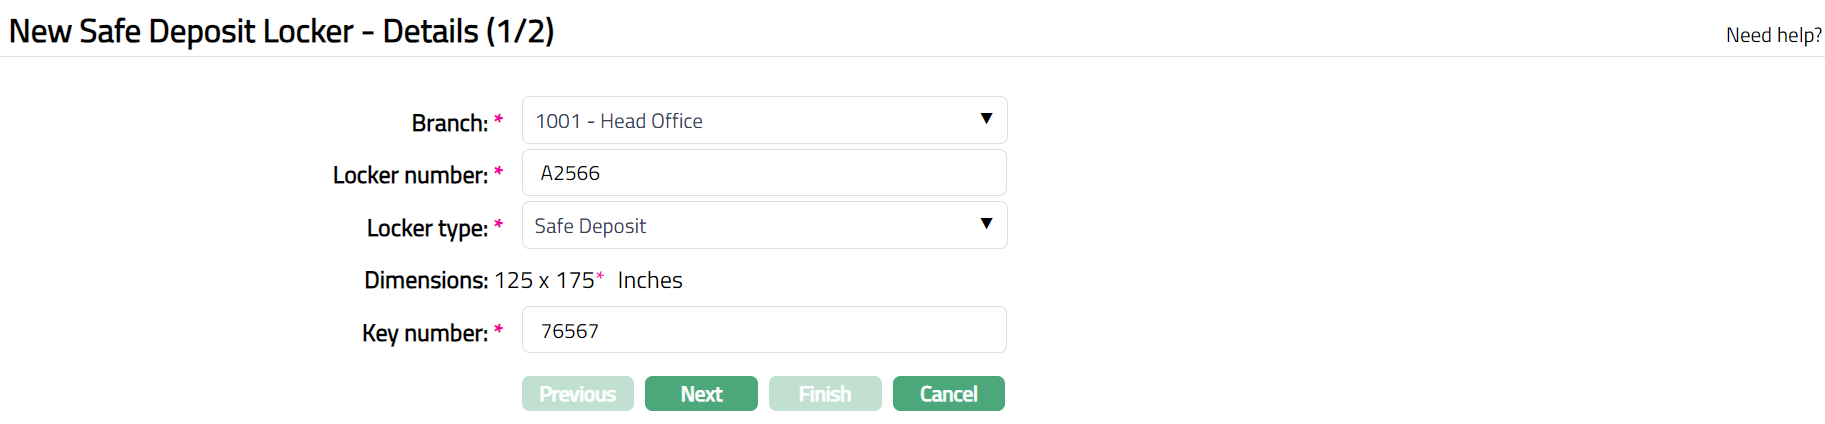
Select Branch in which the Locker is located, from the drop-down of active branches. The branches are maintained under Admin > Branches > Maintain. By default, the user's logged in branch is displayed, but you can change the same.
Enter Locker number. The locker number is unique for a branch. i.e., Aura will validate the combination of Locker Number and Branch.
Select locker Type from the drop-down list of Locker Types maintained under Admin > System codes > Generic Definitions > Locker type.
Based on the locker Type selected, Dimensions of the selected locker type is defaulted from Admin > System codes > Generic Definitions > Locker type.
Enter Key number for the locker.
Click Next. New Safe Deposit Locker Maintain -- Confirmation (2/2) page appears.
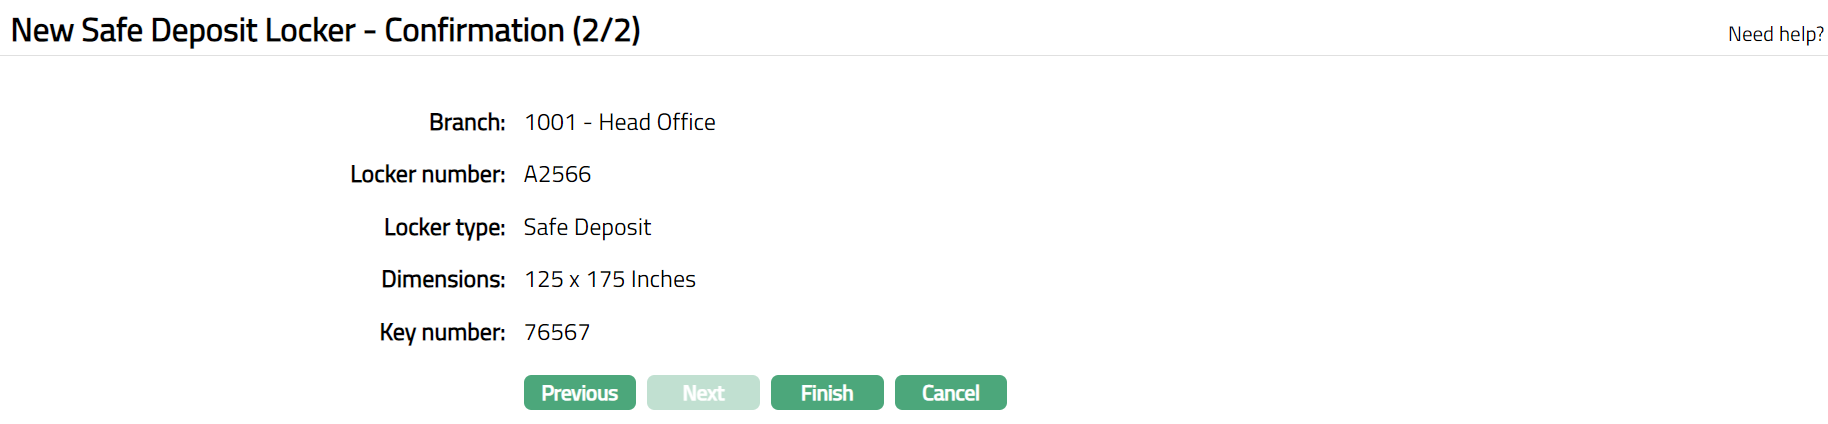
- Click Finish. Safe Deposit Locker page appears.

Functions: Add, Search, Edit.
Note: On creation of the Safe Deposit Locker record, Locker status will be Available; and Record Status will be Pending. Key Status will be Activated. The locker will not be available for allocation to the client until it is approved.
Profile
Profile tab, which is the default tab in the Safe Deposit Locker Maintenance screen, shows the basic details of the Safe Deposit Locker.
- Access Safe Deposit Locker page and click Profile tab to view the details as per sample below. The details are defaulted from the entries that have been made during creation. For details refer to New Safe Deposit Locker Maintain -- Details (1/2).

To edit Profile:
Access Safe Deposit Locker page. Profile tab is displayed by default.
Click Edit. Edit Profile page appears.
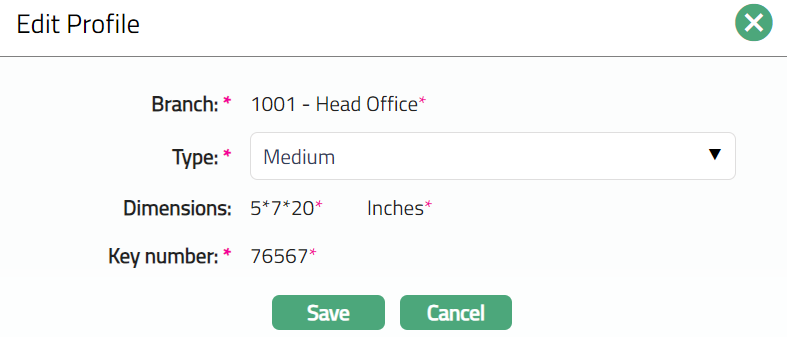
Note: Only Type field is editable. Based on the Type selected, Dimensions will be updated automatically.
- Click Save. Profile page appears with the edited details.

Function: Edit
History
History tab has two sub tabs Assignment and Operations. When a new safe deposit locker record is created, these tabs will be blank; there will not be any data until the locker agreement is approved and locker operations are created for the locker.
Agreement
The agreement of the locker done for a client is displayed in this tab. The Agreement is maintained at Retail > Safe deposit locker > Agreement. On approval of the Locker Agreement, data is displayed here.
- Access Safe Deposit Locker page. Then click History tab and then Agreement sub tab. By default, on creation of the locker record, Agreement tab will be empty. On approval of the Locker agreement, the agreement summary is displayed in this tab.
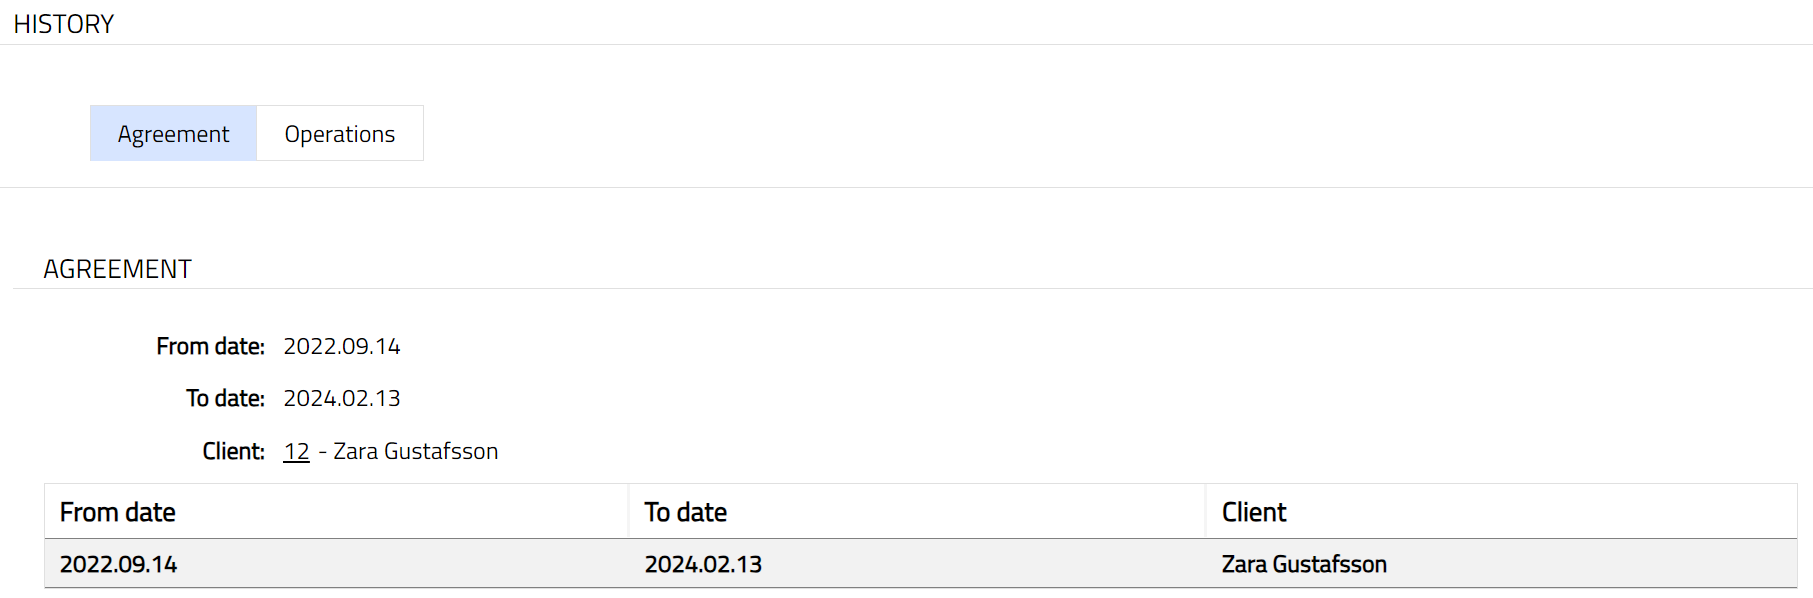
The columns in the summary pane are:
From date denotes the date from which the safe deposit locker agreement maintained for the locker defined at Retail > Safe deposit locker > Maintain is Active.
To date denotes the date to which the safe deposit locker agreement maintained for the locker defined at Retail > Safe deposit locker > Maintain is Active.
Client denotes the name of the client to whom the locker is allocated.
Operations
The locker operation details are displayed in this tab. These data are displayed only when the Operations maintained at Retail > Safe deposit locker > Operations for the locker is Approved.
- Access Safe Deposit Locker page, then click History tab and then Operations tab. By default, on creation of the locker maintenance record, Operations tab will be empty. On approval of the Operations maintenance record, the operations summary is displayed in this tab.
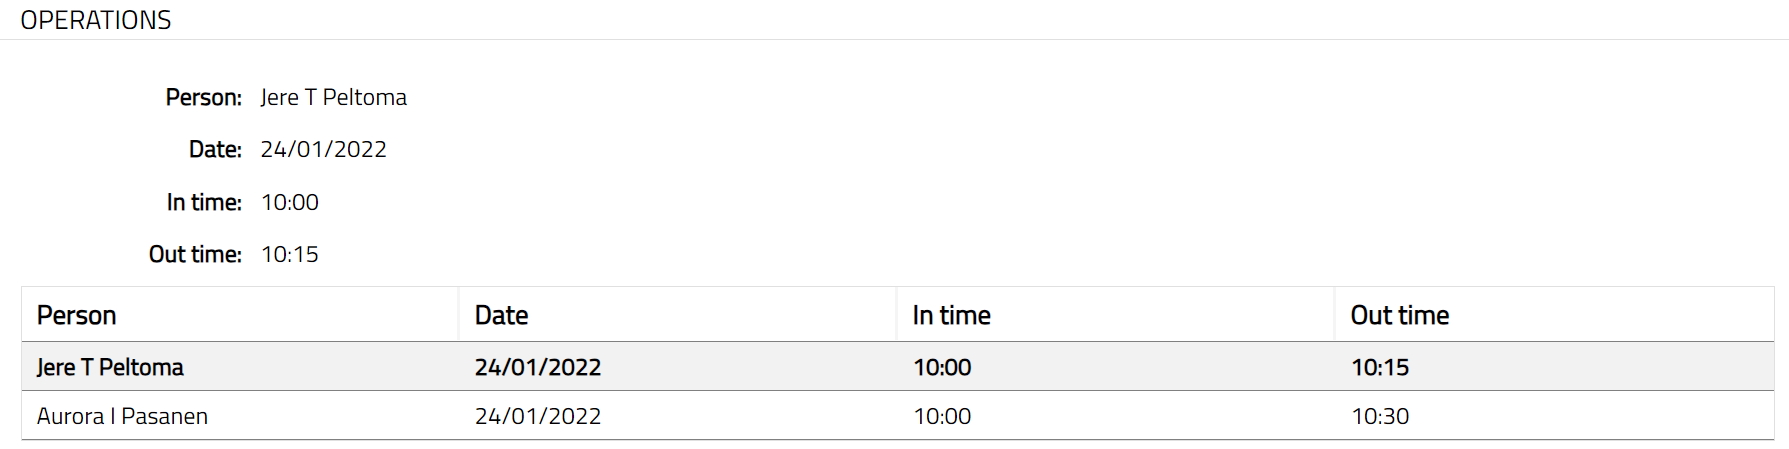
The columns in the summary pane are:
Person denotes the name of the person who has operated the locker.
Date denotes the date on which the locker was operated.
In time denotes the time when the locker operation was started.
Out time denotes the time when the locker operation was stopped.
Key
This tab allows you to maintain the status of the locker key. On creation of a locker maintenance record, the status of the key is Activated. You can suspend the existing key or add a new key number.
To add new key number,
- Access Safe Deposit Locker page. Click Key tab. Sample screen is shown below.

Click New. New Key page will be displayed.
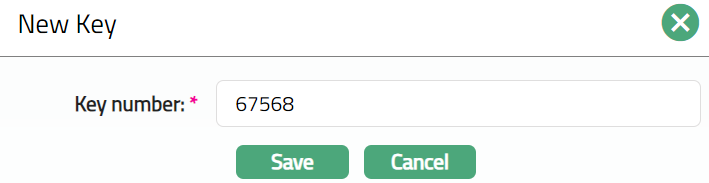
Enter new key number.
Click Save. New key number is activated, and old key number is automatically suspended.

Functions: New, Suspend.
Suspend: To suspend the key, click Suspend. Aura will ask for confirmation. On confirmation, the key will be suspended, and the status of the key is changed to suspend.
Status
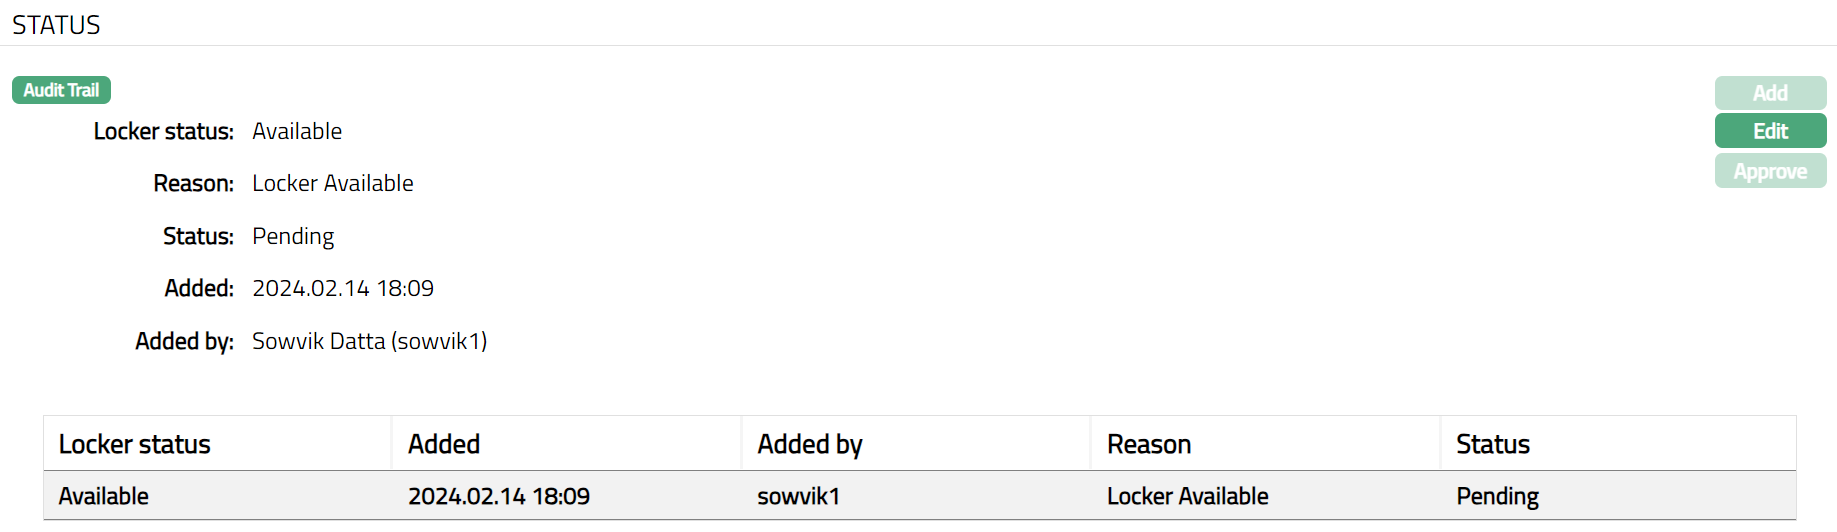
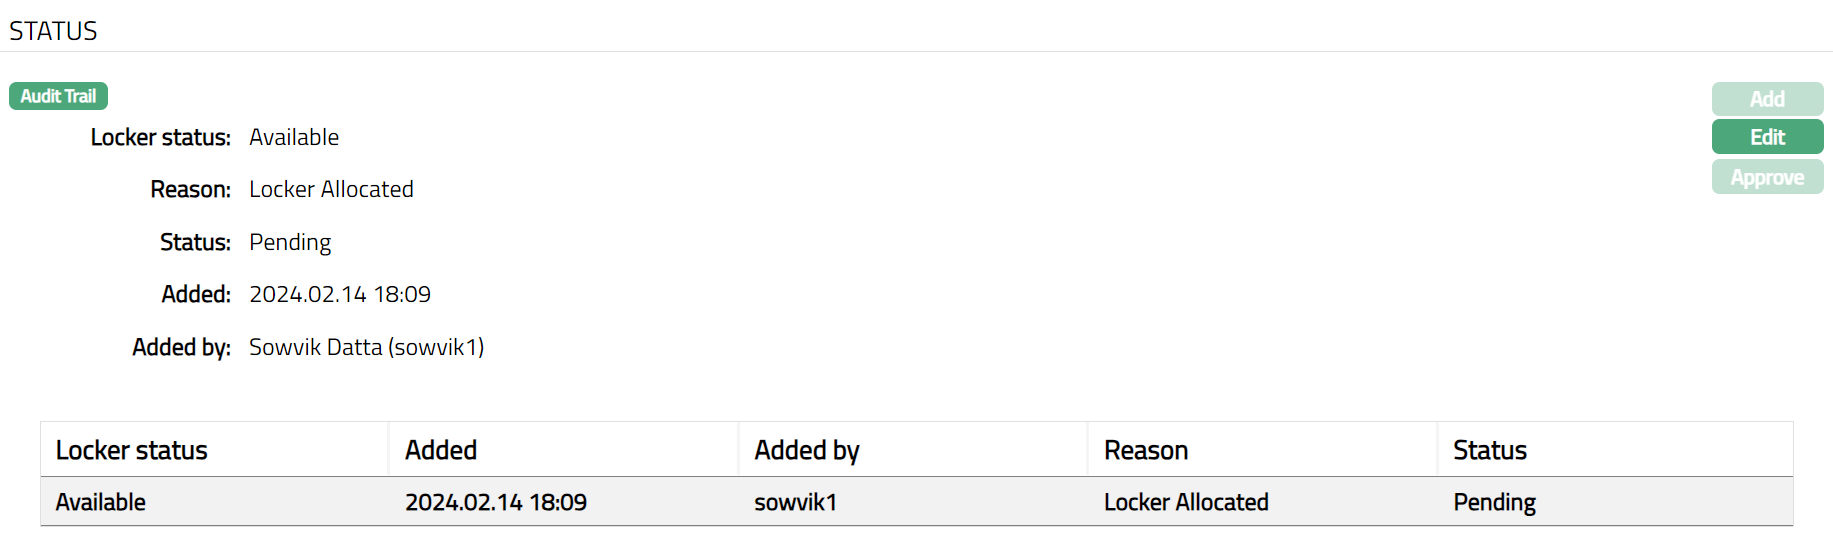
Using this tab, you can set and view the history of the safe deposit locker record status, as well as approve the status records. On creating a Safe Deposit Locker record, the Locker status is Available and Record status will be Pending.
Different Locker statuses are:
Available: This is the initial locker status on creation of the maintenance record. The lockers under this status will be available for allocation to the client. If the locker agreement related to the locker is closed, then the status of the locker becomes available.
Allocated: Once the agreement for this locker is approved the locker status is changed to allocated.
Suspended: Under this status the locker will not be available for allocation. When the locker is suspended, then no operations are allowed for the locker.
Note: Locker status can be changed to Allocated -- Approved only if the agreement is approved.
To edit status
Access Safe Deposit Locker screen. Click Status tab.
Click Edit. Edit Status page will appear.
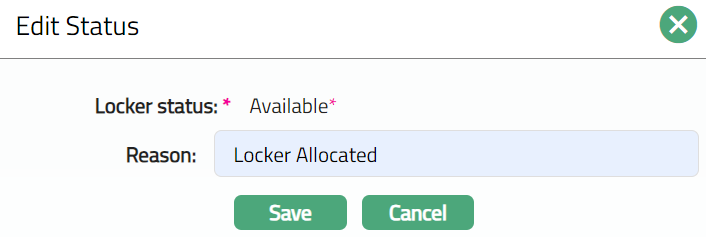
Note: Only reason field is editable.
Click Save. Status tab appears with the edited details. details.
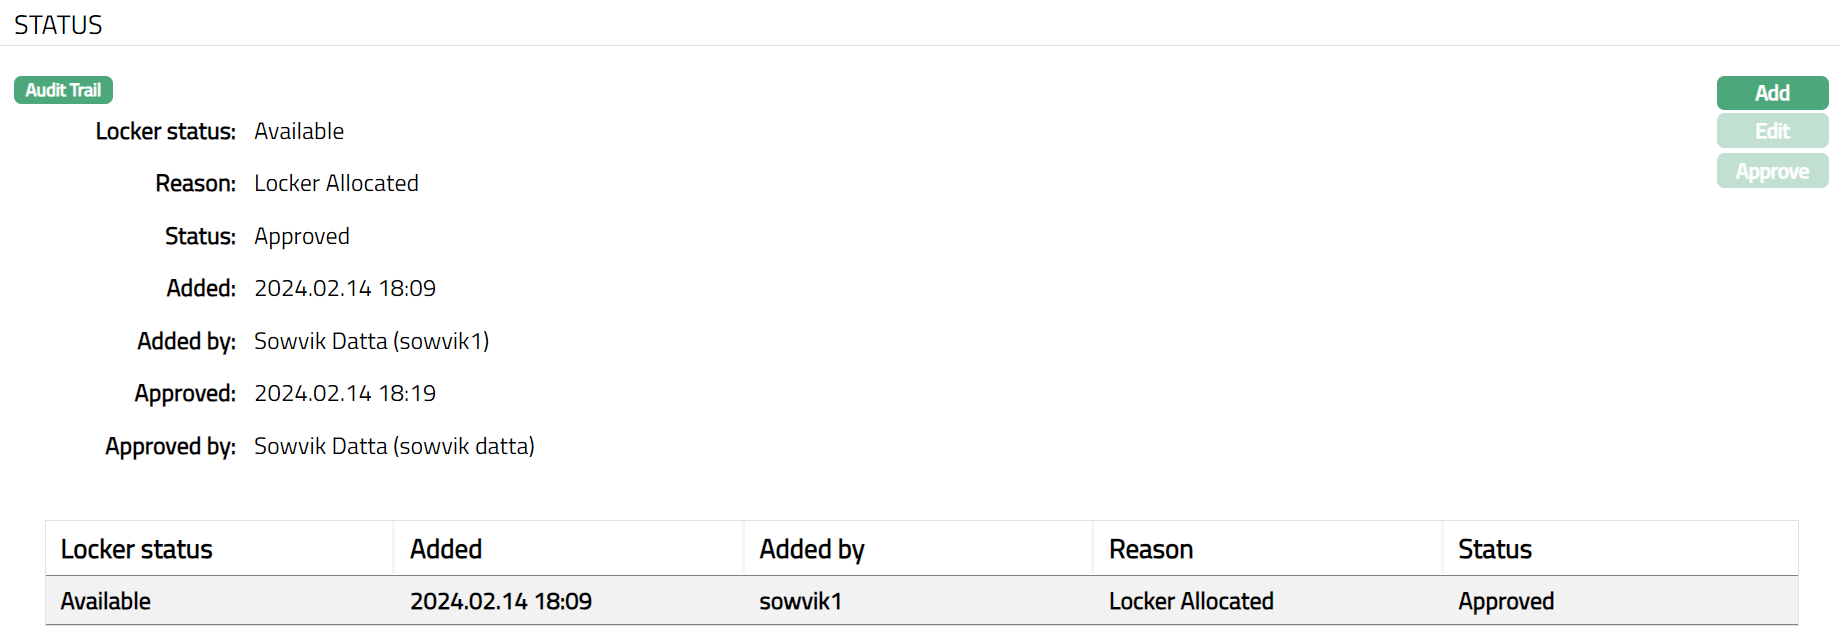
Note: Once Added/edited Safe Deposit Locker record, Locker status will be Available; and Record Status will be Pending. Any user other than the one who created the record can approve the record. Aura will ask for confirmation, on approval of which the record status will change to Approved.
Functions: Add, Edit, Approve.
The additional fields that you can see are as follows:
Status field denotes the status of the record.
Added field denotes the date on which the record was added.
Added by field denotes the name of the user who created the record.
Approved field denotes date on which the record was approved and is displayed only on approval.
Approved by field denotes name of the user who approved the record and is displayed only on approval.
To add new status,
Access Safe Deposit Locker screen. Click Status tab.
Click Add. Add Status page will appear.
Note: Add button will be enabled only when the locker status is approved.
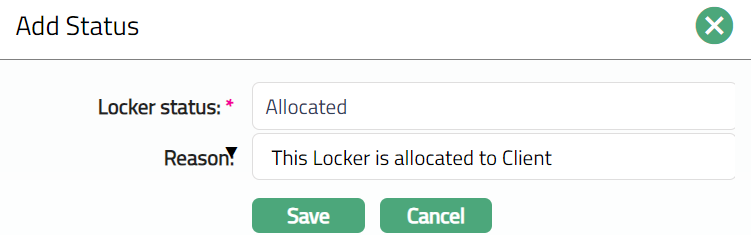
- Select Locker status from the drop-down list of pre-shipped statuses. The available statuses are Allocated and Suspended.
Note: Aura will validate and allow you to change the status as mentioned below.
| Action | Locker Status | Status | Moved to | Impact |
|---|---|---|---|---|
| On Creation of Locker | Available | Pending | - | Locker will not be available for allocation |
| On Approval of Locker | Available | Approved | Allocated | Locker will be available for allocation |
| On approval of the Agreement | Allocated | Approved | Suspended | Locker will not be available for allocation and can be suspended |
| On suspension of the locker | Suspended | Pending | - | Locker will not be available for allocation |
| On Approval of the status | Suspended | Approved | Available | Locker will not be available for allocation. If there is no |
| approved agreement, then the locker can't be allocated | ||||
| On closure of the Agreement | Available | Approved | Allocated | Locker will be available for allocation or can be suspended. If |
| or | there is no approved agreement, then the locker can't be allocated | |||
| Suspended |
Enter Reason for the status change.
Click Save. Status page appears with the added details.

Functions: Add, Edit, Approve.